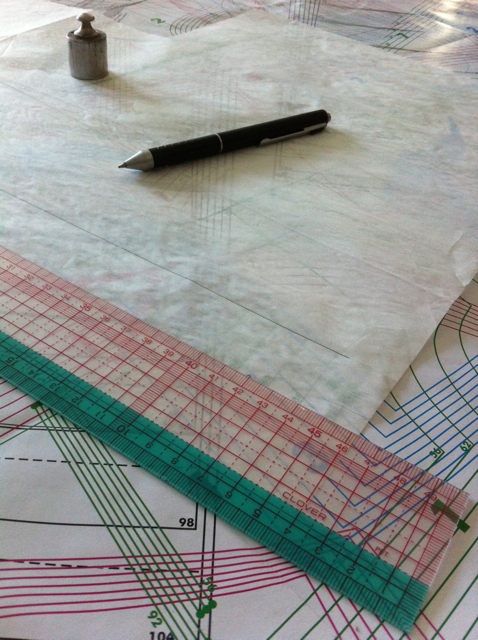
Tenho uma nova missão. Aliás, presentemente até tenho duas missões, sendo que uma fica no caminho para chegar à outra. A minha missão mais grandiosa é esta: dominar a arte da confecção. Olhar para uma folha de moldes sem que o nervoso miudinho se instale. Ter orgulho no avesso da roupa feita por mim. Dominar técnicas como embeber uma manga, forrar um vestido, aplicar um entremeio. Aprender a desenhar e alterar moldes. Olhar para uma peça de roupa numa loja e pensar “consigo fazer isto nas calmas”.
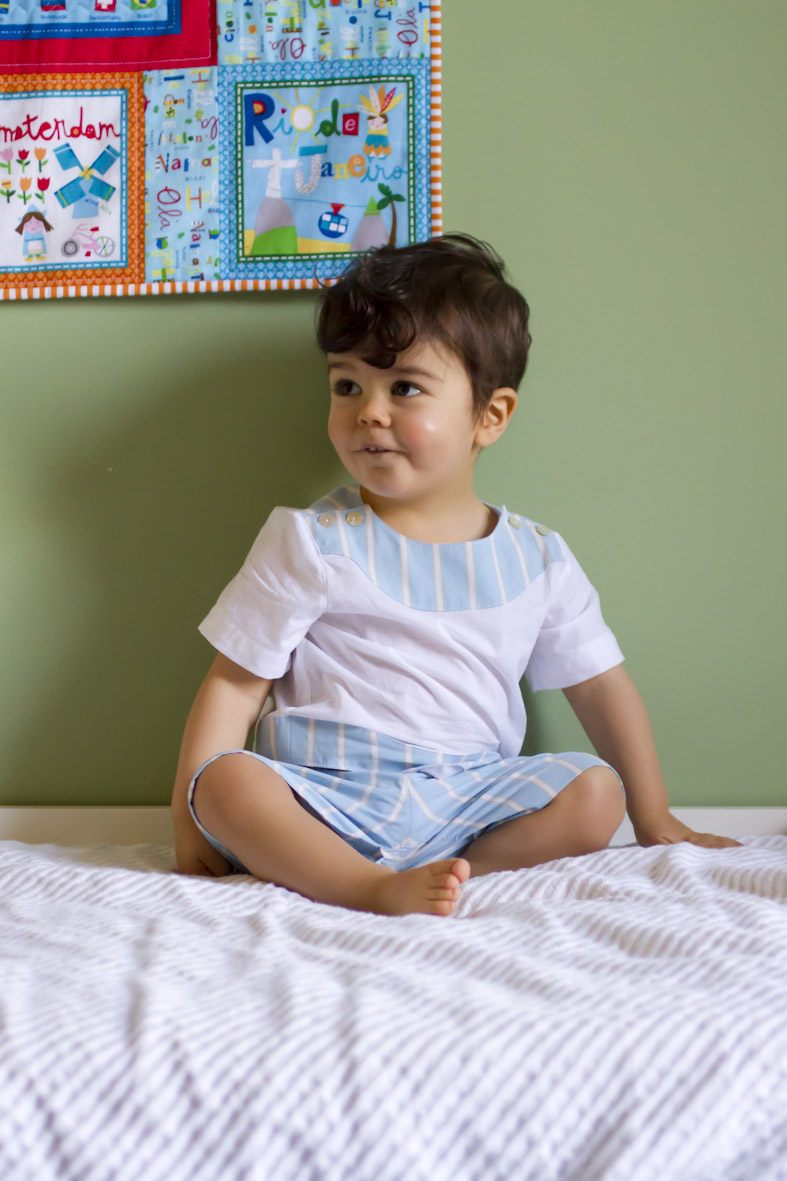
(A missão menos grandiosa mas mais imediata é completar o guarda-roupa de Verão do Rodrigo. Tenho andado a fazer calções e pijamas como se não houvesse amanhã!)
Quando uma pessoa se interessa a sério por um tema deve tentar aprofundá-lo ao máximo, não é verdade? Empiricamente ou de forma mais académica, o que interessa é conseguir estar o mais à-vontade possível no campo em questão. Pois eu, apesar de me ter iniciado nas artes da costura há 7 anos (já?), tenho sido uma mera curiosa. Curiosa e diletante.
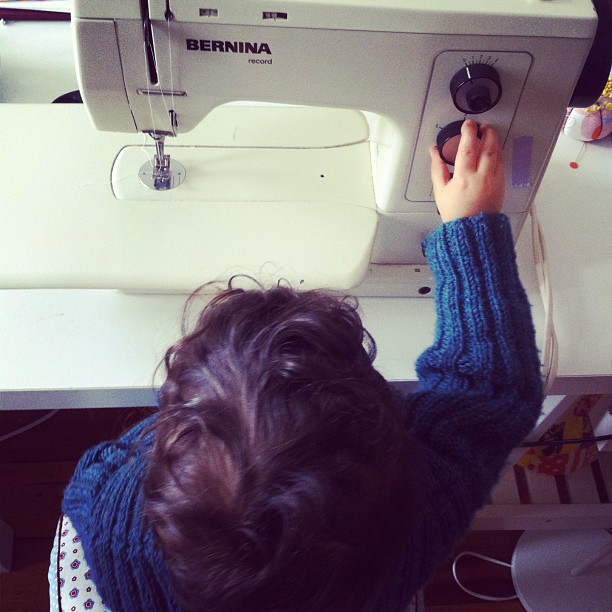
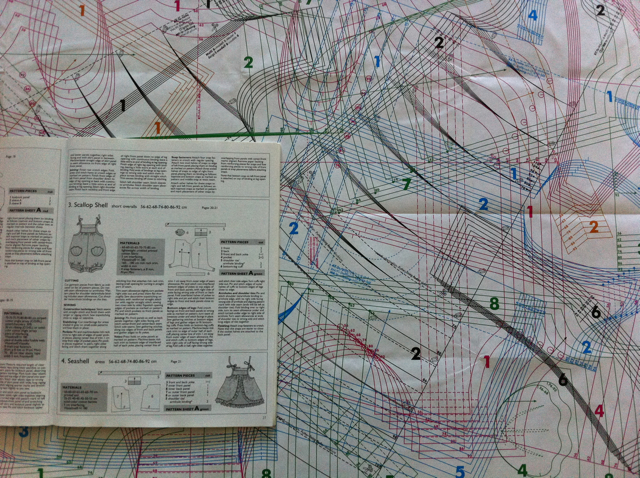
Mas finalmente senti o chamamento e estou disposta a tornar-me um ás. Para isso há que ler umas coisas, ter umas aulas e, principalmente, fazer. E já estou a ver progressos! Olhem só este exemplo:
I’m on a mission. Actually, at present I’m on two missions but one is on the path get to the other one, the greater mission. What great mission is that, you may ask? Mastering the art of dressmaking. I want to look at a pattern sheet without feeling nervous. I want to be proud of the wrong side of my handmade clothes. I want to conquer tasks such as setting in a sleeve, lining a dress and inserting lace. I want to learn how to draft and alter patterns. I want to look at a piece of clothing in a shop and think “I could make that”.
(The lesser but more pressing mission is to complete Rodrigo’s summer wardrobe. I’ve been making shorts and pyjamas like there’s no tomorrow!)
When you’re truly interested in a subject you should try and dig a little deeper, right? Either empirically or in a more academic fashion — the goal is to feel completely at easy in that particular field. Well, I’ve been sewing for 7 years (already?) but think I’ve been a bit superficial. Superficial and dilettante.
But finally I’ve felt the calling become a sewing ace. In order to do that, I’ve got to read a lot, attend some classes and, above all else, experiment with things. And I’m already making some progress! Just take a look at this:
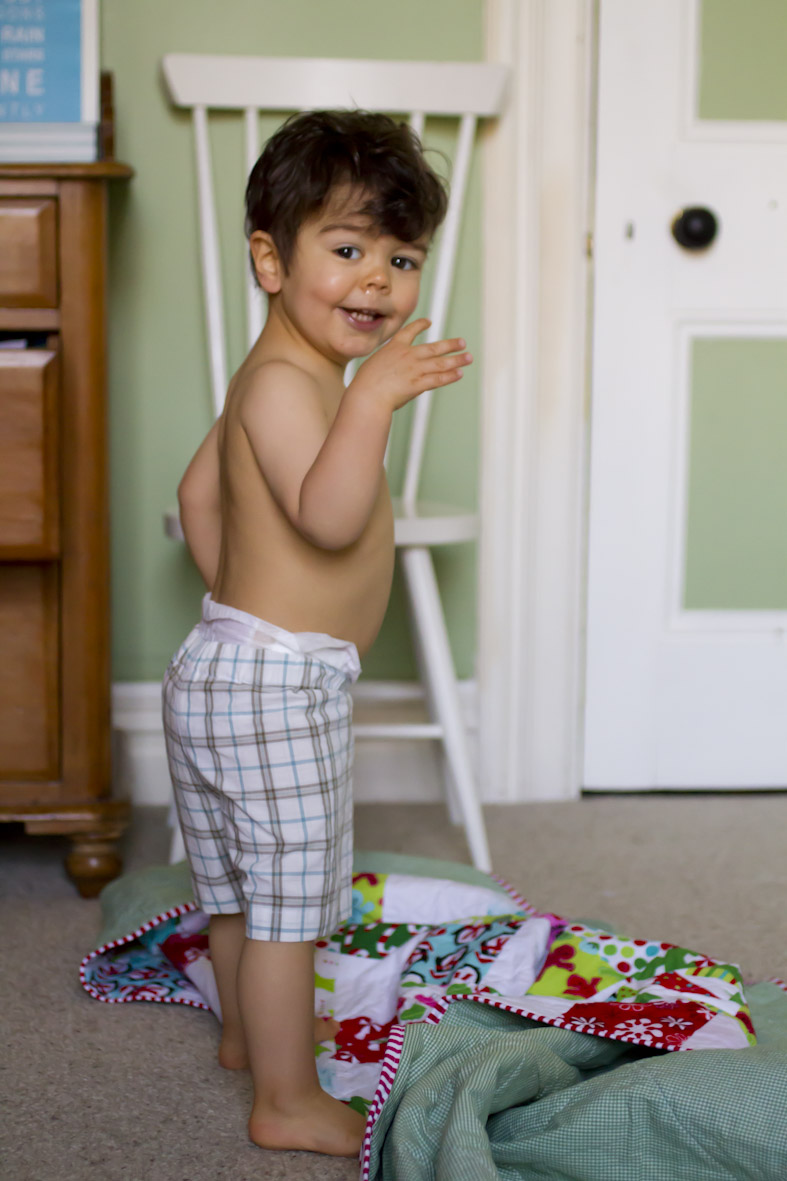
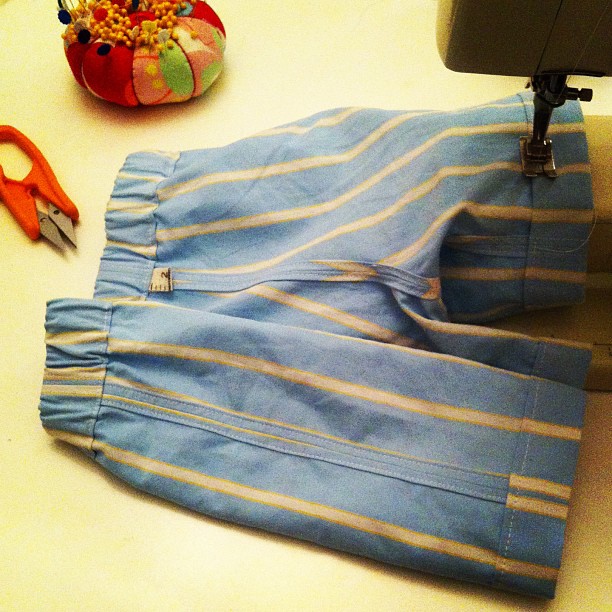
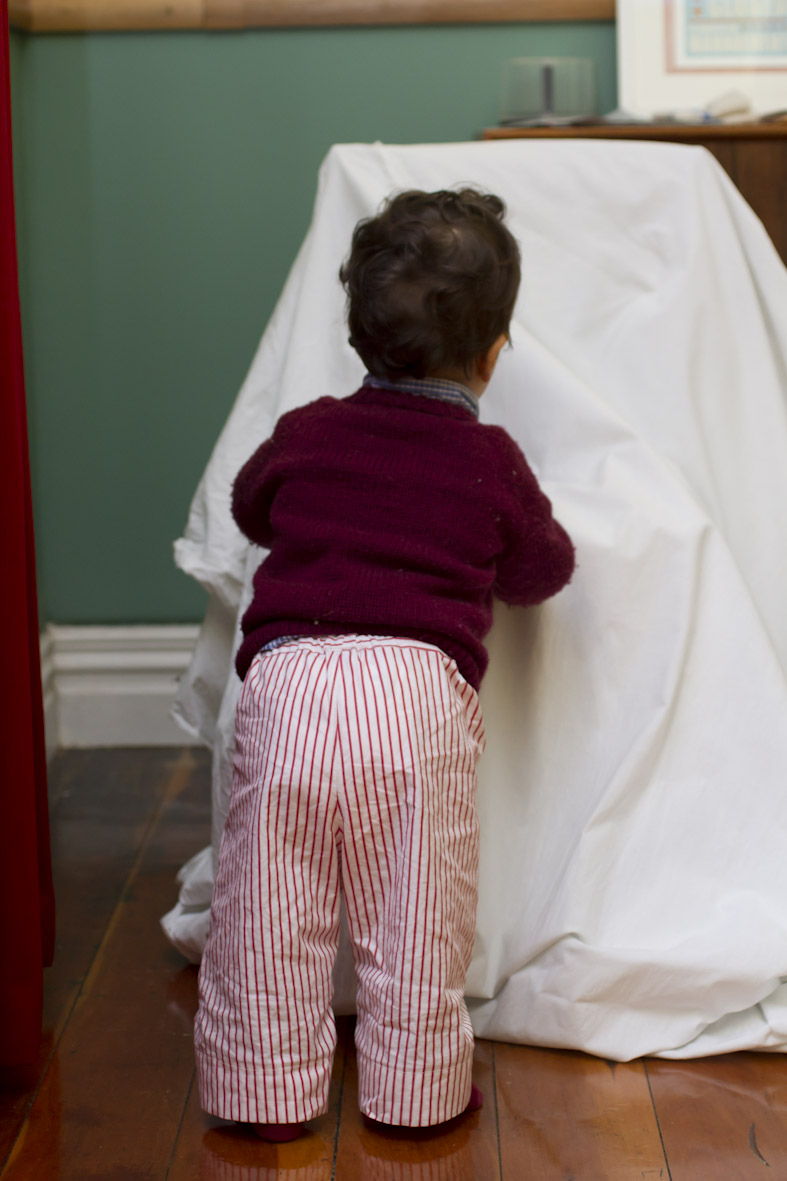
Fiz estas calças de pijama para o Rodrigo há três meses (já lhe estão curtas, mas isso é outra história). Depois de cosidas as costuras, limitei-me a cortar as margens com uma tesoura em zigzag. Ao fim de algumas (muitas) lavagens, estão feias. Muito feias. Irão aguentar-se mais uns meses, sem dúvida. Mas não me orgulho especialmente delas.
I sewed these pyjama bottoms for Rodrigo three months ago (they’re getting too short but that’s a whole other story). After stitching I simply pinked the seams. After some (many) washings they are looking ugly. Very ugly indeed. They’ll do the job for a few more months, no doubt. But I’m not especially proud of them.


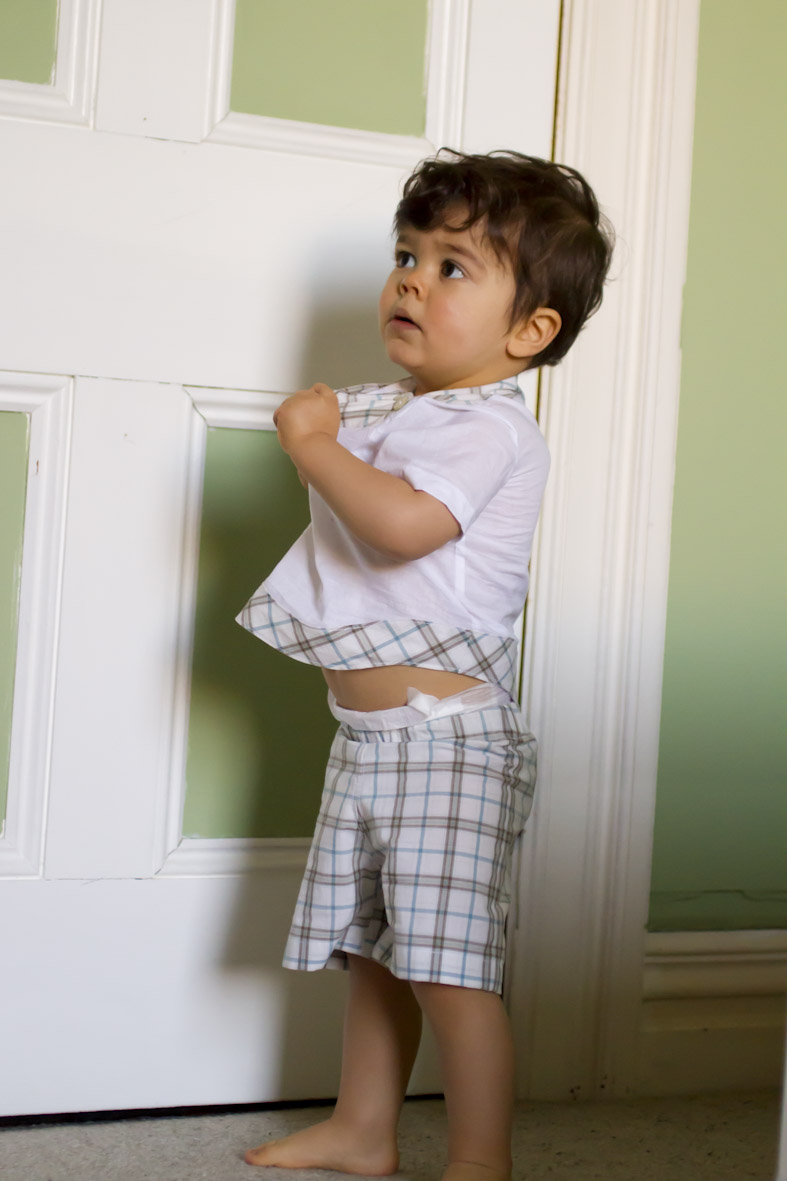
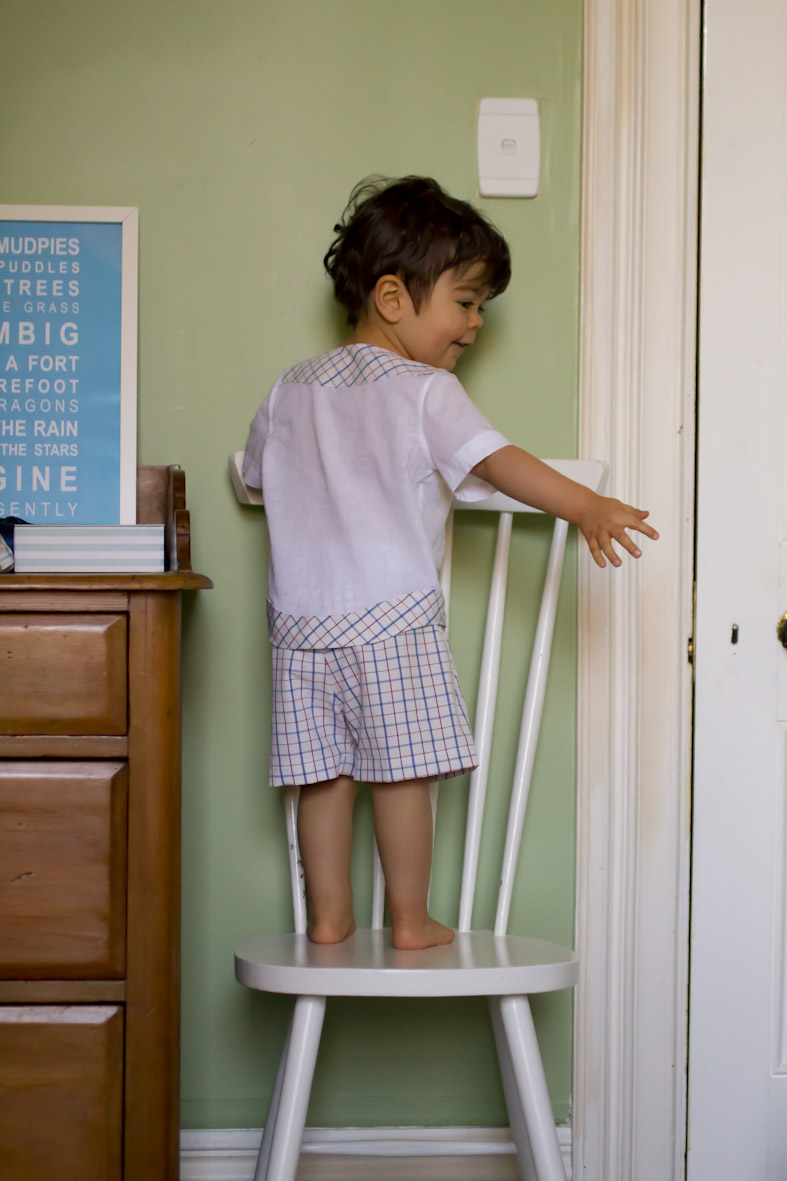
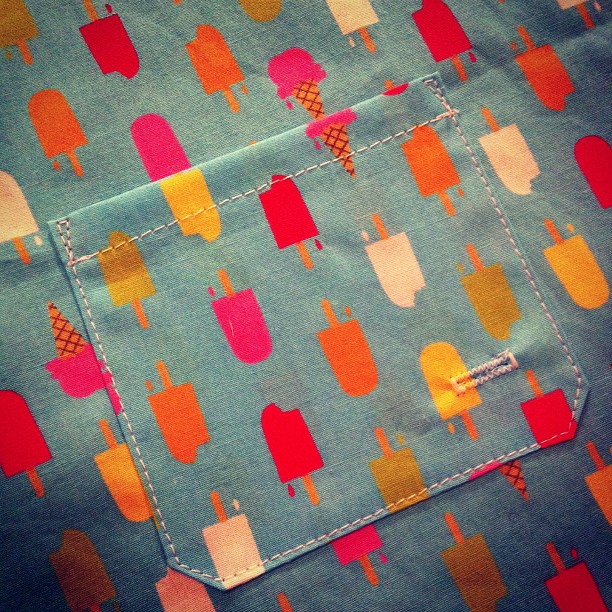
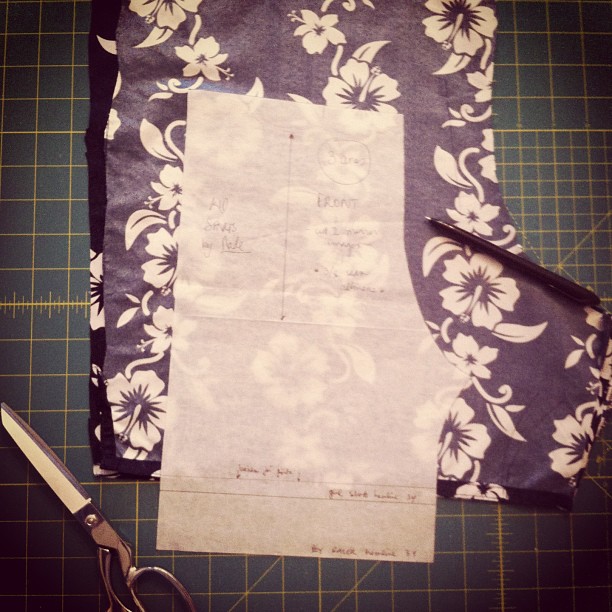
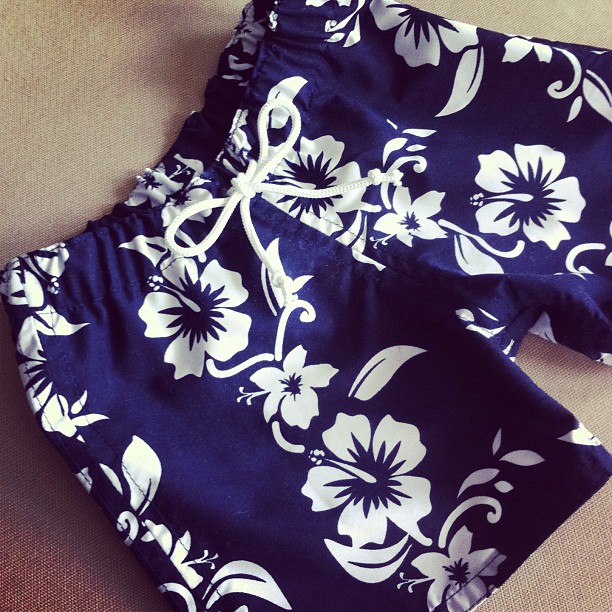
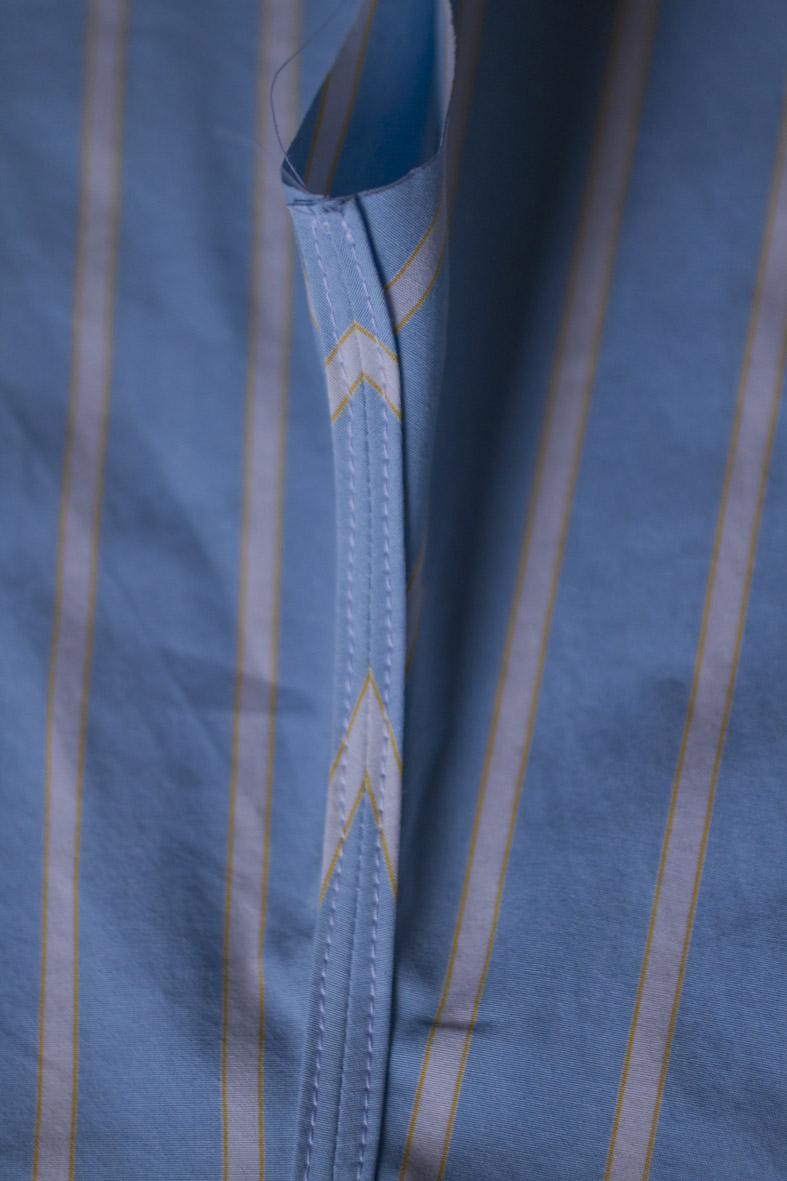
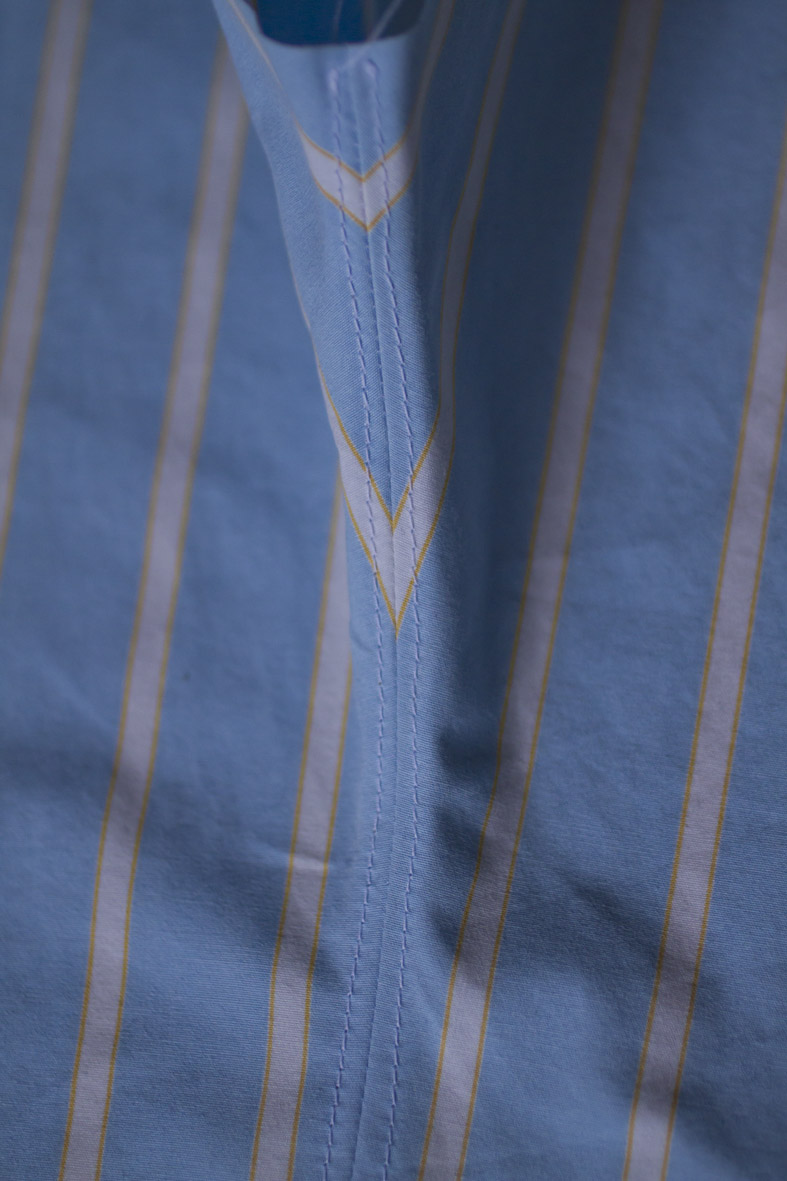
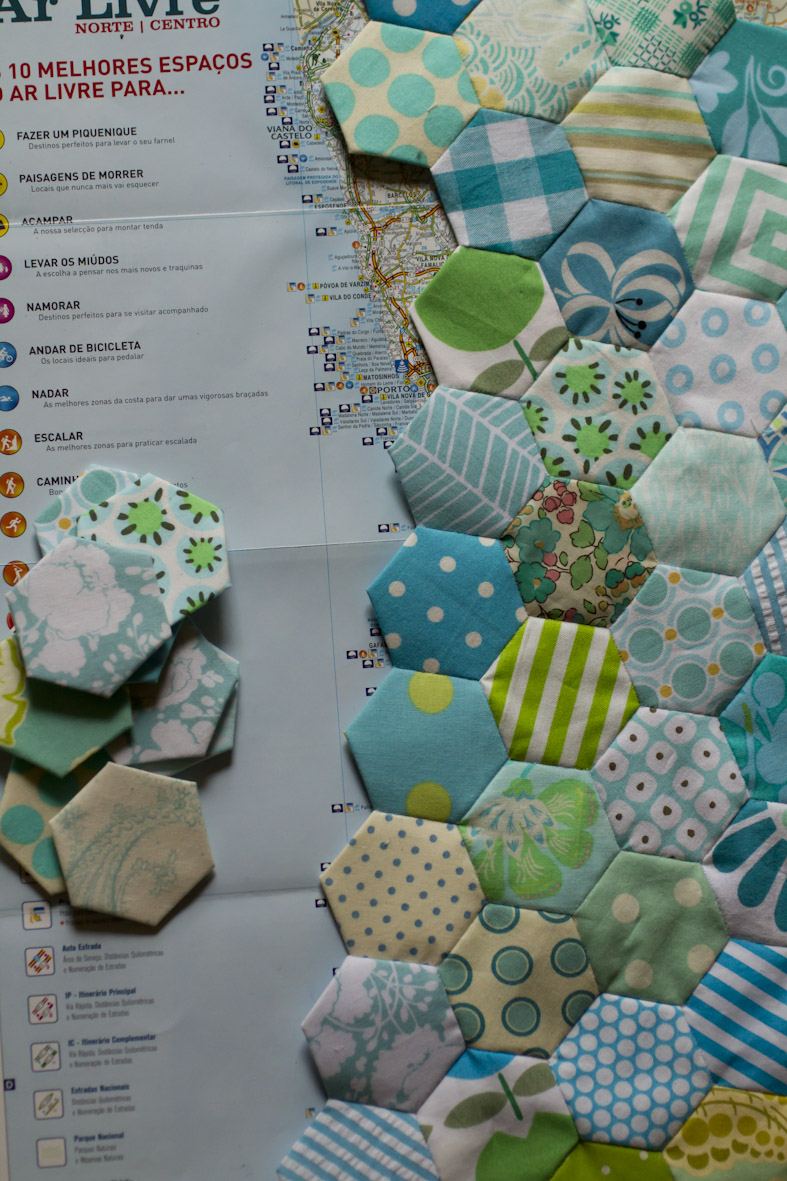
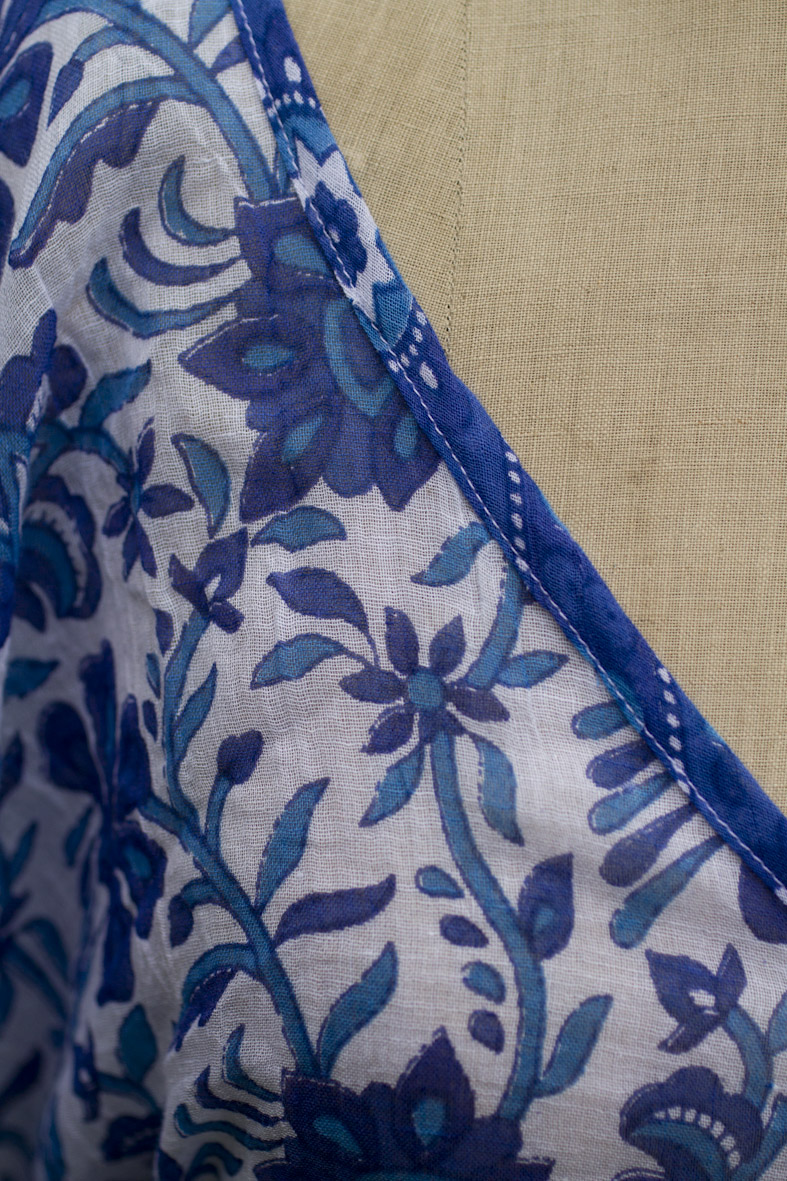
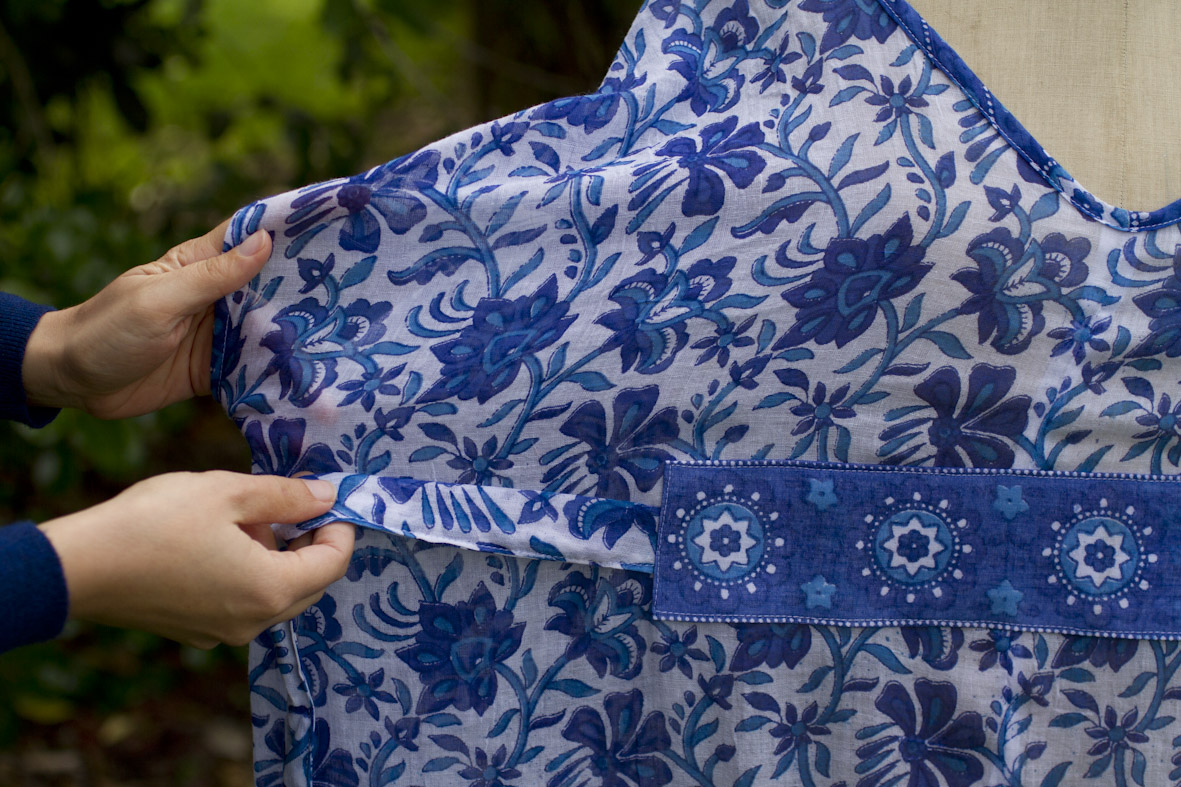
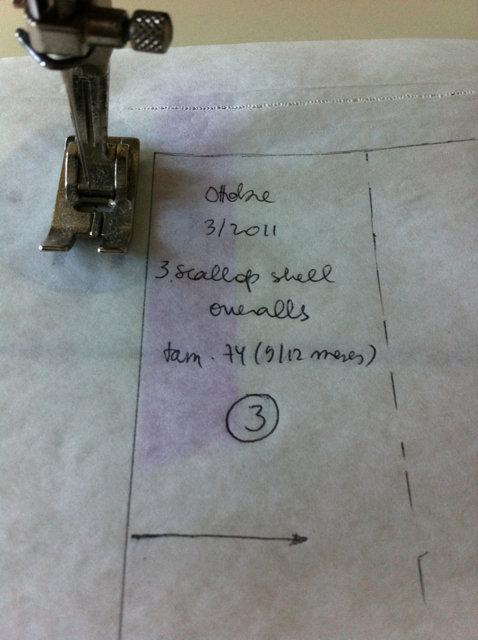
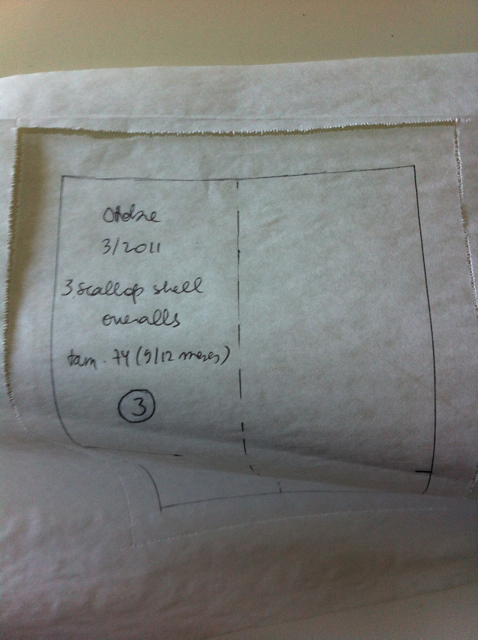
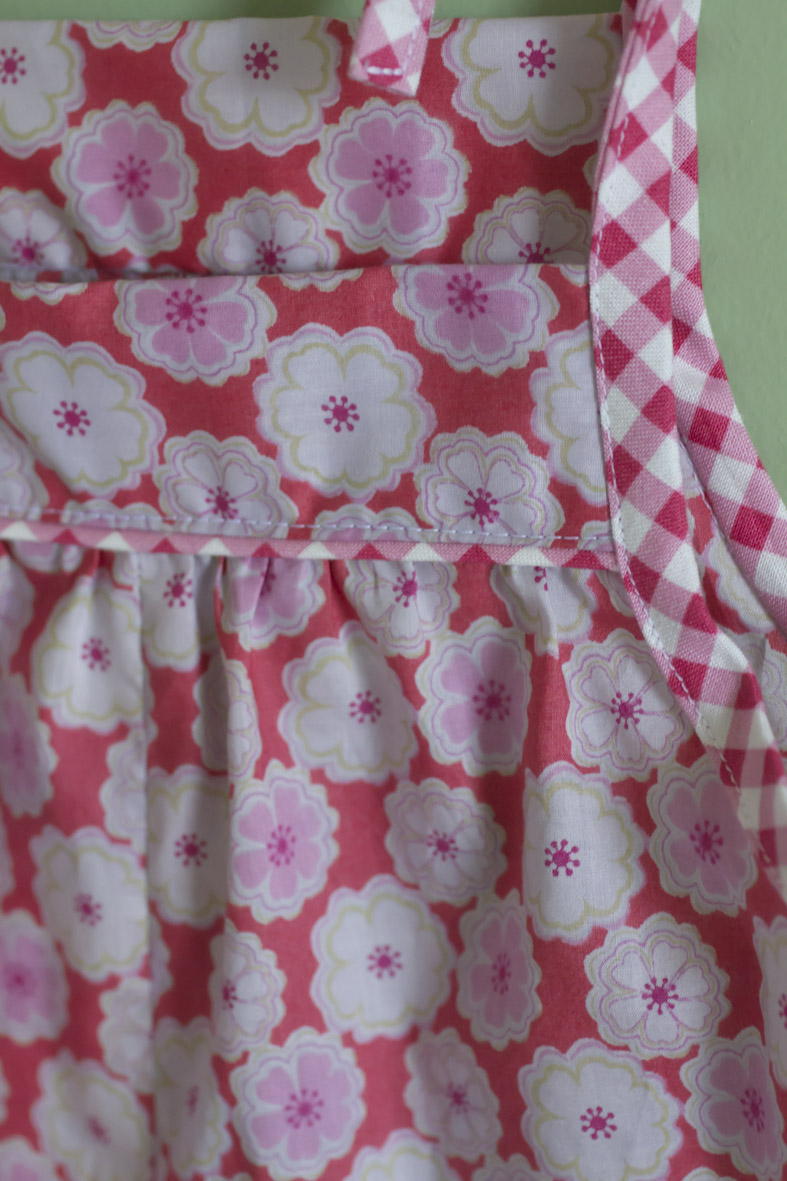
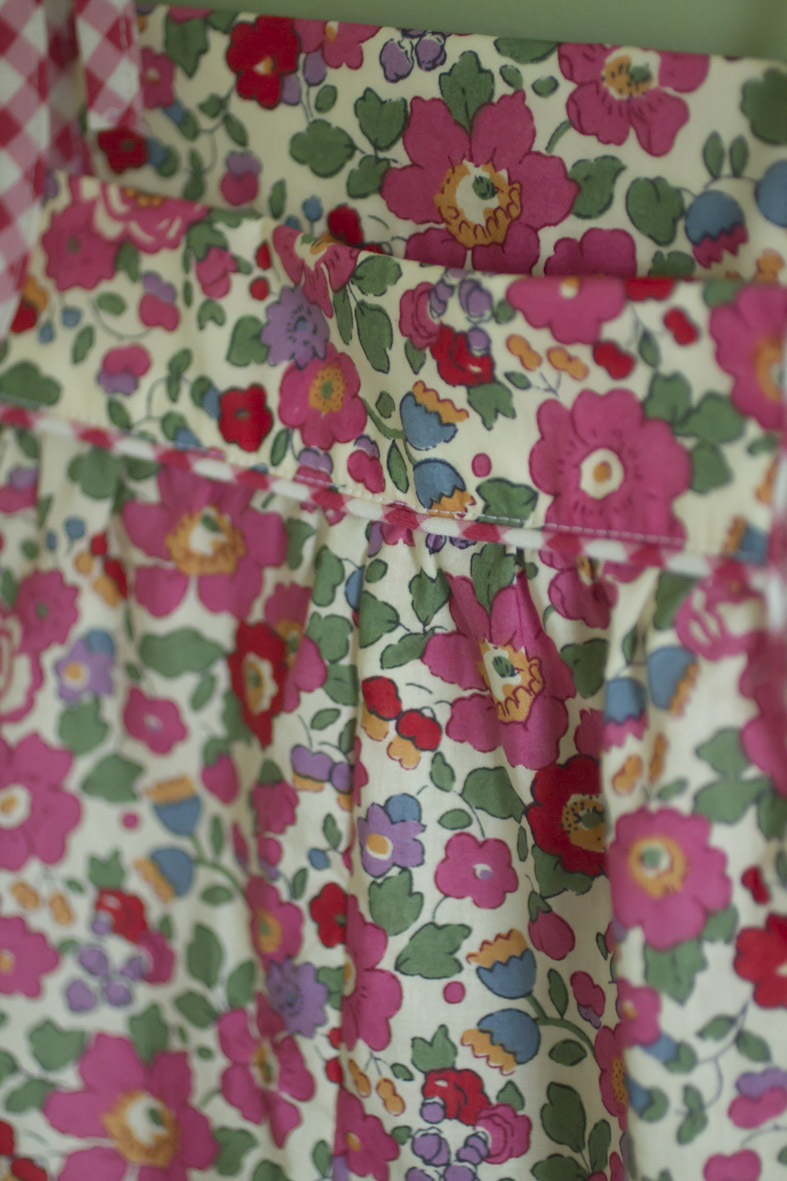
Agora vejam as costuras destes calções que estou a fazer (avesso na primeira imagem, direito na segunda). Têm melhor aspecto, não têm? Demoram o dobro do tempo mas ficam muito mais bonitas e resistentes. Cosi-as assim depois de ter lido
este post da Rae a respeito de super costuras.
Este post do blog Sew, Mama, Sew! também é bom. Não mais cortarei ou chulearei as costuras!
Now just take a look at these shorts I’m making (wrong side in the first picture, right side in the second one). They look much better, don’t they? They take much longer but turn out much more pleasing and strong. I sewed them like this after reading Rae’s post on super seams. This post on Sew, Mama, Sew is also quite informative. I vow not to pink or zigzag my seams ever again!


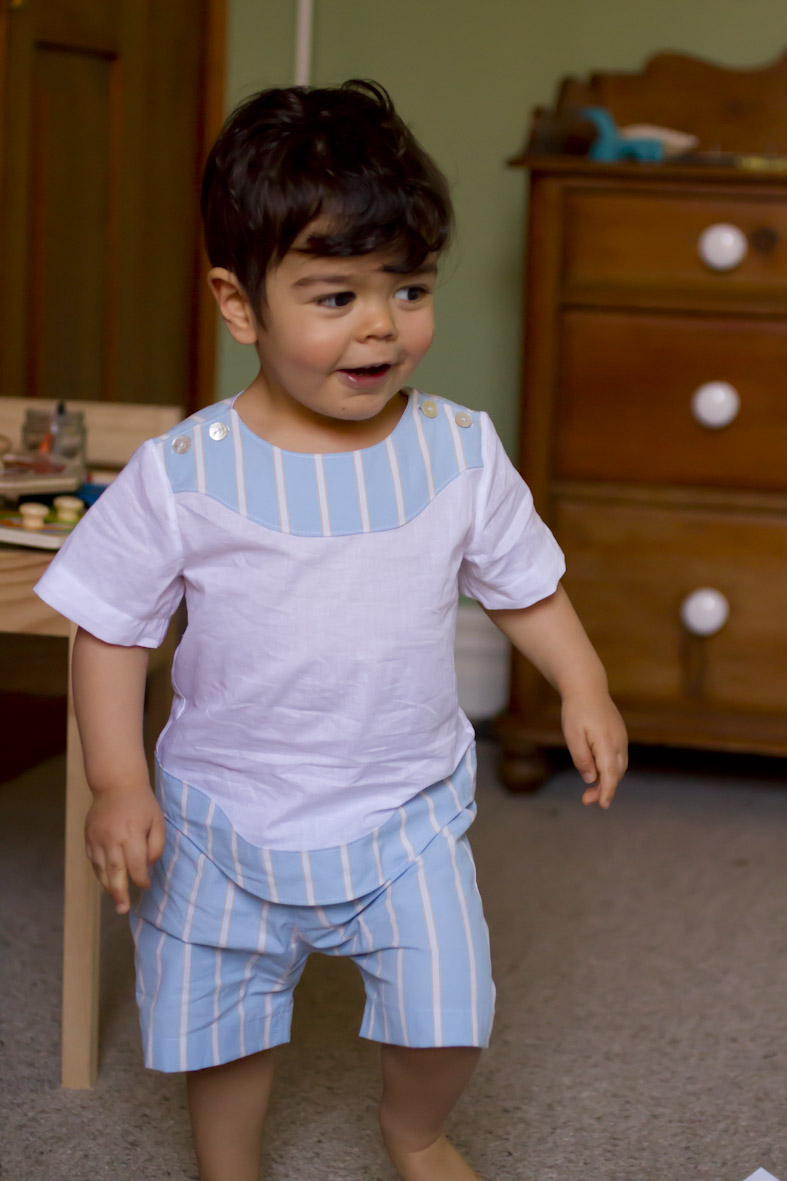
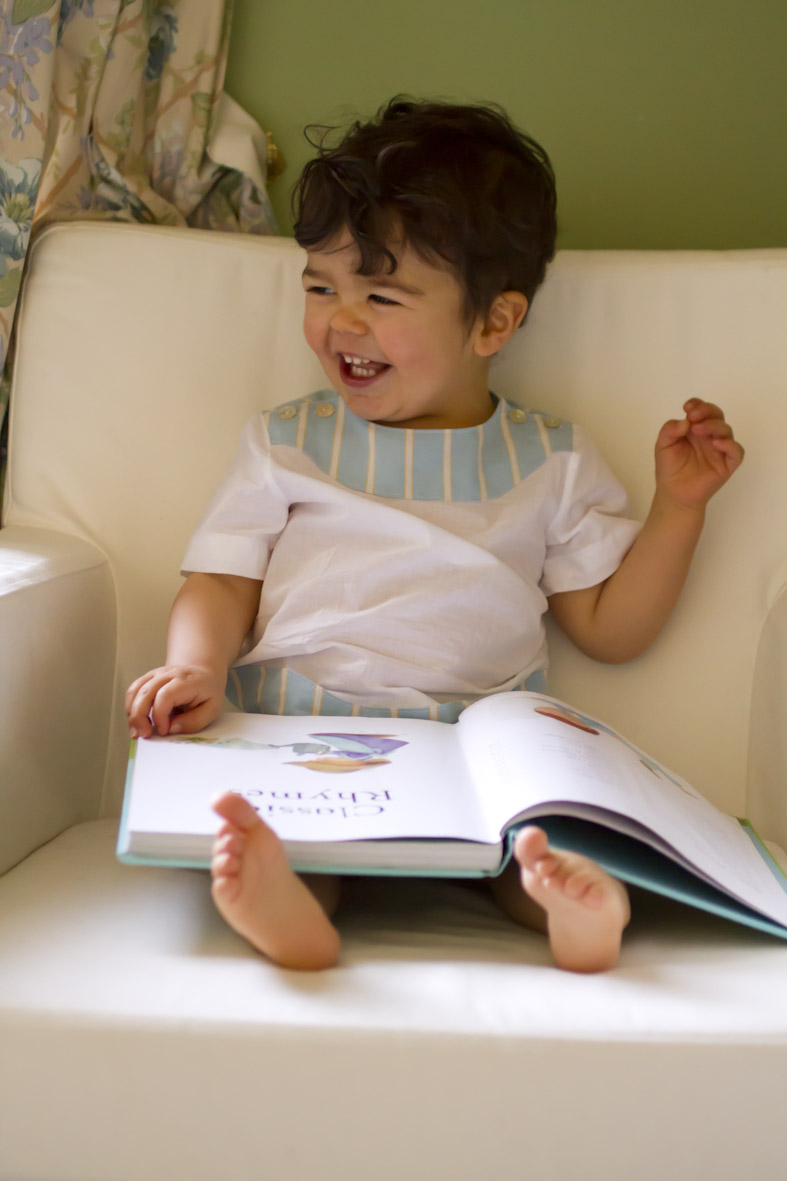
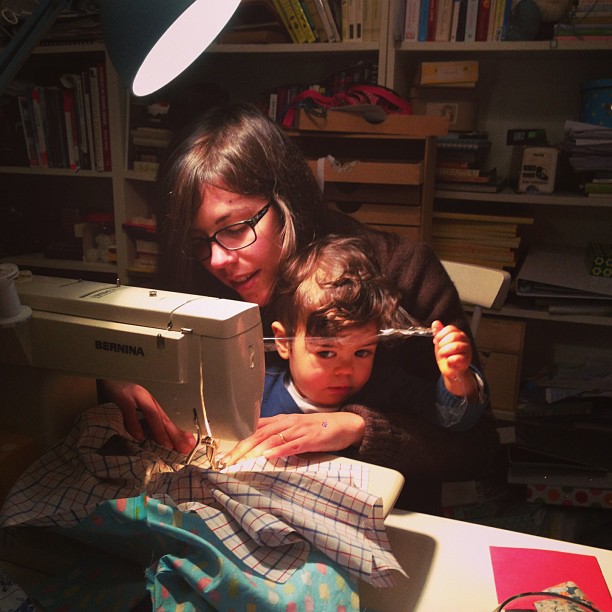
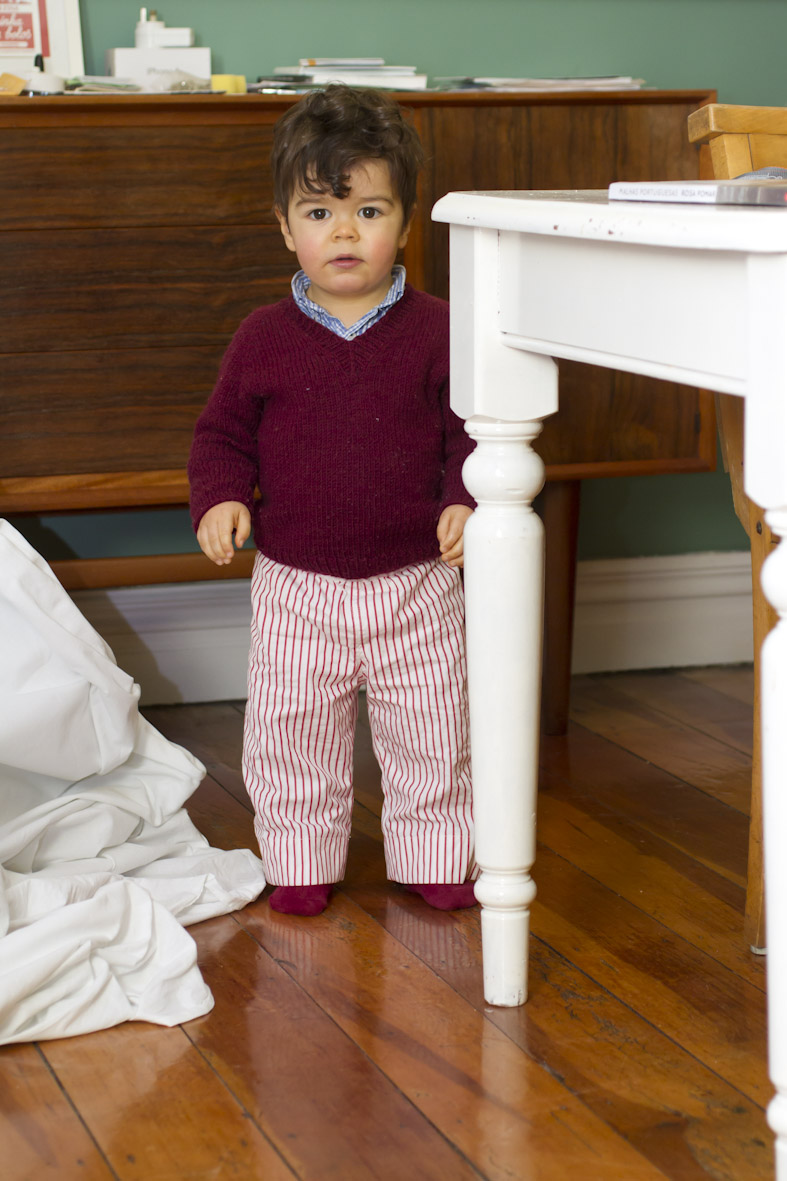
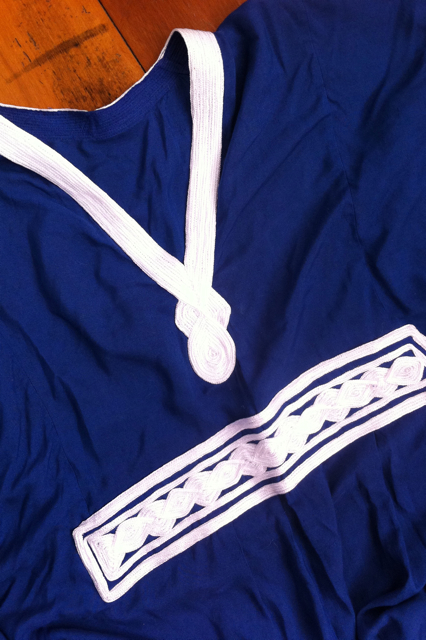
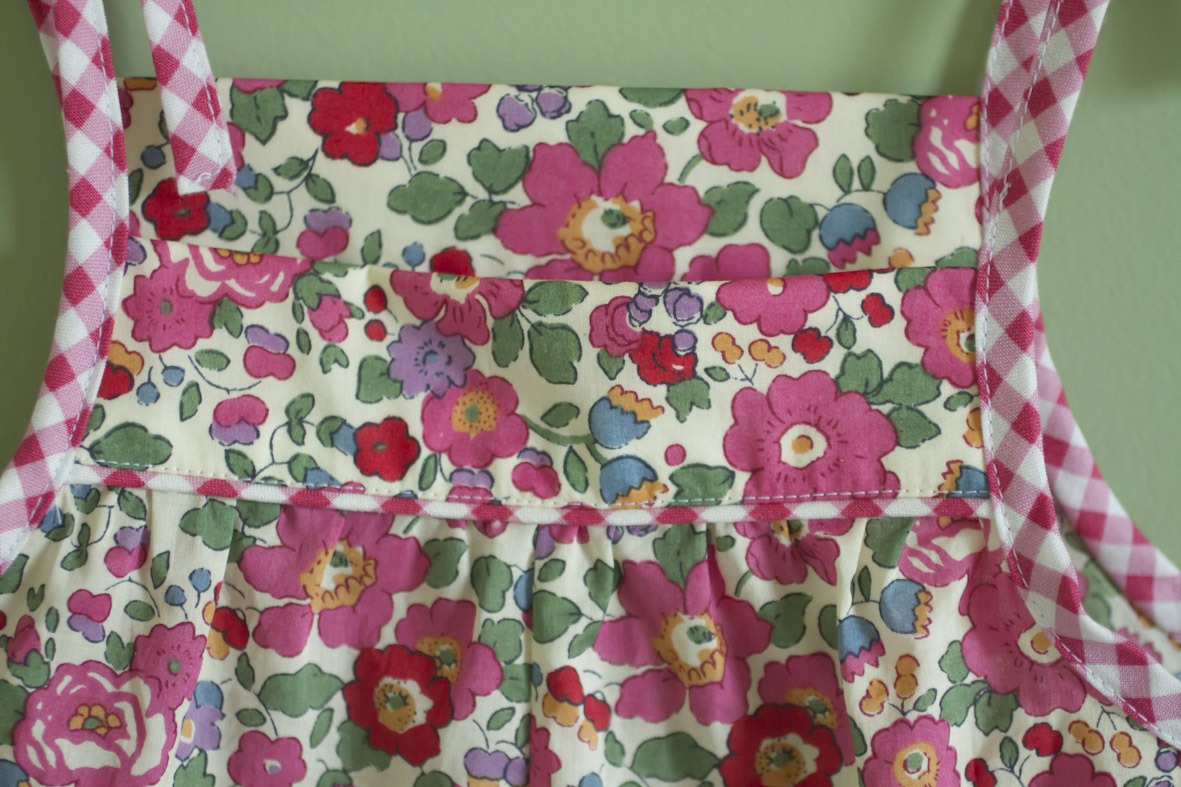
Estas calças de pijama também já foram feitas com super costuras: costuras inglesas nas pernas e costuras dobradas e pespontadas nos restantes sítios. Já agora, o molde que usei foi o
Bedtime Story Pajamas da linha Oliver + S (tamanho 3 anos com mega bainhas).
Vou mantendo-vos a par dos meus progressos, combinado?
These pj trousers have also been sewed with super seams: I did French seams on the legs and folded and stitched down all the remaining seams. By the way, the pattern I used was the Bedtime Story Pajamas by Oliver + S (size 3 with huge hems).
I’ll keep you posted on my progress, OK?
(photo: © Constança Cabral)