Capa de Édredon de Casal :: King Size Duvet Cover


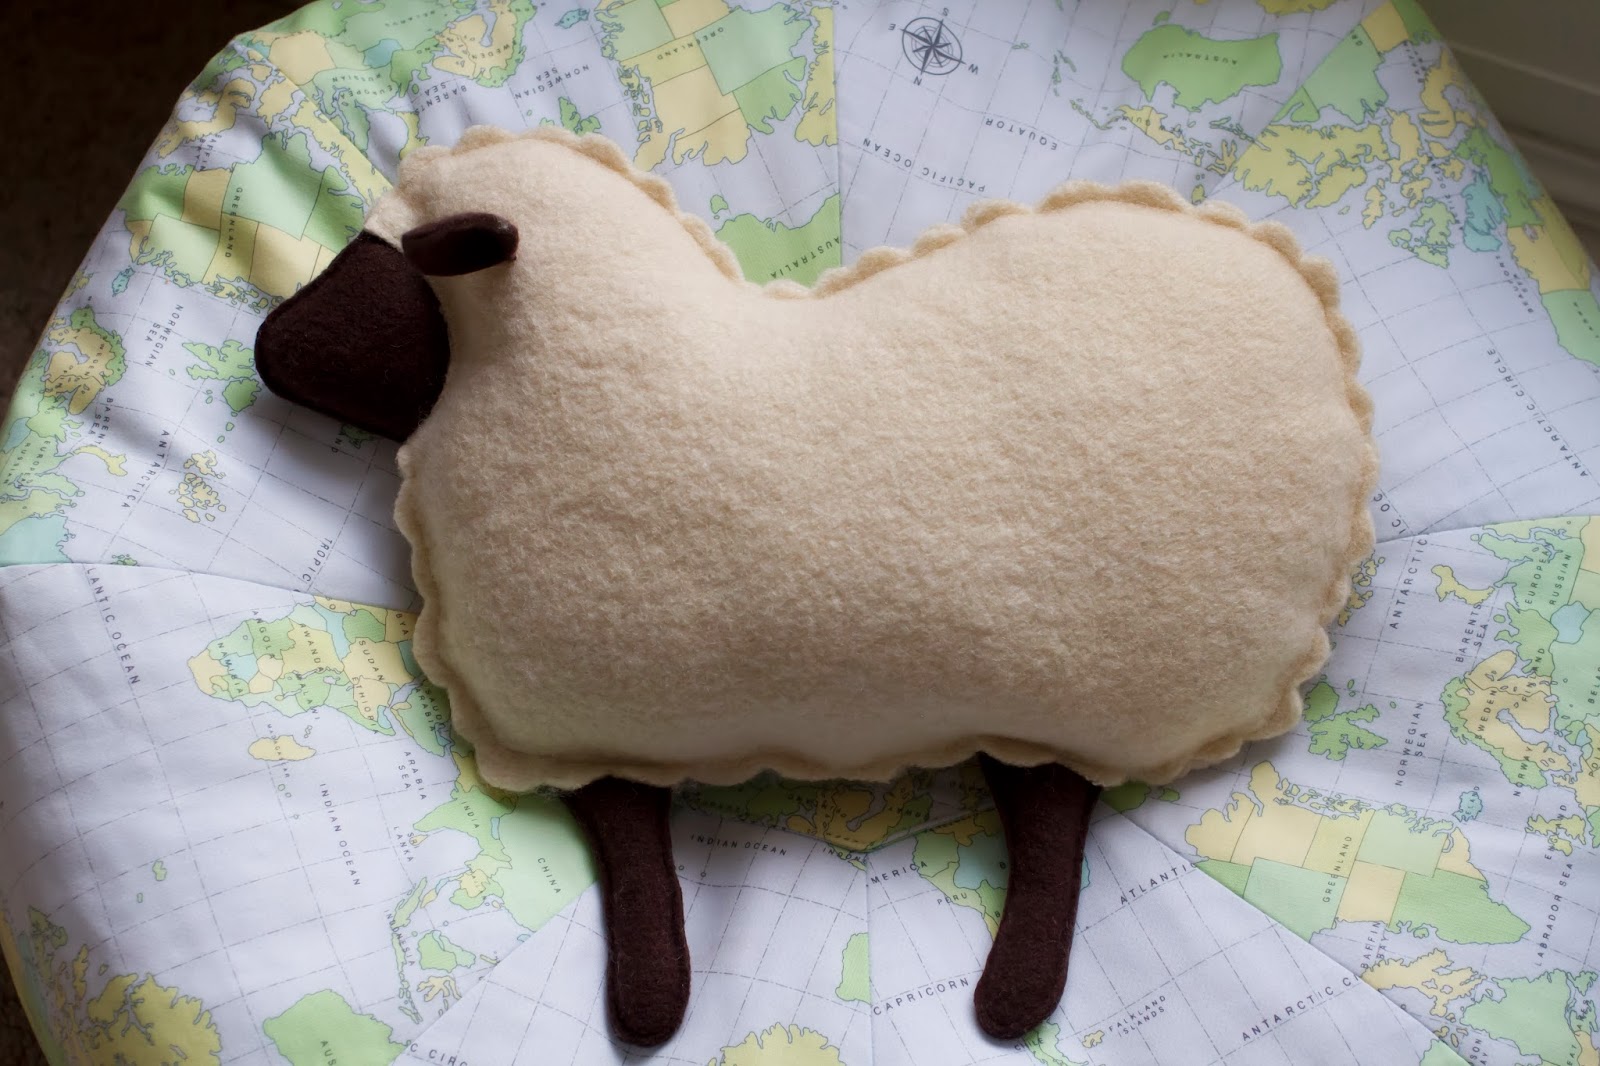
Nós também tivemos direito a capa de édredon nova. Comprei recentemente um édredon novo para a nossa cama e, como as medidas de cá são diferentes das europeias, tive de comprar um tamanho ligeiramente maior (o que até foi bom). A única desvantagem foi que as capas que tinha cá em casa deixaram de servir…

Esta capa foi feita de uma maneira muito simples: comprei dois lençóis de casal, apliquei um entremeio num deles (usei este entremeio para fazer um lençol para o Rodrigo há quase dois anos, lembram-se?), depois cosi-os, direito com direito, em cima e dos lados (a parte de baixo ficou aberta), virei do direito e engomei.

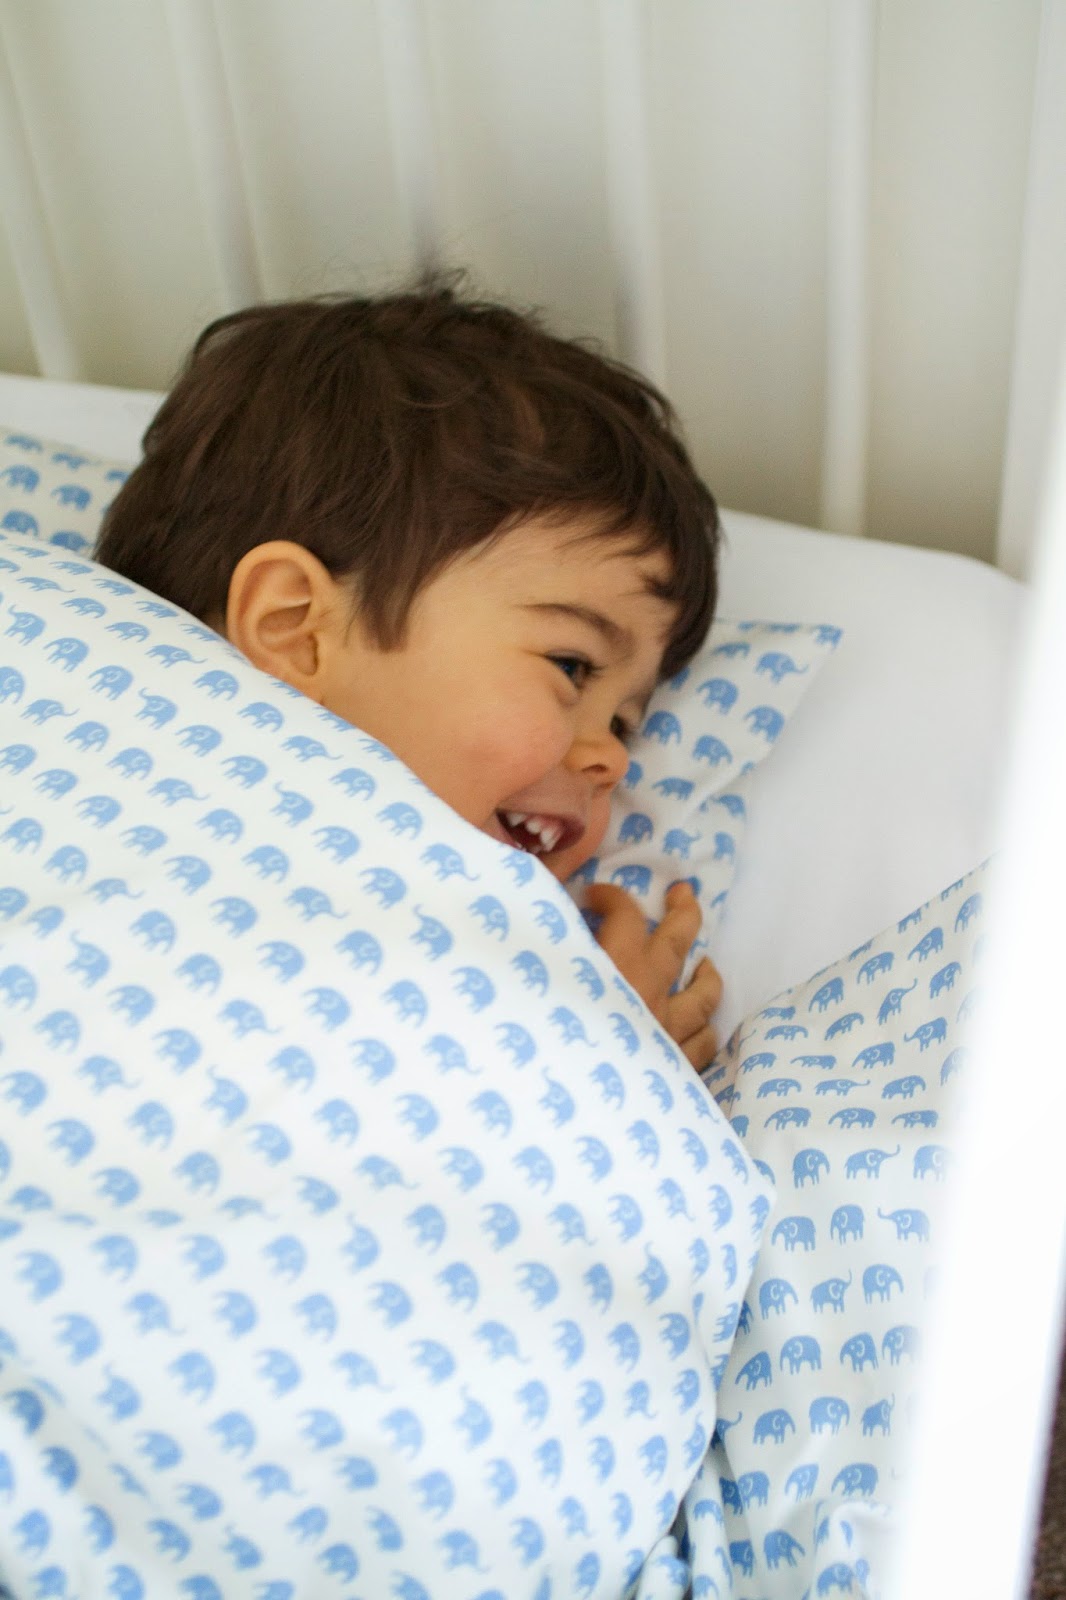
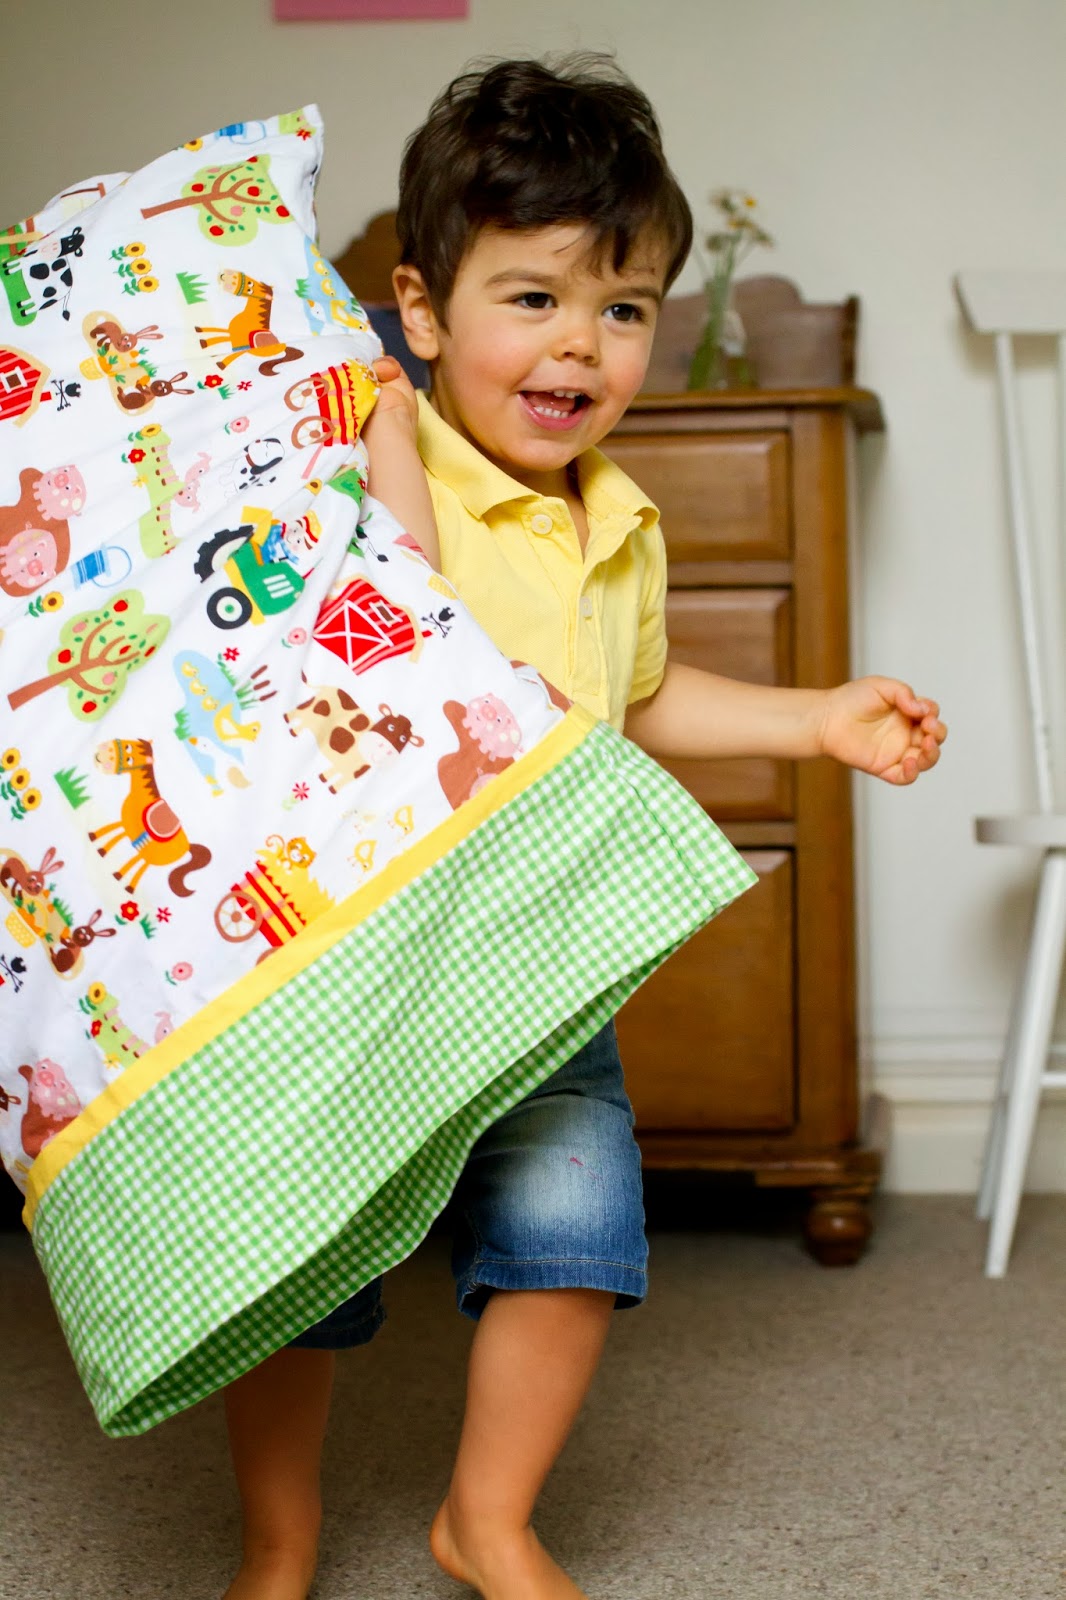
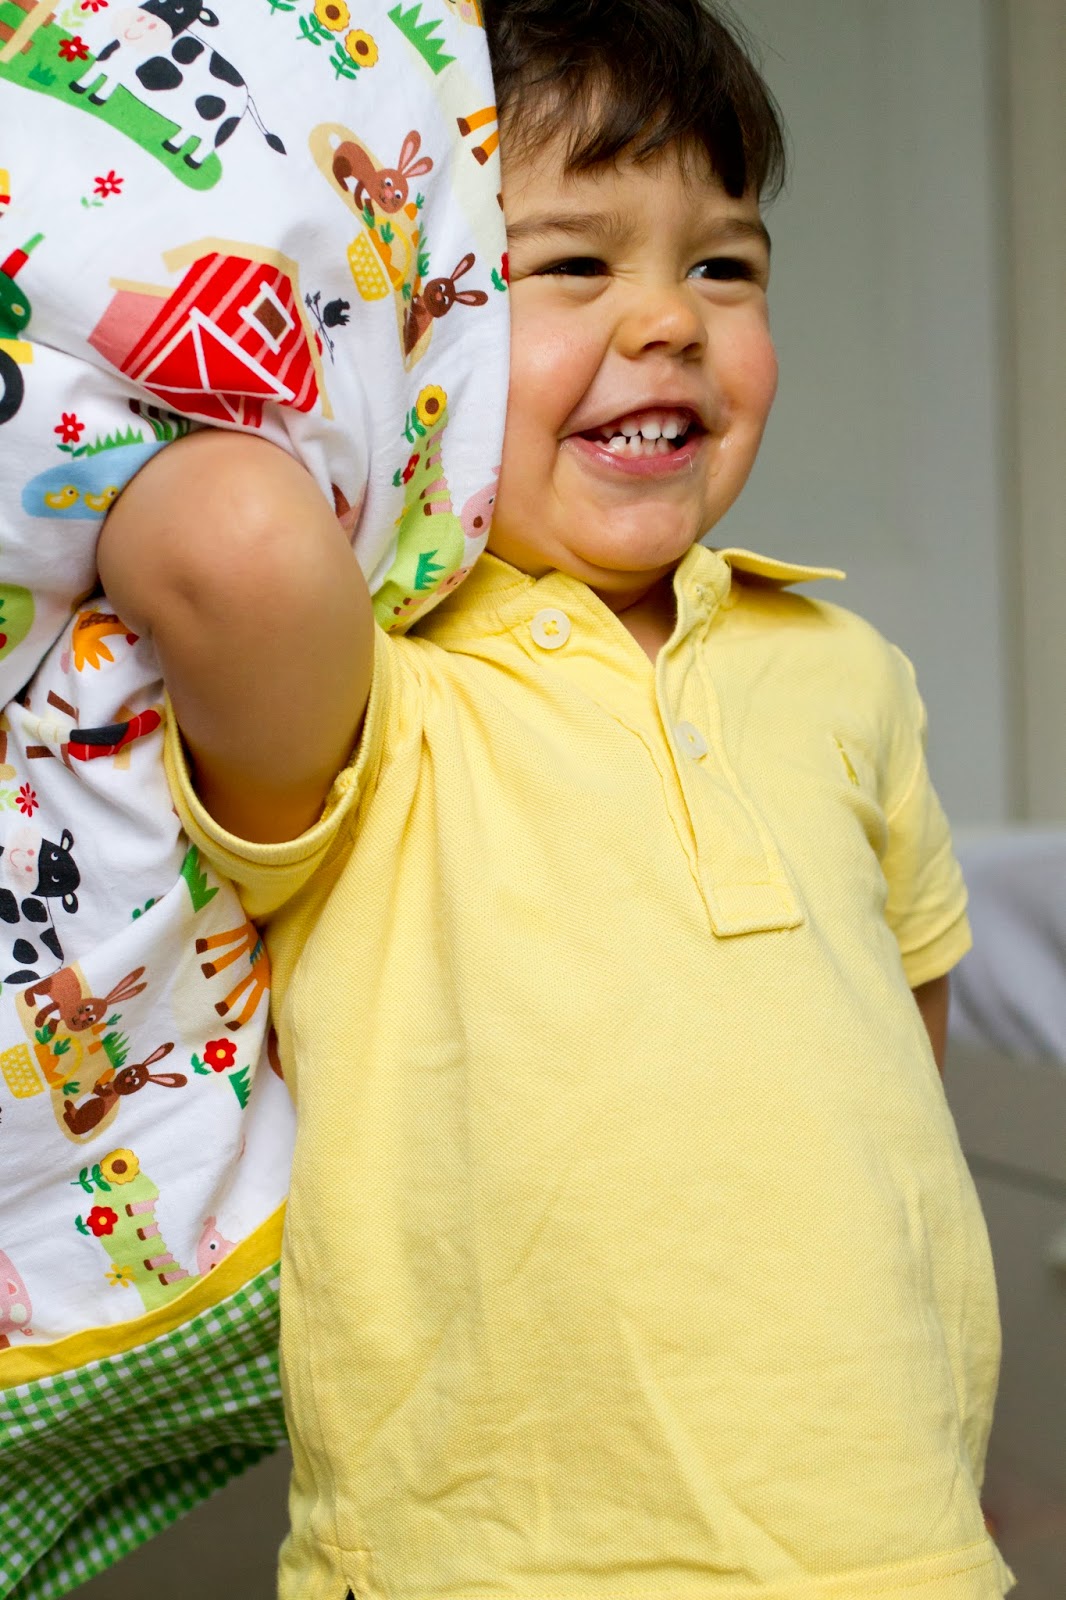
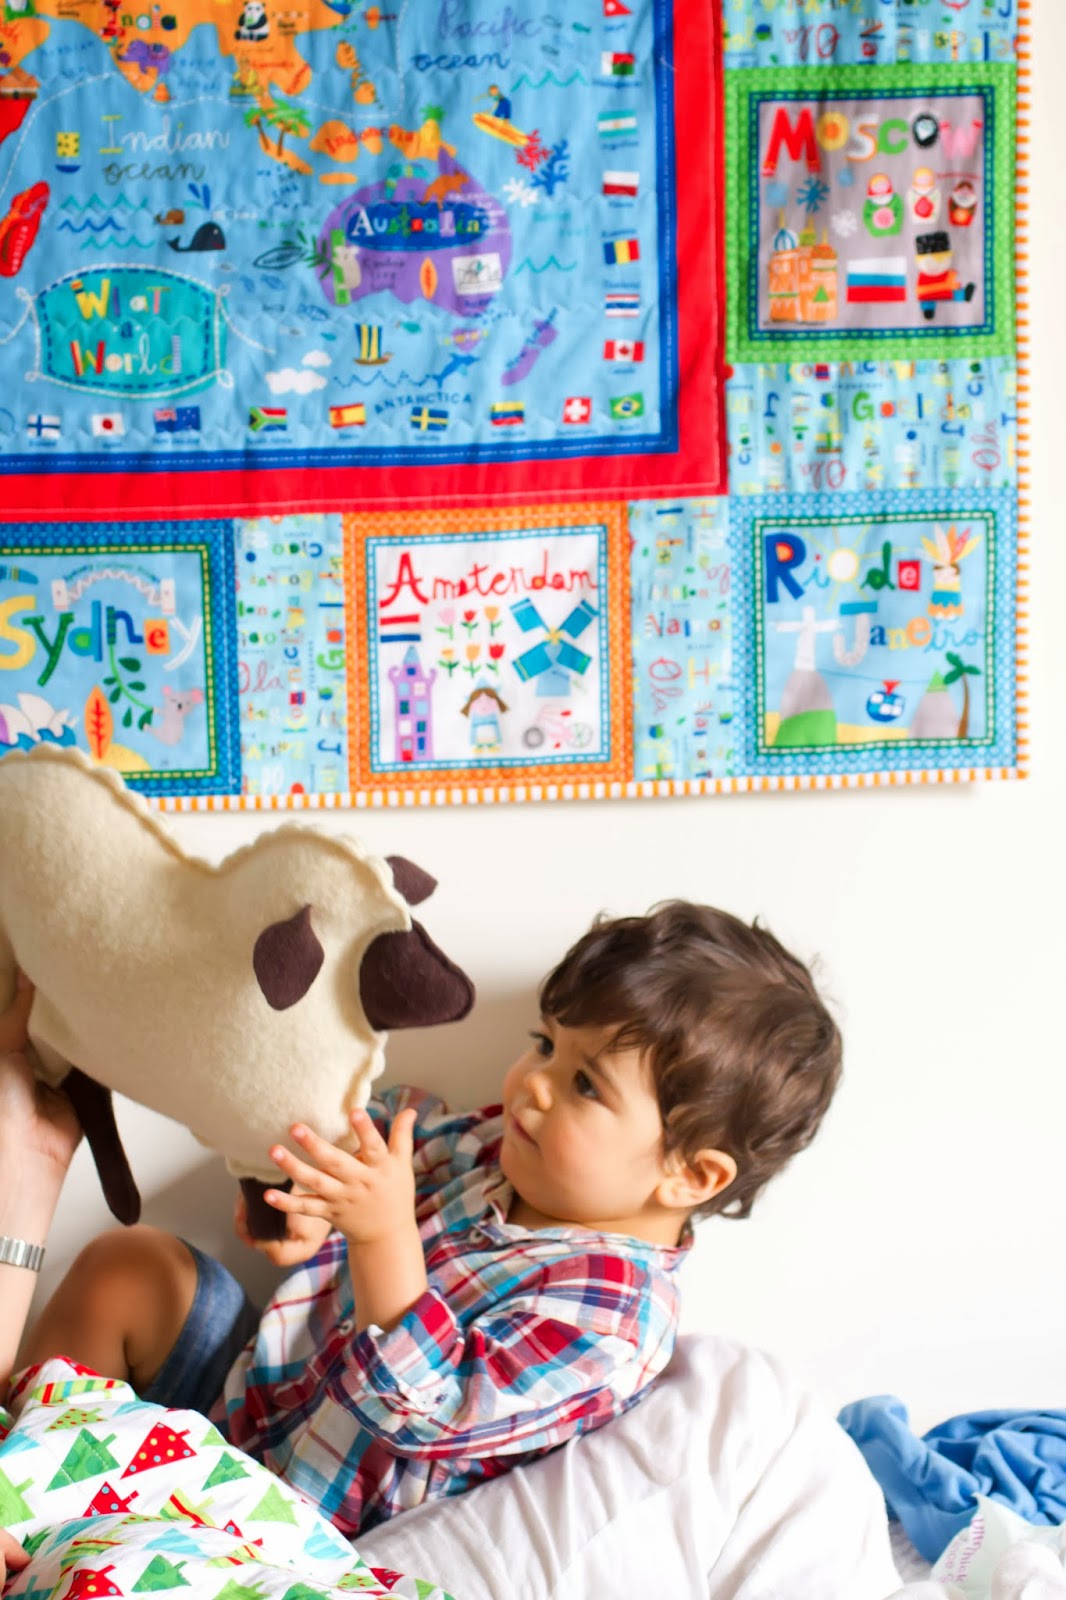
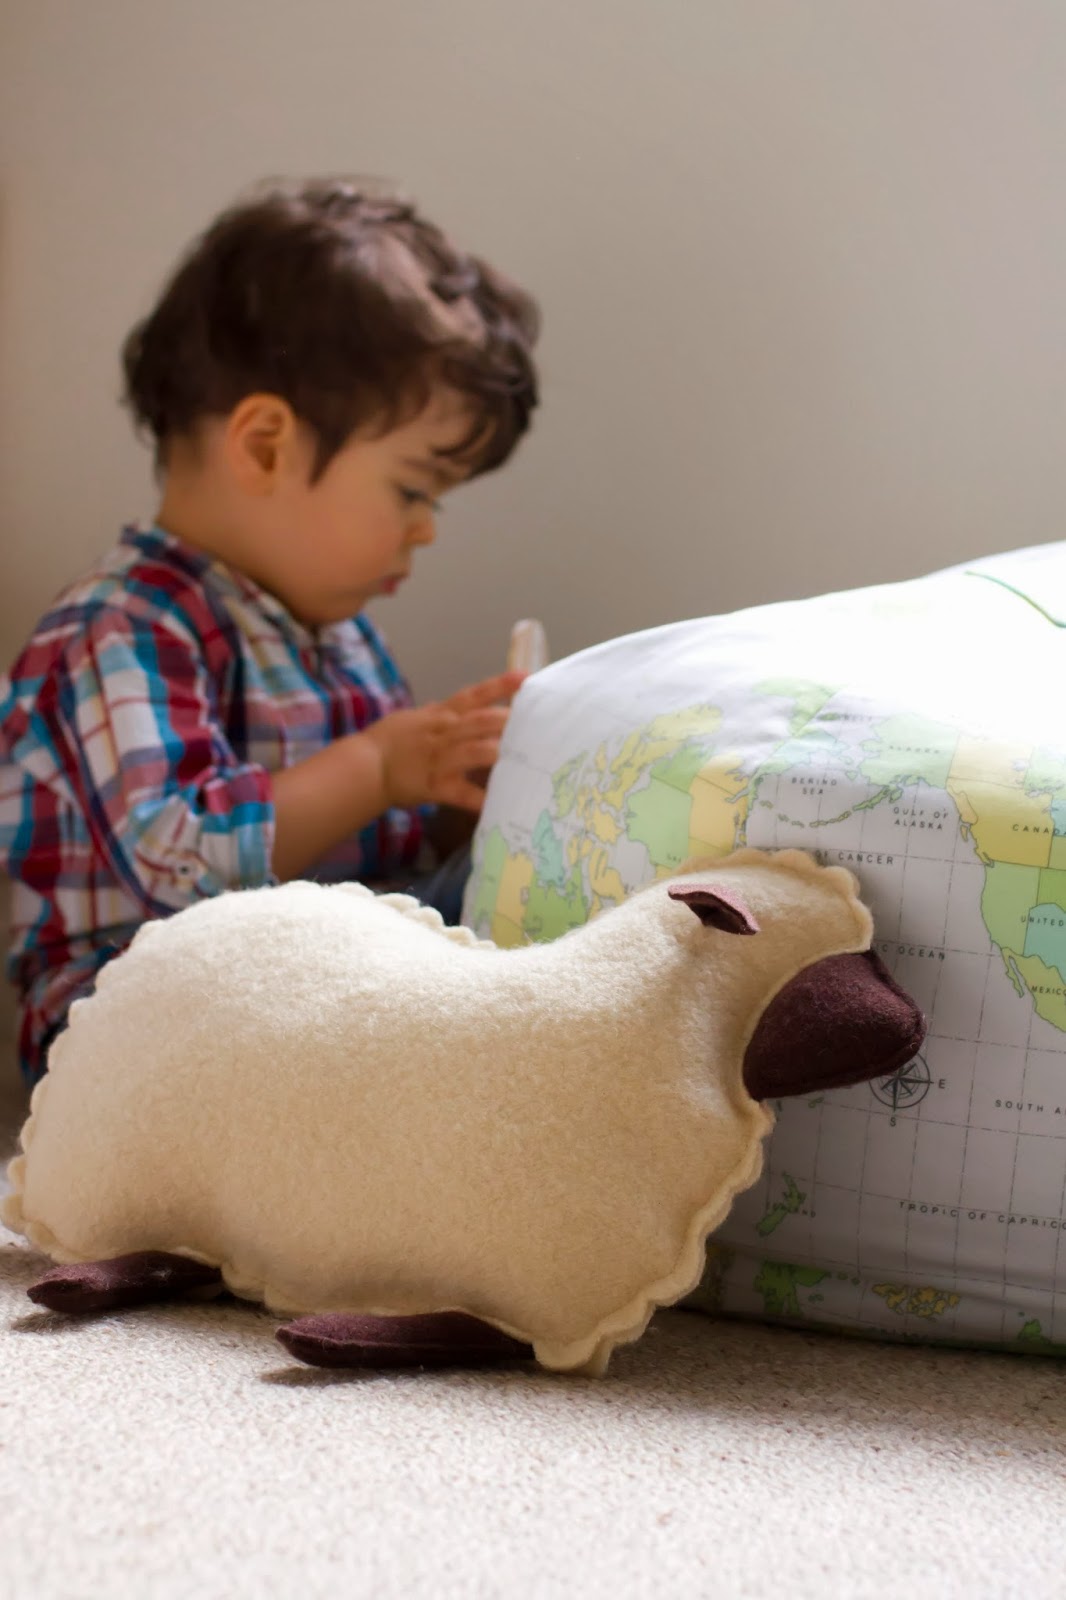
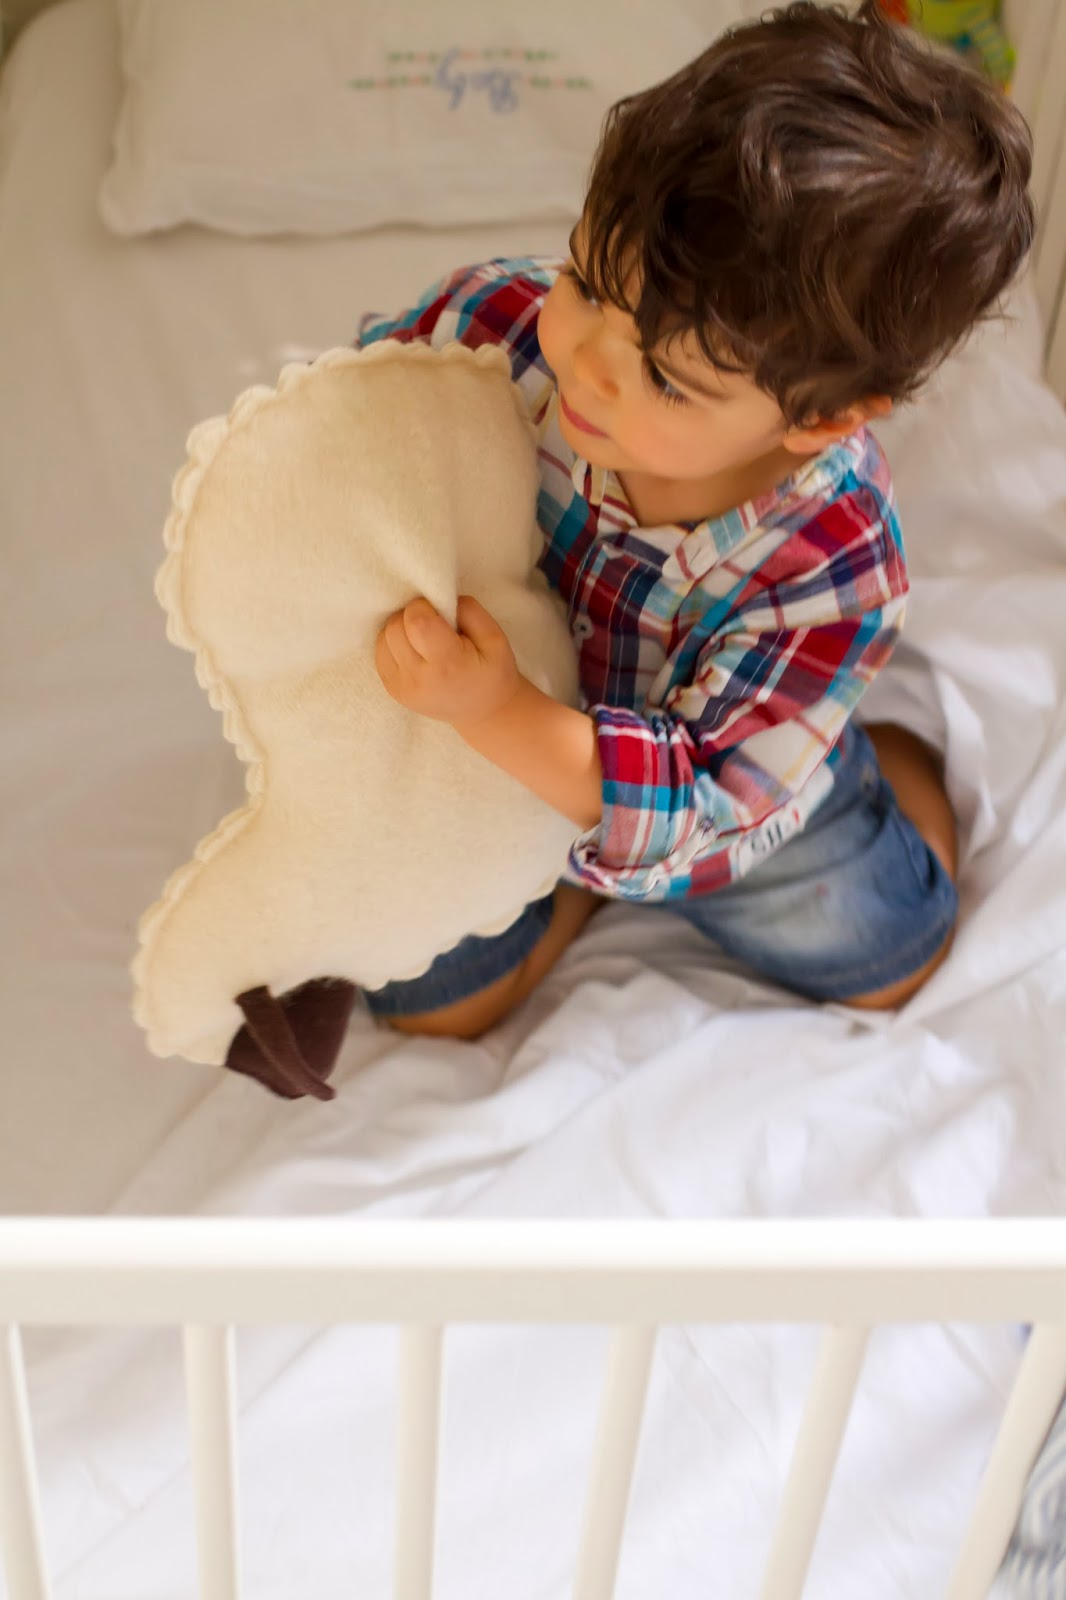
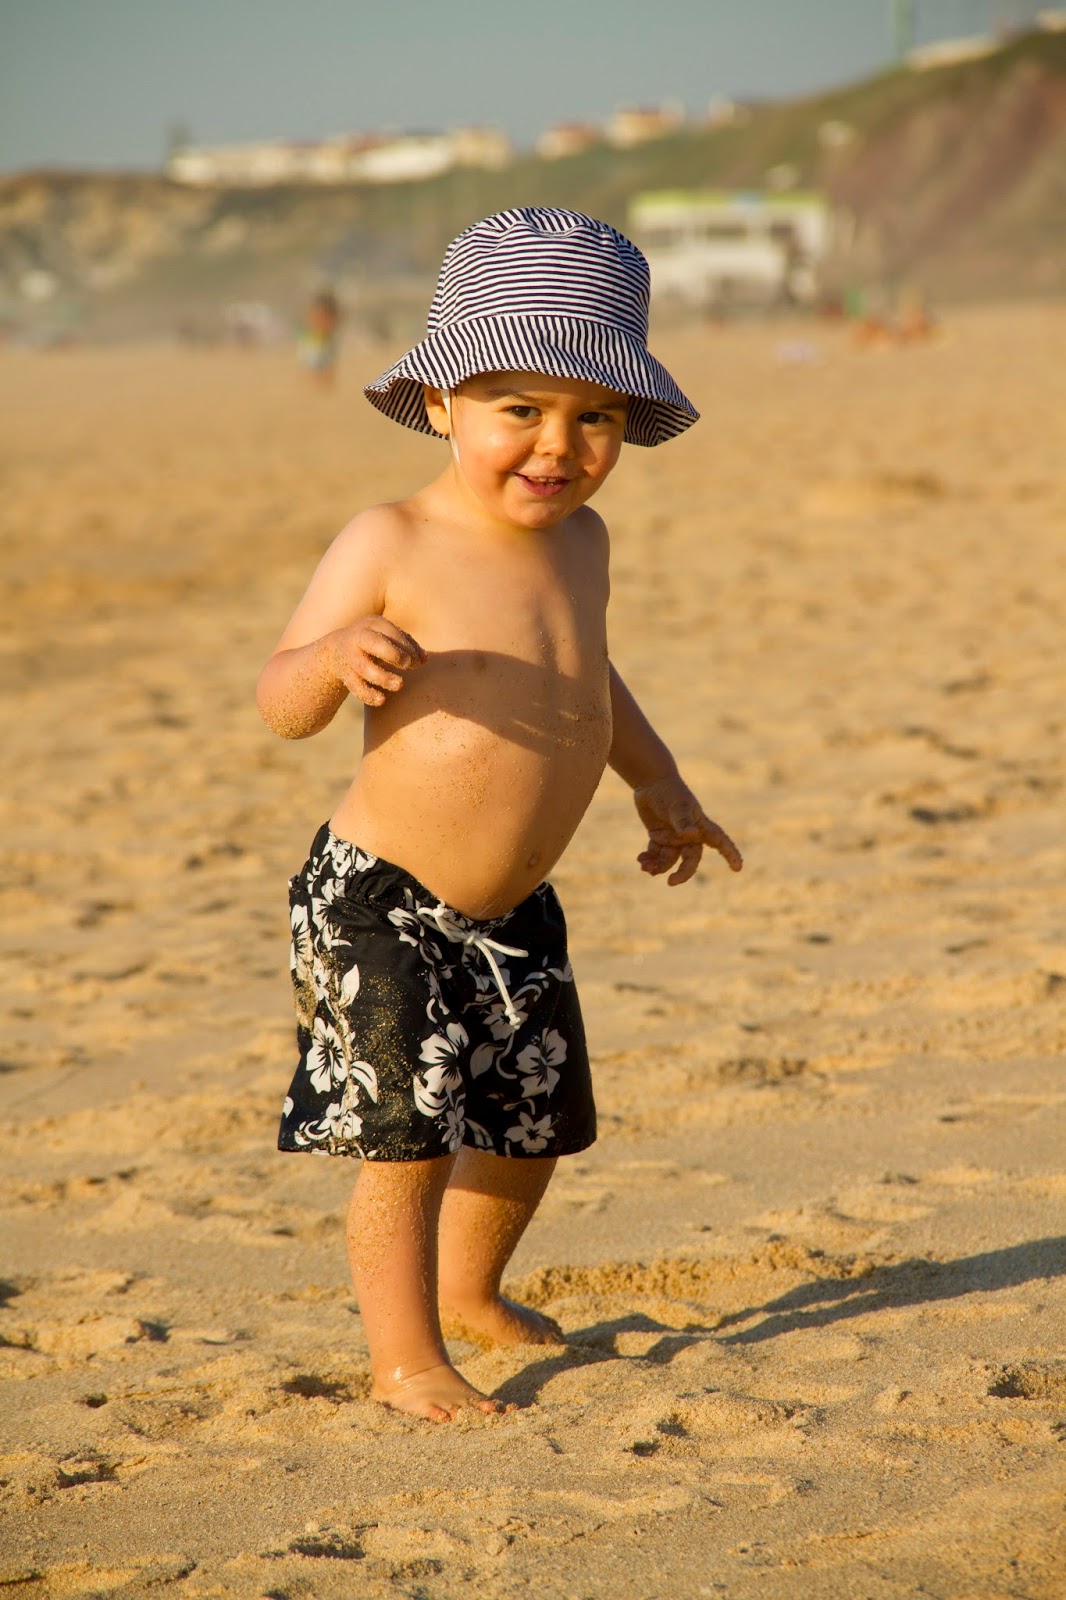
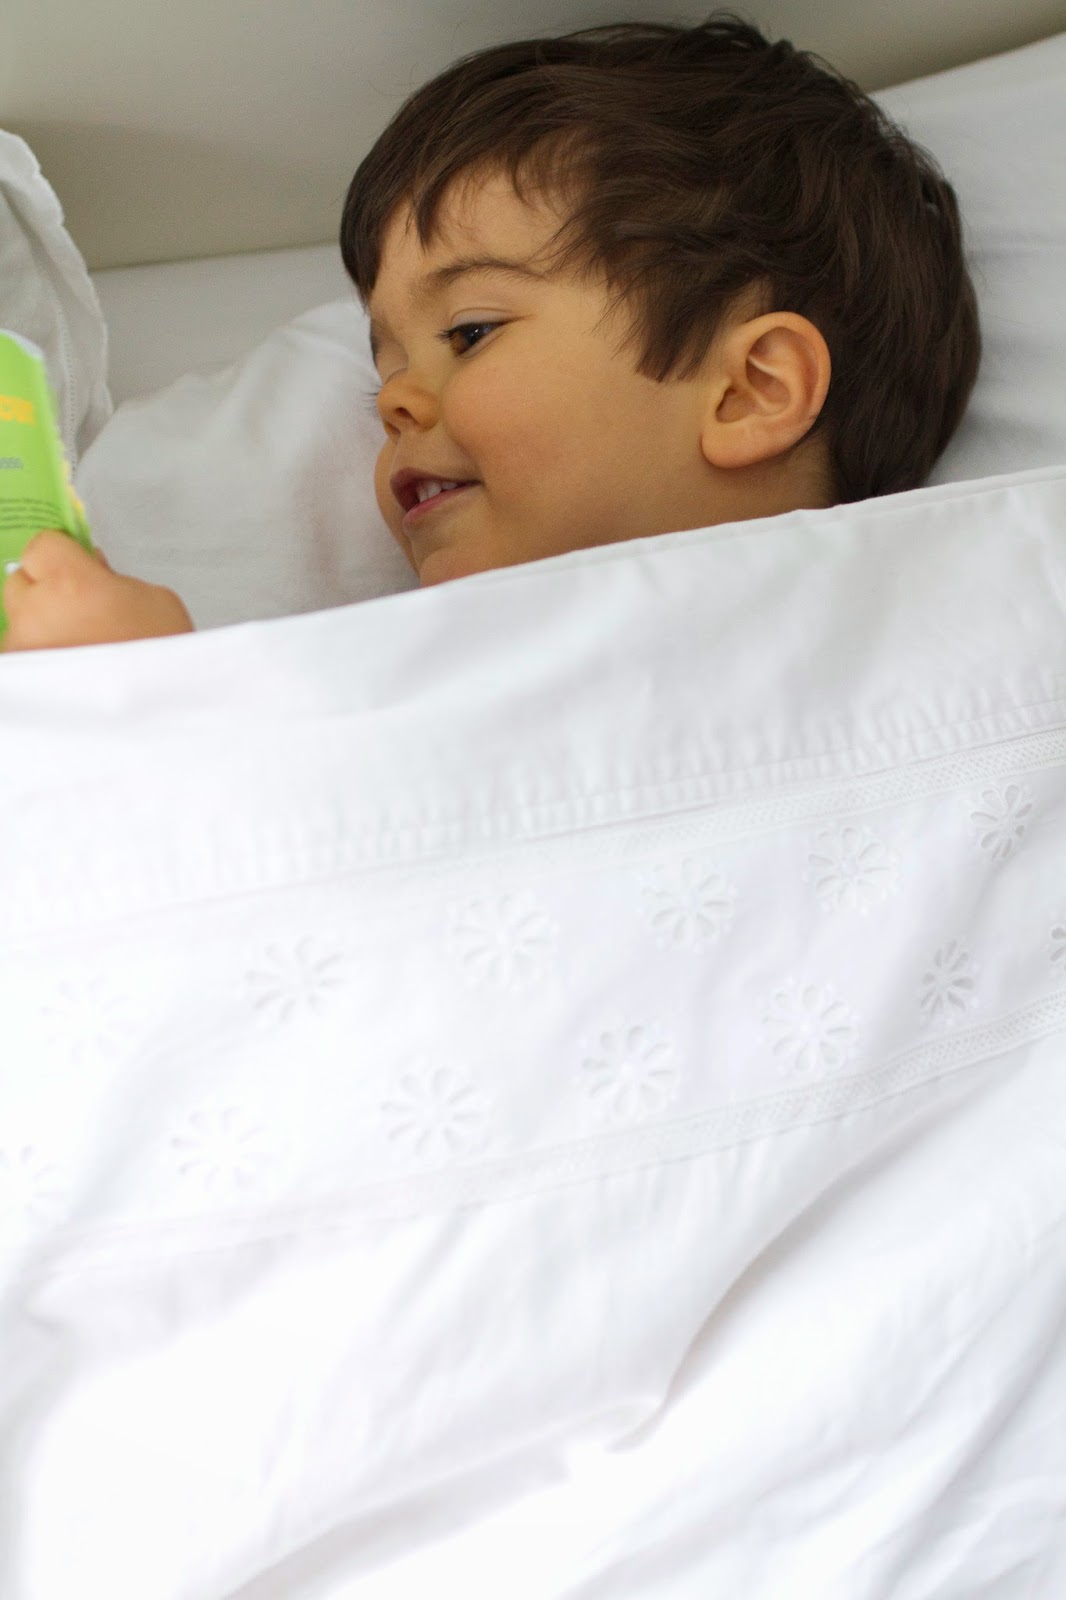
É quase impossível tirar fotografias em que o Rodrigo não apareça… andar atrás dos pais e saltar em cima da cama é bem mais giro do que ficar a brincar no quarto.

PS. Mais duas capas de édredon aqui.


We too got a new duvet cover for our bed. I’ve recently bought a new duvet but since bedding sizes here are different from the ones in Europe, I had to go for a slightly bigger duvet than the one we had (which was actually a positive thing). The only disadvantage is that the duvet covers I already own no longer fit…
 

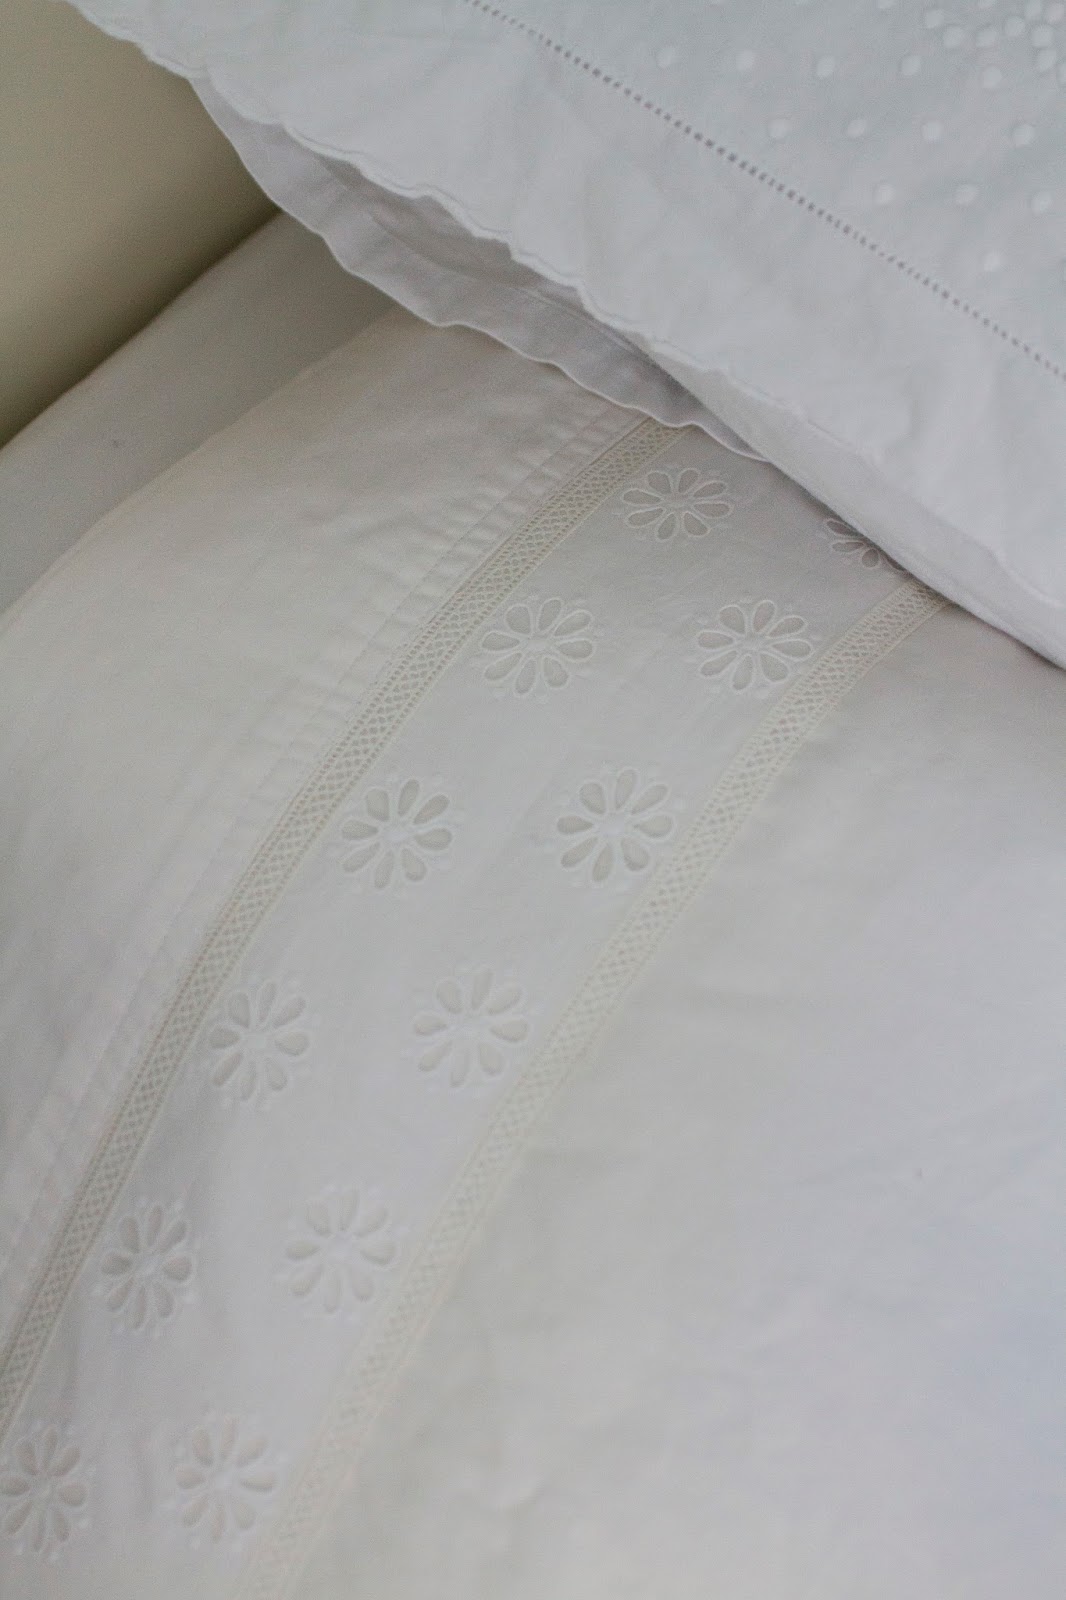
This duvet cover couldn’t be simpler to make: I bought two flat sheets and stitched a piece of border anglaise (eyelet) insertion on one of them (I used the same insertion nearly two years ago on a sheet for Rodrigo, remember?). Then I sewed along the top and sides of the sheets, right sides together, leaving the bottom part open. I turned the whole thing right side out and iron it. 

It’s nearly impossible to prevent Rodrigo from appearing in every photo I share with you… chasing his parents around and jumping on the bed is just so much more enticing than playing quietly in his room.

PS. Two more duvet covers here.

Capa de Édredon :: Toddler Duvet Cover

Já o disse muitas vezes e vou repeti-lo: uma máquina de costura é uma ferramenta de independência. Quer usem a máquina da vossa avó ou comprem uma nova — que tal passar a incluí-la nas listas de casamento? —, garanto-vos que será um electrodoméstico mais utilizado do que a faca eléctrica ou o liquidificador. 
No fim-de-semana passado fiz algo de que o Rodrigo precisava mesmo e que eu não conseguia encontrar: uma capa de édredon num tecido giro e com qualidade, com as dimensões ideais para poder ser entalada na cama (não gosto daquelas capas curtas que não dão para entalar).
Até há pouco tempo o Rodrigo tem dormido com sacos-cama (aconselháveis pelo menos até aos 12 meses e excelentes porque assim os bebés nunca se destapam e acordam a chorar com frio) mas, de um dia para o outro, deixou de querer usá-los (também foi de um dia para o outro que deixou de querer chucha à noite, assim como beber pelo biberon). Durante o Verão dormiu com um lençol e um quilt, mas o Outono já chegou à NZ e tive mesmo de lhe comprar um édredon. 
Nem imaginam a reacção dele: fartou-se de saltar na cama, doido com os elefantes e com a textura do édredon. Normalmente sou apologista de roupa de cama branca, mas o Rodrigo gosta tanto de animais que não resisti a este tecido. Fiz uma fronha a condizer, claro.
No total gastei 3,50 m de tecido. Não tive tempo para fotografar o processo (muito simples, diga-se de passagem) mas, como vou ter de fazer mais capas, depois fotografo o passo-a-passo e mostro aqui no blog.

PS. As instruções estão aqui.

I’ve said it before and I’ll say it again: a sewing machine is a means of independence. Whether you use your granny’s sewing machine or you buy a new one — how about including it in wedding registries? —, I guarantee you’ll use it more than an electric knife or a juicer.

Last weekend I made something that Rodrigo really needed and that I couldn’t find locally: a duvet cover in an attractive, good quality fabric, long enough to tuck in under the mattress (I don’t like short duvet covers).

Up until a couple of months ago Rodrigo slept in sleeping bags but one day he decided he’d had enough of them (he tends to be very sudden in his decisions). During the summer he slept with a flat sheet and a quilt but now that autumn’s arrived in NZ, there was no way around getting him a proper duvet.

I can’t tell you how happy he was when he saw the elephants and felt the softness and texture of the duvet. I’m usually partial to white bed linens but since Rodrigo loves animals so much, I couldn’t resist buying this fabric. I made him a matching pillowcase, of course.

In total I used up 3,50 m of fabric. I didn’t have time to photograph the process (a very simple one, I must say) but since I’m going to have to sew a couple more duvet covers, I’ll post a tutorial on the blog soon.

PS. Here’s the tutorial.

(photos© Constança Cabral)

Taxidermia de Tecido :: Fabric Taxidermy

Esta cabeça de veado foi começada no Verão de 2010 e acabada só agora em 2014. Na altura em que comecei a fazê-la, estávamos a viver em Inglaterra e havia cabeças empalhadas de animais em todos os pubs e casas senhoriais das redondezas. Eu andava à procura de algo para pendurar por cima da salamandra da nossa casa-de-jantar, e lembrei-me de fazer uma paródia a uma cabeça de veado, sendo que a minha seria em linho e Liberty (não sou grande fã de taxidermia a sério).
Encontrei o molde, concebido como um brinquedo/almofada, na revista Burda Style Kids 1/2010. Mas, depois de tudo cortado, cosido e enchido, deparei-me com um desafio: como pendurá-la na parede? Ainda comprei uma placa de madeira numa feira, mas a parte de trás da cabeça não é lisa e era difícil colá-la ou pregá-la à dita tábua. A cabeça foi posta de lado… durante 3 anos e meio.
O quarto do Rodrigo tem uma lareira muito gira (desactivada) que me fez voltar a pensar na cabeça de veado. E, um dia, eis que me deparei com a solução para a pendurar: cosê-la a um bastidor grande. Comprei o maior quilting hoop que vi à venda (por minha vontade teria sido ainda maior, mas tal revelou-se impossível de encontrar na Nova Zelândia), estiquei um bocado de tecido (ao avesso do qual apliquei uma entretela forte) e dei pequenos pontos à mão a toda a volta da parte de trás da cabeça.

O Rodrigo chama-lhe “neigh” (cavalo) e quer brincar com ela, mas não tem tido grande sorte. Vamos ver quanto tempo dura no quarto dele!

I started making this deer head in the summer of 2010 and somehow only managed finished it in 2014. When I started sewing it we were living in England and there were stuffed animal heads to be found in nearly every pub and manor house in the country. I was looking for something to hang over the woodburning stove in our dining room and I thought I’d try making a mock stuffed deer head in linen and Liberty (I’m not a fan of real taxidermy).

I found a pattern for a deer head toy/cushion in Burda Style Kids 1/2010. But after every piece of fabric was cut, sewn and stuffed, I stumbled upon a difficulty: how on earth was I going to mount it on the wall? I even bought a wooden plaque in a vintage fair but since the back of the stuffed head isn’t flat, it would be quite a challenge to glue it or nail it to the board. The head was put aside… for 3 and a half years.

Rodrigo’s bedroom has a lovely (non-working) fireplace that’s made me remember the unfinished deer head. And one day I managed to come up with a solution for it: mounting it onto a large quilting hoop. I bought the largest hoop I could find (I wish it was even bigger but couldn’t find one in NZ), stretched an interfaced piece of fabric and stitched the back of the head to it by hand.

Rodrigo calls it “neigh” (horse) and wants to play with it (he hasn’t been very lucky in that department). Let’s see how long it lasts in his bedroom!

(photos© Constança Cabral)

Oliver + S Sketchbook Shirt

No primeiro dia do ano, o Rodrigo estreou uma camisa feita por mim. Usei o molde Sketchbook Shirt (que me foi oferecido há uns tempos pela generosa Ana Sofia), com uma cambraia branca e botões aproveitados de uma camisa antiga do Tiago.
A camisa ficou bem feita (os moldes Oliver + S são impecáveis), se bem que ligeiramente grande — mas eu é que resolvi escolher o tamanho 3 anos para uma criança que ainda nem fez 2… Este molde tem algumas variações e eu optei por uma gola à Mao e mangas curtas (e assim evitei colarinhos pontiagudos e punhos). Mas uma coisa vos digo: isto deu uma trabalheira!! Já tinha feito planos para uma série de camisas às riscas, flores e quadrados, mas não sei se terei coragem para tal empreitada.
A propósito, o chapéu que aparece nas primeiras fotografias também é um modelo Oliver + S e está disponível gratuitamente aqui (falei sobre ele neste post).
In the first day of the year Rodrigo wore a shirt made by myself. I used the Sketchbook Shirt pattern (given to me by the generous Ana Sofia), a piece of white cotton batiste and and buttons repurposed from one of Tiago’s old shirts.

The shirt turned out fine (Oliver + S patterns are impeccable), although a bit on the large side — my fault alone, as I decided to cut a size 3 for a child who hasn’t even turned 2 yet… This pattern has a few variations and I went for a band collar and short sleeves (saving myself the trouble of sewing a pointy collar and cuffs). But let me tell you something: what a lot of work this turned out to be!! I had plans for a series of shirts in stripes, checks and flowers but now I’m not sure if I’ll have the courage for such a task.

By the way, the hat you see in the first few photos is also a pattern by Oliver + S and you can download it for free here (I talked about it in this post).

(photos© Constança Cabral)

Old MacDonald Had a Farm

Eis a “i-a-i-a-ô”, como o Rodrigo lhe chama, uma fronha de almofada que a minha mãe fez para ele há uns meses. É requisitada a todas as horas e tem assistido a muitas interpretações de sons de animais. É gira, não é? O Rodrigo gosta imenso dela e nós também!
This is “e-a-e-a-o”, as Rodrigo calls it, the pillow cover my mother made for him a few months ago. He requests its presence at every hour and points at the animals and makes all sorts of sounds. It’s cute, isn’t it? Rodrigo loves it and so do we!

(photos© Constança Cabral)

Baa!

Para além de cães, o Rodrigo anda obcecado por ovelhas (baa em rodriguês: as ovelhas cá fazem baa em vez de méé). Lembrei-me então de fazer-lhe uma Little Lamb Pillow (instruções aqui). Para o corpo usei um cobertor antigo que feltrei na máquina e para as patas, orelhas e focinho uma camisola castanha que era da minha avó, que também feltrei.
Algumas alterações ao modelo original: enchi o focinho e as patas e, como isso tornou as costuras bem mais complicadas, alinhavei-os antes de coser o corpo. Também diminui as margens de costura.
Recomendo vivamente que experimentem fazer esta baa, é fácil e fica bem gira!
In addition to dogs, Rodrigo is currently obsessed with sheep (he calls them baa). So I figured I had to make him a Little Lamb Pillow (instructions here). For the sheep’s body I used an old blanket that I felted in the washing machine and for the legs, face and ears I used an old brown sweater that used to belong to my grandmother, which I also felted.

Some alterations to the original tutorial: I decided to stuff both the face and legs and because that made it much more difficult to put everything together, I hand-basted them to the body prior to sewing. I also used smaller seam allowances.

I highly recommend that you make one of these baas, they’re easy and so cute!
(photos: © Constança Cabral)

Feltro Feito em Casa :: Homemade Felt

Feltro de lã é bastante melhor do que aquele feltro acrílico que se encontra por aí. É mais grosso, o toque é mais agradável e envelhece bem. Mas é normalmente muito caro e bastante difícil de encontrar. Solução: fazê-lo em casa!
Basta pegar em camisolas e cobertores velhos que sejam 100% lã e lavá-los na máquina a 90ºC com a hidroextracção no máximo. As fibras comprimem, perdem elasticidade e não desfiam. E encolhem IMENSO! Isto está longe de ser uma ciência exacta mas os resultados são divertidos e úteis.
Tenho usado este tipo de feltro em bastantes projectos ao longo dos anos, como por exemplo para fazer este porco e o cabelo desta boneca. No próximo post mostro-vos um brinquedo que acabei de fazer para o Rodrigo.
(PS. Se quiserem lavar lãs na máquina sem que feltrem, há que lavá-las a frio e com a hidroextracção no mínimo. Eu lavo tudo na máquina, até caxemira, e fica sempre impecável.)
Wool felt is much nicer than the acrylic material you can find at every craft shop. It’s thicker, smoother  and it ages better. But it can be pricey and hard to find. Solution: make your own felt at home!

Just grab some sweaters and blankets that are 100% wool and wash them in the washing machine at 90ºC and maximum spinning speed. The fibers will shrink and loose elasticity, and they won’t unravel. You’ll see that they’ll shrink A LOT! This is not an exact science but the results are fun and useful.

I’ve been using this type of felt in several projects over the years: to make this pig and this doll’s hair, for example. In my next post I’ll show you a toy I made recently for Rodrigo.

(P.S. If you’d like to wash woolens in the washing machine without felting them, just use cold water and the gentlest spinning cycle. I use it for everything, cashmere included, and I can’t complain.)
(photos: © Constança Cabral)

Bubble Shorts by DoGuincho

Conhecem a Marta do blog Do Guincho? Eu fiquei doida quando descobri o blog e vi as peças de roupa que a Marta faz para as suas duas filhas. Escrevi-lhe logo um email entusiasmado acerca do seu estilo clean mas simultaneamente cheio de pormenores. Desde então temo-nos correspondido e continuo a ir diariamente ao blog para ver as suas novas criações, as suas filhas tão giras e as produções fotográficas tão especiais. E a Marta acaba de lançar o seu primeiro molde, uns calções tufados chamados Bubble Shorts!

A Marta perguntou-me se eu queria testar o molde e claro que respondi imediatamente que sim. Fi-los para a minha sobrinha de 2 anos e escolhi tecidos muito leves e frescos para o Verão. Os calções são feitos de uma maneira bastante engenhosa, que a Marta explica muito bem nas instruções. Posso dizer-vos que adorei o processo de fazer os calções e ainda gostei mais do resultado!

Infelizmente não vi a minha sobrinha com eles vestidos porque nos desencontrámos em Portugal, mas já sei que servem. E não resisti a experimentá-los no Rodrigo (mas não fui autorizada a publicar uma fotografia, vá-se lá saber porquê…). Mais uma vez constatei que fazer roupa para raparigas é bem mais divertido do que para rapazes!

Se tiverem vontade de fazer uns quantos pares de Bubble Shorts (dos 2 aos 8 anos), podem comprar o molde aqui. Eu sei que vou fazer muitos mais!

Do you know Marta from Do Guincho? I couldn’t believe my eyes when I first stumbled upon her blog — all those wonderful children’s clothes! I immediately wrote her an excited email about her style, so clean but full of interesting details. We’ve been corresponding ever since that day and I visit her blog daily to check out her new creations, her cute daughters and her witty photo shoots. And she’s just released her first commercial sewing pattern: the Bubble Shorts!

Marta asked me whether I wanted to test out her pattern and naturally I said yes. I made them for my 2-year-old niece and chose light, summery fabrics. The shorts are constructed in a very clever way and Marta explains it very well in the pattern’s instructions. I must say I loved the process of sewing them and I’m super happy with the results!

Unfortunately I didn’t get to see my niece wearing them but I’ve been told they’re a great fit. Of course I tried them on Rodrigo (but I’m not allowed to show you a photo… I wonder why!?). Once again I got the feeling that sewing for girls in way more fun than sewing for boys!

If you want to sew a few pairs of Bubble shorts (sizes 2-8 years), you can get the pattern here. I’ve got a few more planned!

(photos: © Constança Cabral)

Praia! :: Beach!

Que bom que é ver o Rodrigo todo contente na praia, ainda por cima vestido com coisas feitas por mim! Os chapéus são do livro Little Things to Sew (já tinha feito um no ano passado) e os calções de banho foram feitos com base no molde Kid Shorts Made (à semelhança dos calções dos pijamas), com algumas alterações: para lhes dar um ar de praia, fiz duas casas de botão à frente para fazer passar um cordão e cosi um bolso atrás. Os dois primeiros foram feitos com tecidos leves de algodão; o último par foi um aproveitamento de um fato-de-banho do Tiago. Viva o Verão!
It´s wonderful to see Rodrigo at the beach looking so happy and at ease, especially when he’s wearing the things I made for him. The hats are from the book Little Things to Sew (I had already made one last year) and the shorts were made using the Kid Shorts Made pattern (the same pattern I used to sew him some pyjamas) with some alterations. To give them a beach look, I sewed a couple of buttonholes in the front and added drawstrings, as well as a pocket in the back. The fabrics I used for the first two pairs of shorts are lightweight cotton lawns; for the third pair I repurposed an old pair of Tiago’s swim trunks. Hurrah for summer!
(photo: © Constança Cabral)

Conjuntos Vintage :: Vintage Outfits

A Mariana tem duas gémeas com dois anos. Achei que teria graça fazer algo para elas e decidi experimentar um dos meus moldes infantis mais antigos, este Simplicity 8165 dos anos 60 (primeira fotografia). Escolhi tecidos aos quadrados para as partes de cima e para os bloomers (tapa-fraldas? calções?) e cambraia azul-clara para o forro. Apesar de achar que o resultado ficou engraçado, quando os acabei fiquei cheia de dúvidas e tive vontade de começar tudo outra vez (confesso que só não o fiz por falta de tempo). E porquê? Para começar, houve algumas partes que não ficaram muito perfeitas: as junções dos quadrados nos calções estão a fazer-me confusão, assim como aquelas costuras que resolvi cortar com a tesoura zigzag (estes conjuntos foram feitos ainda em período pré-super costuras). Por outro lado, acho que ambos os conjuntos teriam ficado mais giros com grega branca e botões brancos, e grega aplicada a toda a volta e não apenas em baixo e em metade das costas, como ditavam as instruções. E quer-me cá parecer que os conjuntos ganharão em ser usados separadamente: as partes de cima com uns calções curtinhos de ganga ou sarja, e os bloomers com umas simples túnicas brancas. É assim mesmo: nem tudo corre bem à primeira. Para a próxima já sei!
Mariana is the mother of two 2-year-old twin girls. I thought it would be fun to sew something for them and decided to try one of my vintage children’s patterns, this Simplicity 8165 from the 1960s (first photo). I chose two lightweight gingham fabrics for the tops and bloomers and pale blue cotton batiste for the lining. Even though they turned out rather cute, the moment I finished them I wished I could start all over again. Why? Well, for starters, they’re less than perfect: the squares are poorly matched and I pinked all the seams (they were made before my pledge). And I guess I should have chosen white rickrack and white buttons for both outfits. Oh well, you can’t always get things right first time round. Next time I’ll know!
(photo: © Constança Cabral)