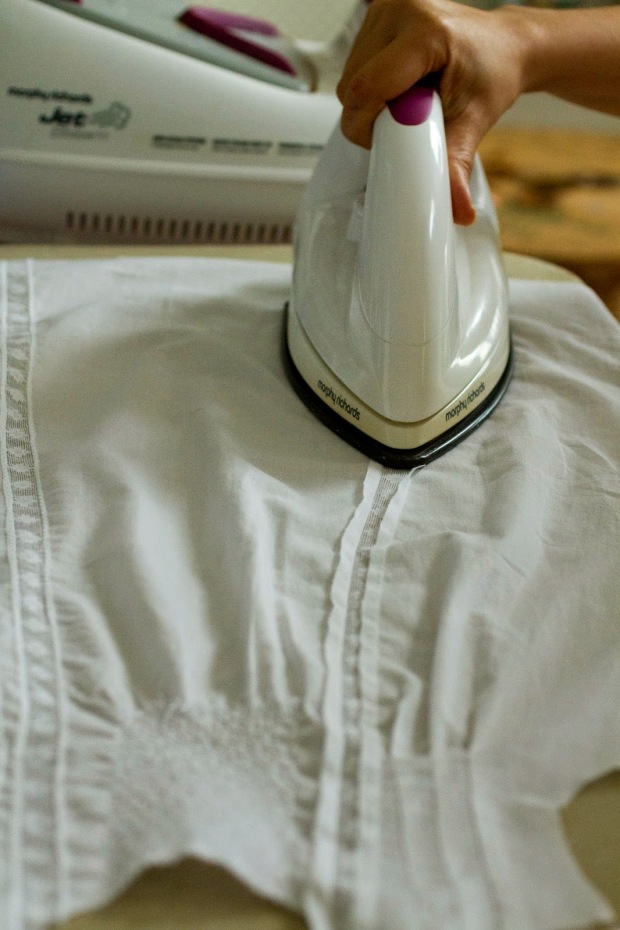
Às vezes sinto-me o Grinch da confecção, sempre a pensar “tantos passos! isto demora um tempo louco! enfrentar os moldes, cortar os tecidos, decifrar instruções, engomar, coser, engomar, coser…”. O que vale é que fazer roupa é um bocado como passar por um parto: custa mas, quando uma pessoa olha para o resultado, acha que tudo valeu a pena. Aquele fenómeno curioso da memória selectiva também acontece: as partes difíceis são apagadas e só nos lembramos do quanto aprendemos, de como crescemos, de como nos tornámos pessoas melhores…
É óbvio que estou a exagerar, mas lá que fazer roupa dá uma trabalheira, ai isso dá. Então, se aparentemente me queixo tanto (sempre em silêncio! ou será que não?…), porque é que insisto? Bem, a verdade é que fazer roupa dá imenso gozo. Mesmo que o resultado fique com ar de ter sido feito em casa, mesmo que haja mangas mal embebidas, franzidos que não deveriam existir, bainhas onduladas, pregas inconsistentes… Pegar num bocado de tecido e transformá-lo em algo para vestir é fabuloso. Uma pessoa sente-se poderosa, independente, criadora! Depois, já o disse muitas vezes e repito: o panorama do pronto-a-vestir na NZ é terrível. Sim, todos temos gostos diferentes, lá por eu não gostar não significa que seja feio… Pois claro. Mas este sítio onde vivo é um deserto. Sabem todas aquelas lojas que existem em qualquer rua na Europa? Cá não há uma única e, infelizmente, a alternativa é fraca. Bem, vou parar de dizer mal da NZ, que é um país encantador e cheio de gente boa. Como em Inglaterra praticamente não comprei roupa (aí por outras razões, como o clima e o orçamento), neste momento tenho muito pouca coisa para vestir. Isso significa que, se não consigo comprar, tenho de fazer.
Ora bem, os meus conhecimentos nesta área são limitados. Não sei alterar moldes, manipular pinças, corrigir ombros, etc. etc., por isso tenho de começar por fazer coisas simples. Em anos passados, fiz uns quantos vestidos (uns com mais uso que outros), uma
t-shirt (que hei-de repetir porque a usei imenso), calças de pijama e roupa infantil. Tenho comprado muitos moldes antigos aqui na NZ (espero pôr uma série deles à venda em breve) e resolvi experimentar fazer um balandrau dos anos 80. Vamos então por pontos:
1. Molde
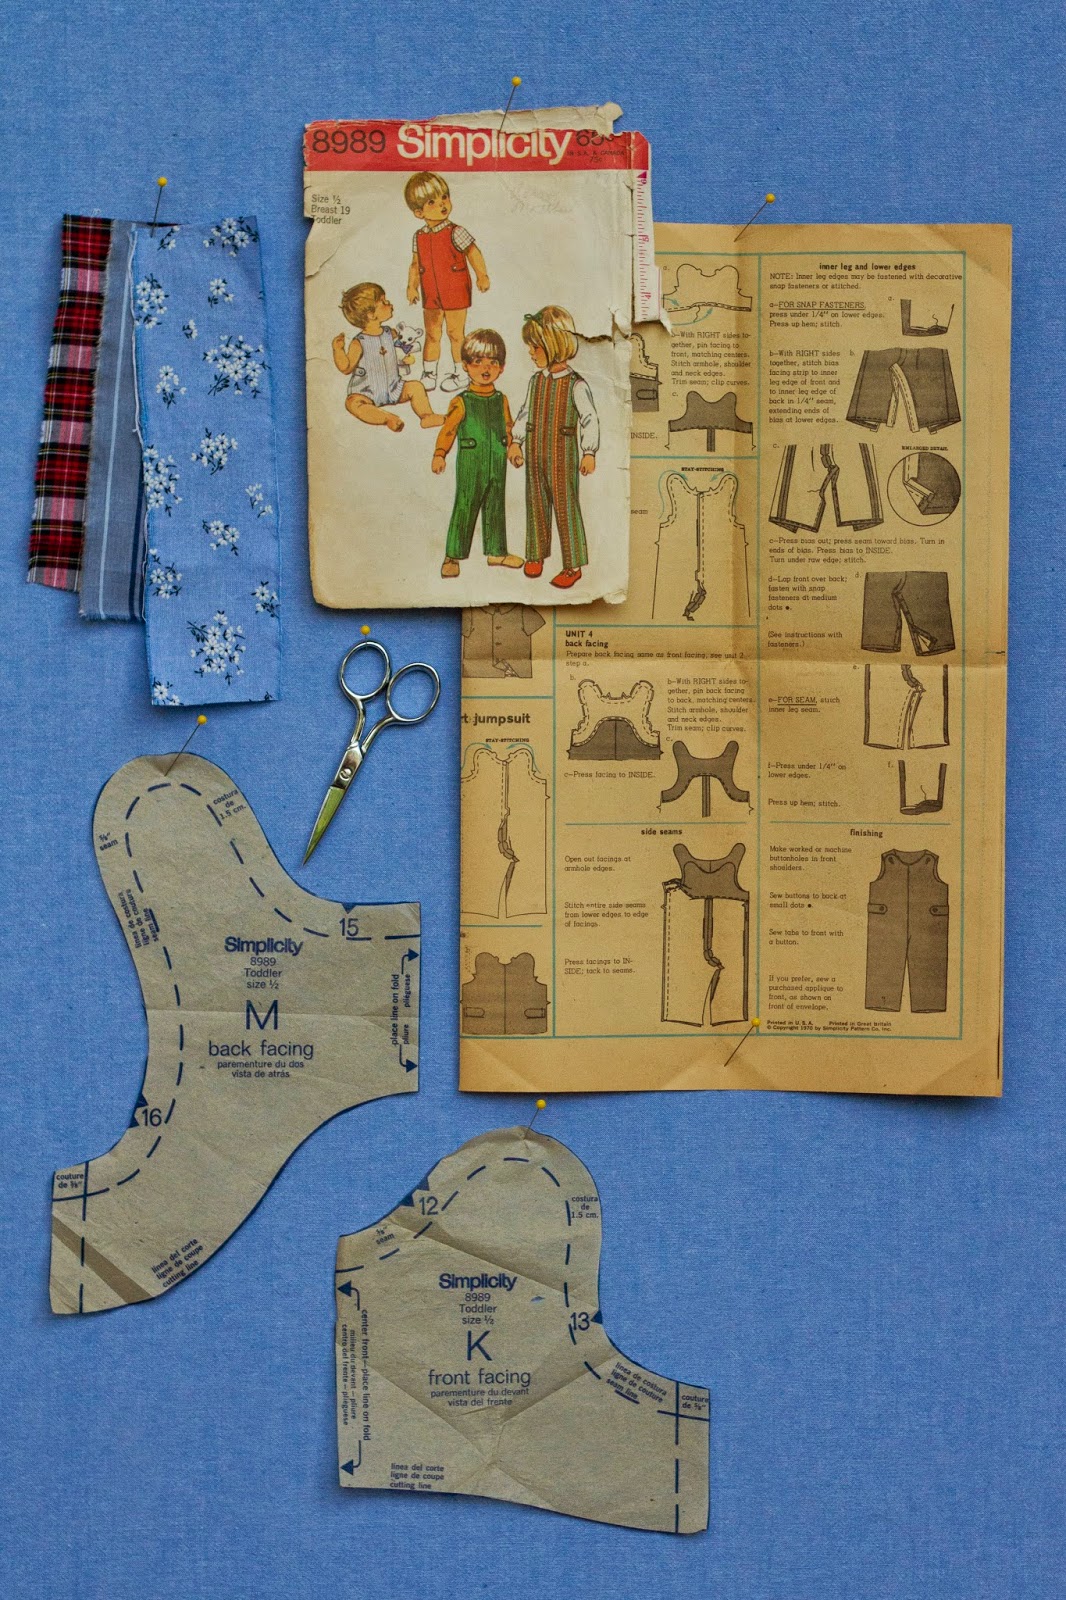
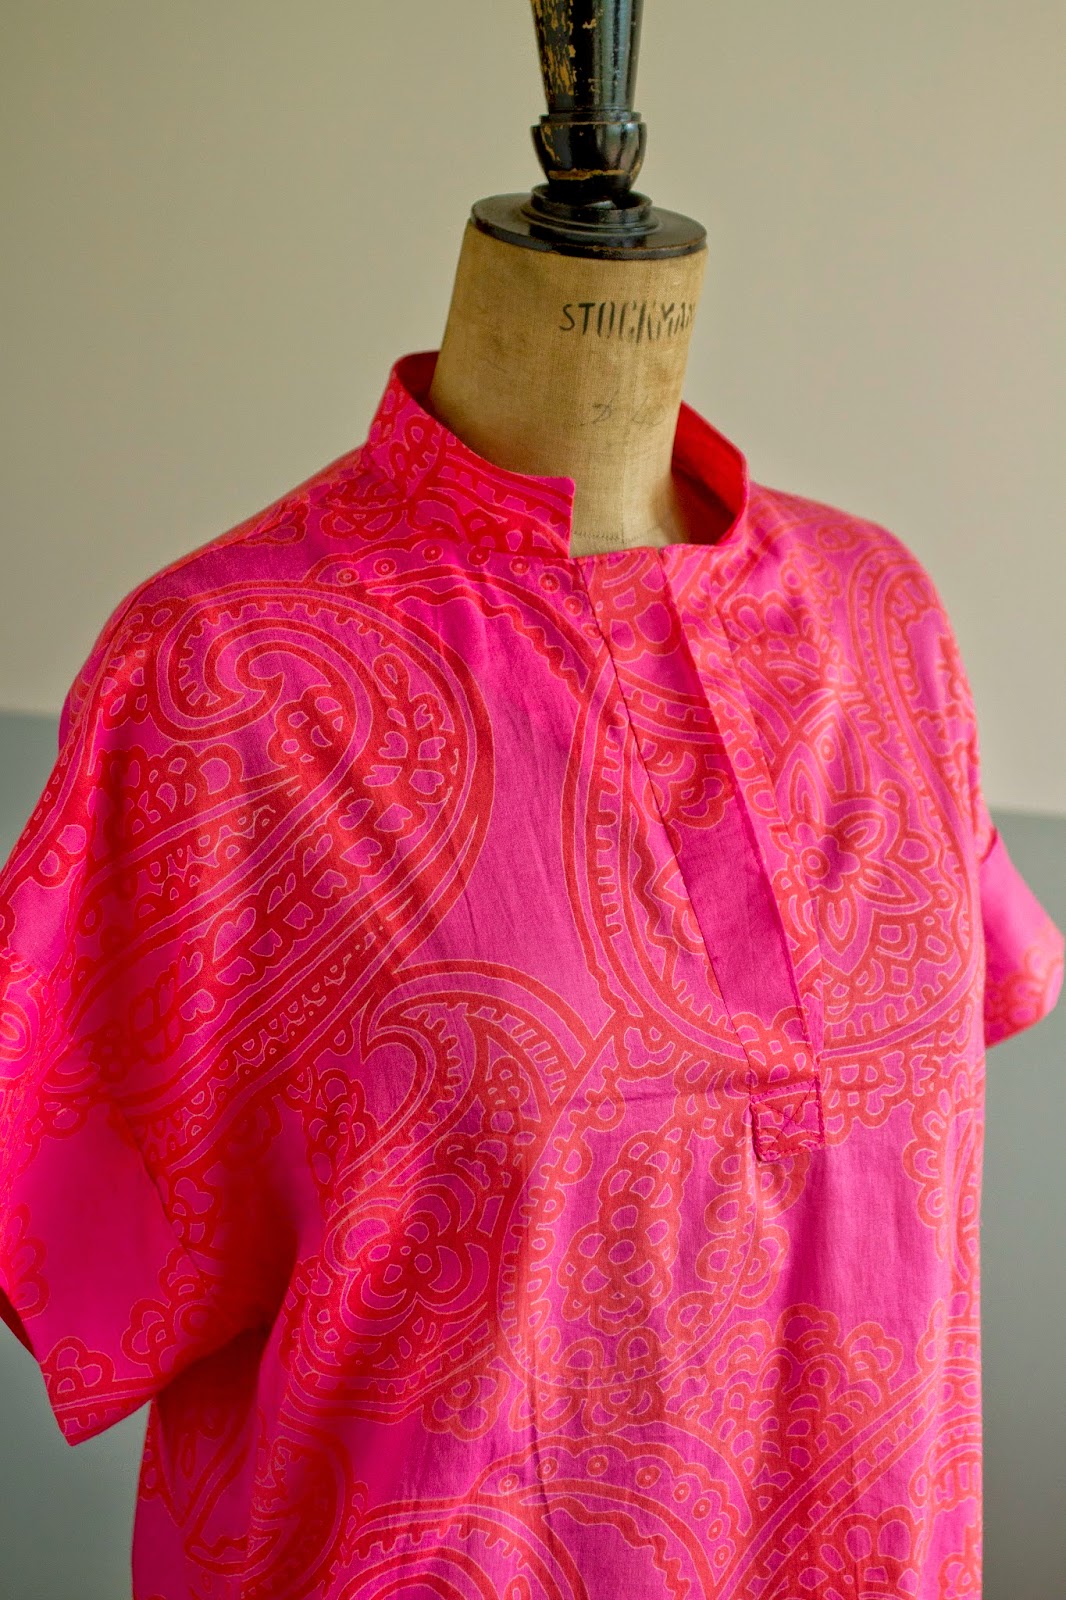
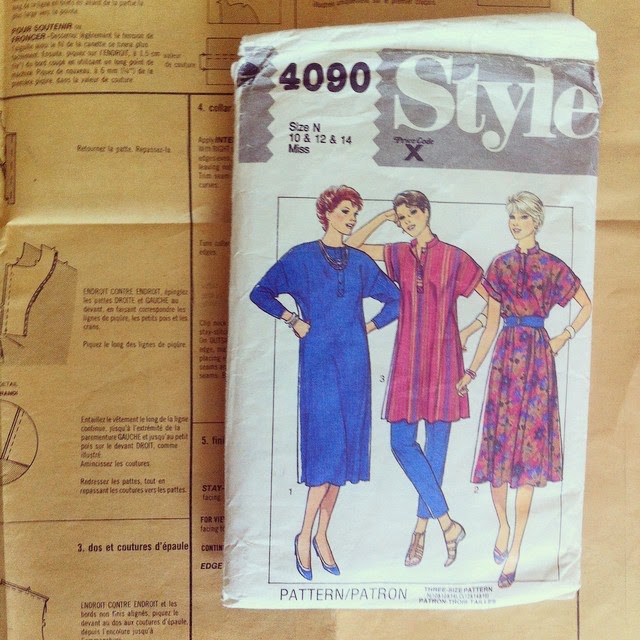
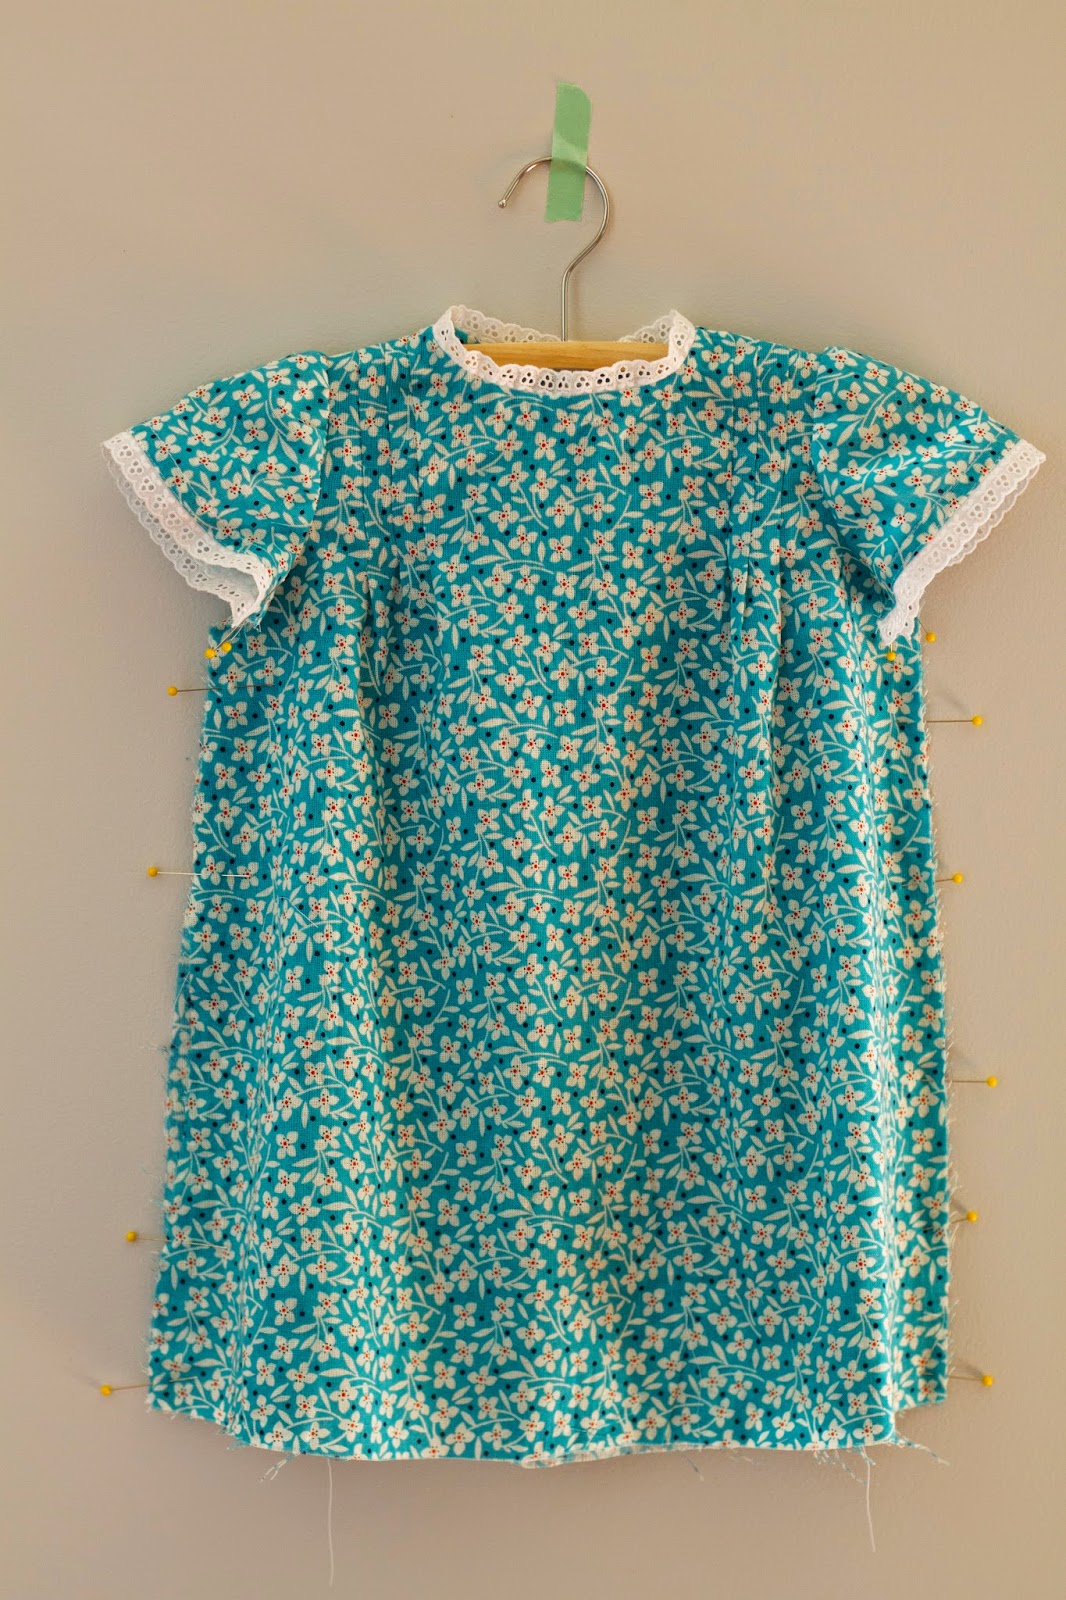
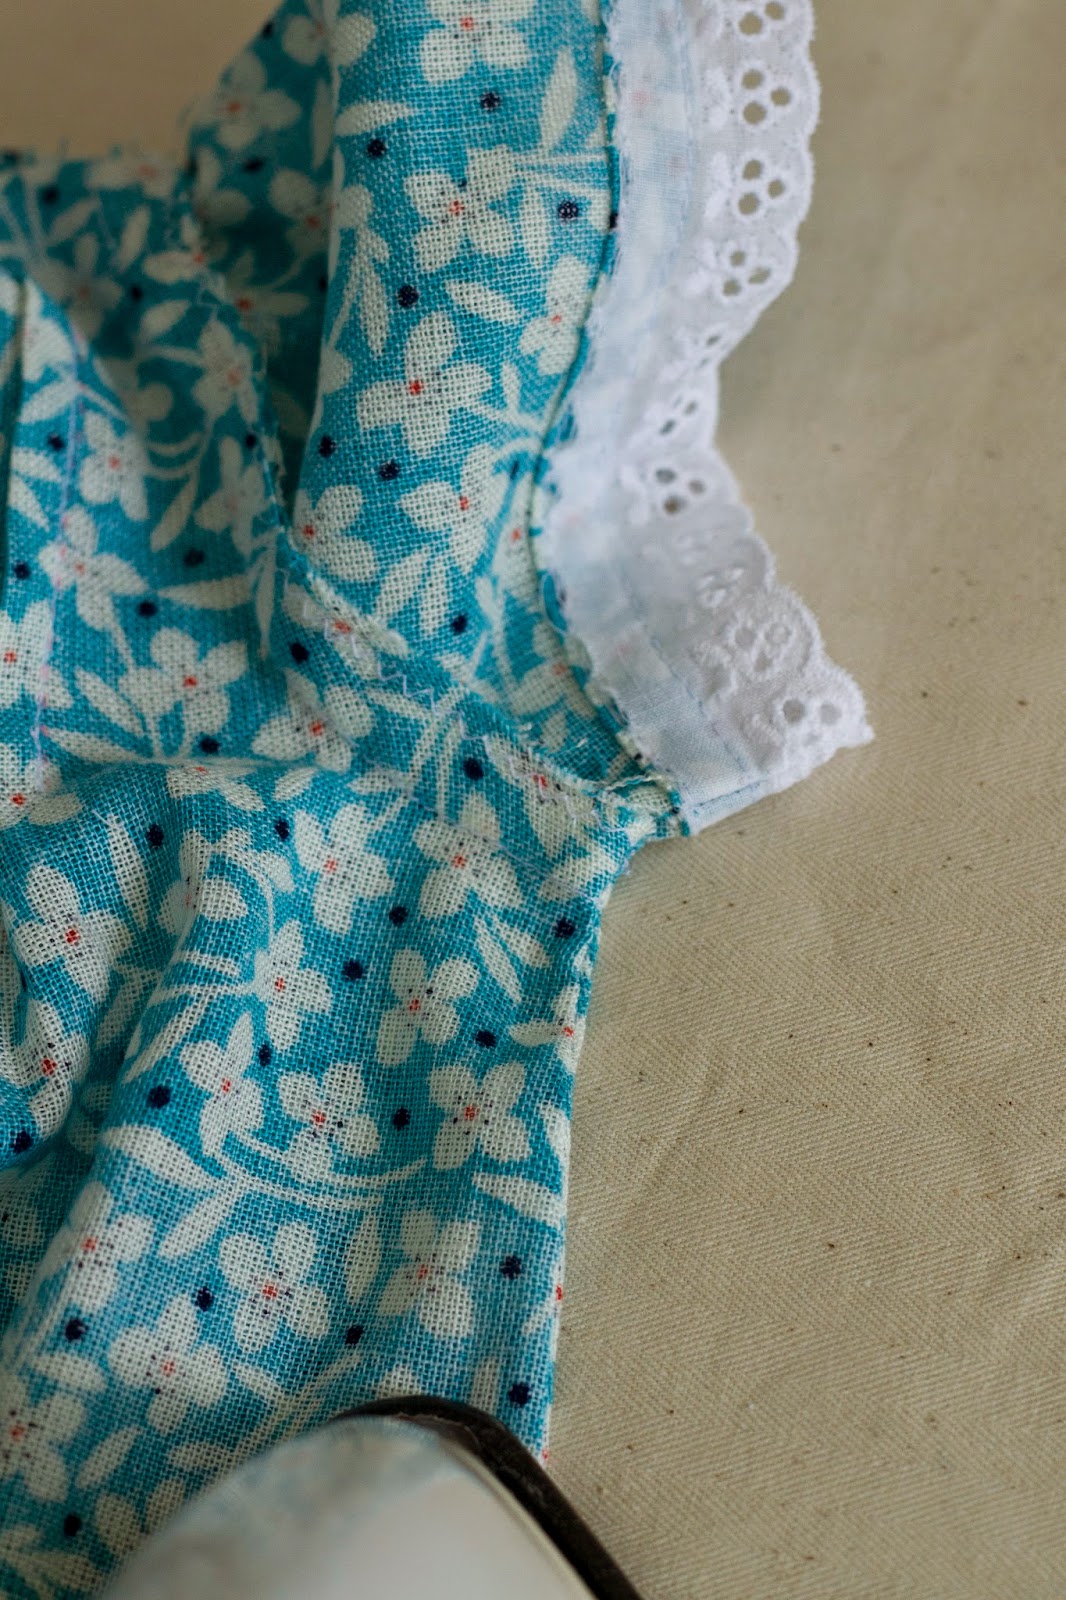
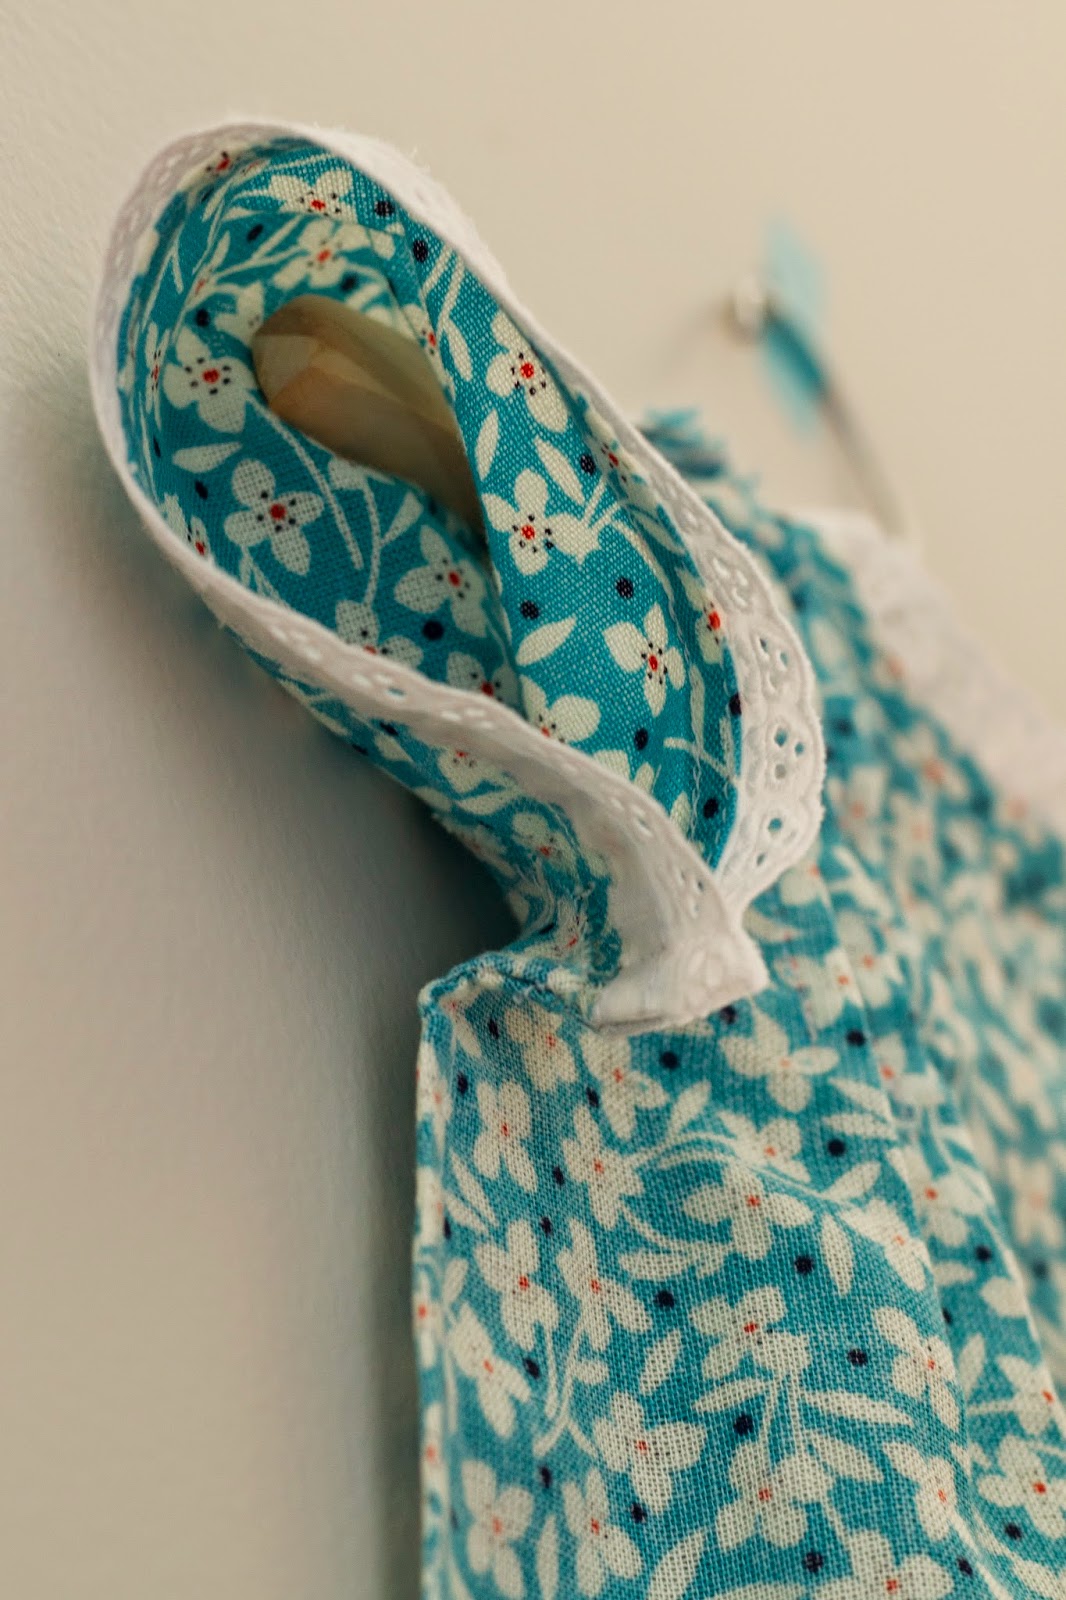
Style 4090 (© 1984). Eis o que me chamou a atenção: o colarinho e a carcela, as mangas kimono com aquela banda (na versão curta), o facto de ser largo e fresco. E o pormenor de ser fácil de fazer, claro. Os sacos de batatas não precisam de assentar muito bem porque, por definição, não favorecem ninguém. Minto: favorecem as pessoas muito magras, mas eu encontro-me a milhas dessa categoria… Mas a vida são dois dias e o Verão aqui é quente e húmido, e estes vestidos largos são frescos e confortáveis.
2. Tecido
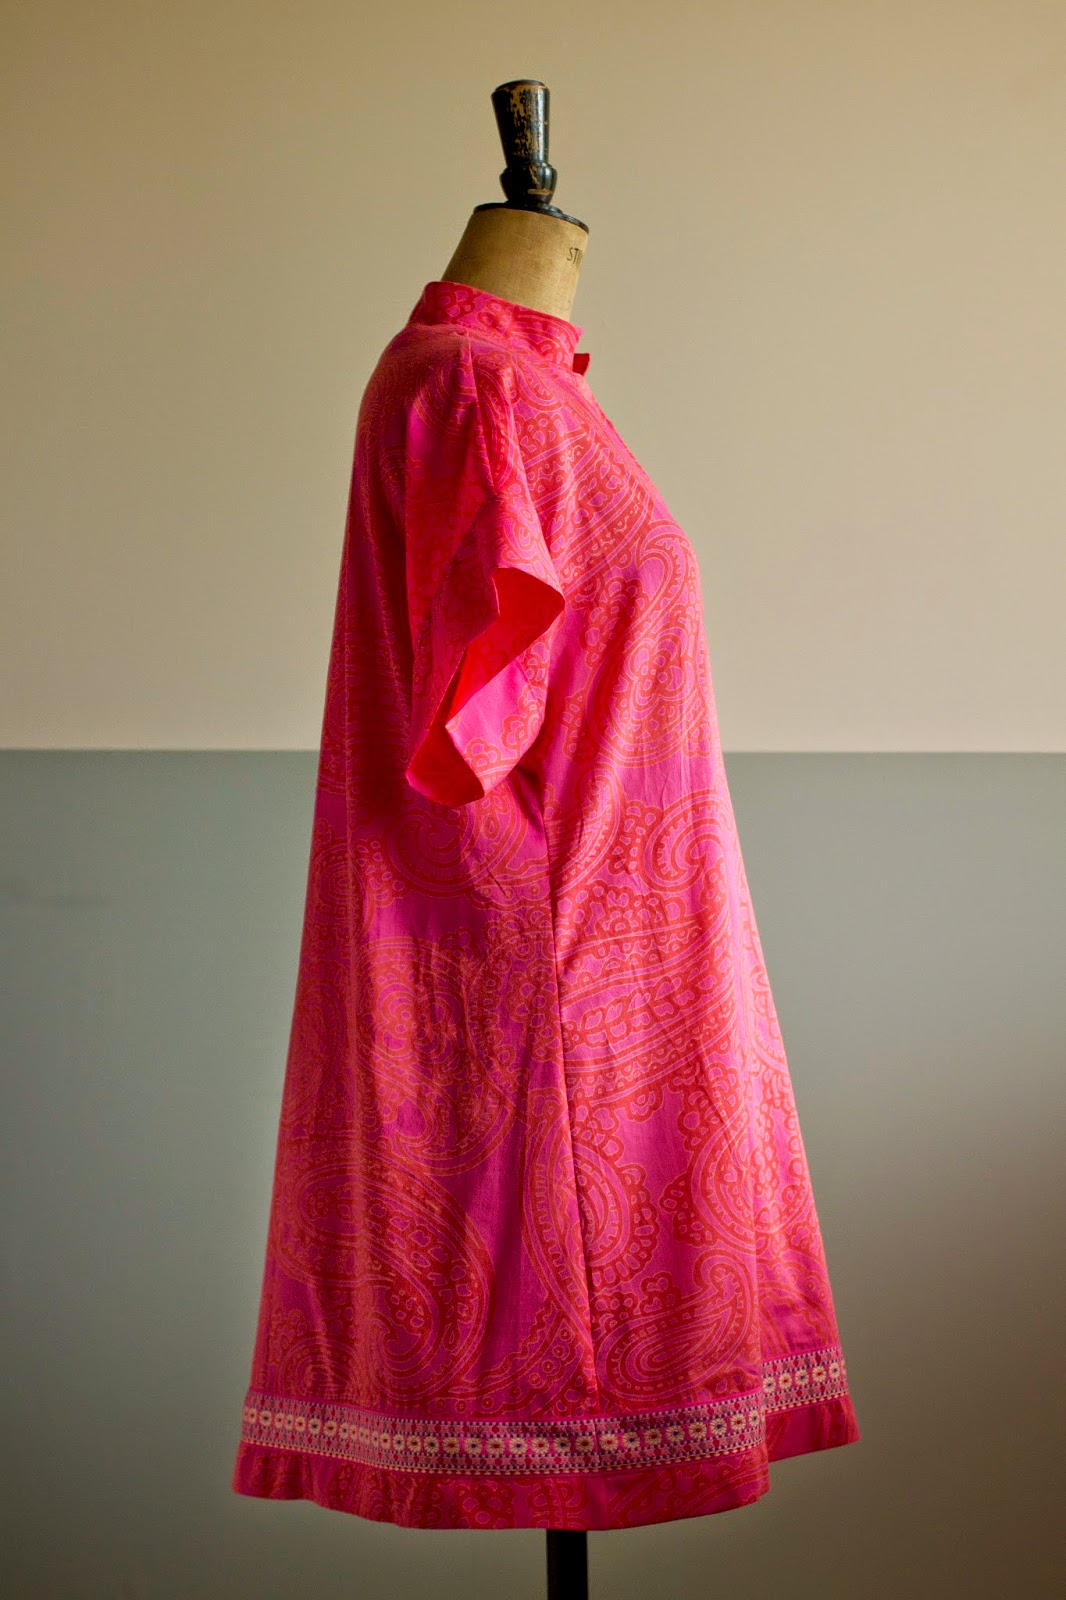
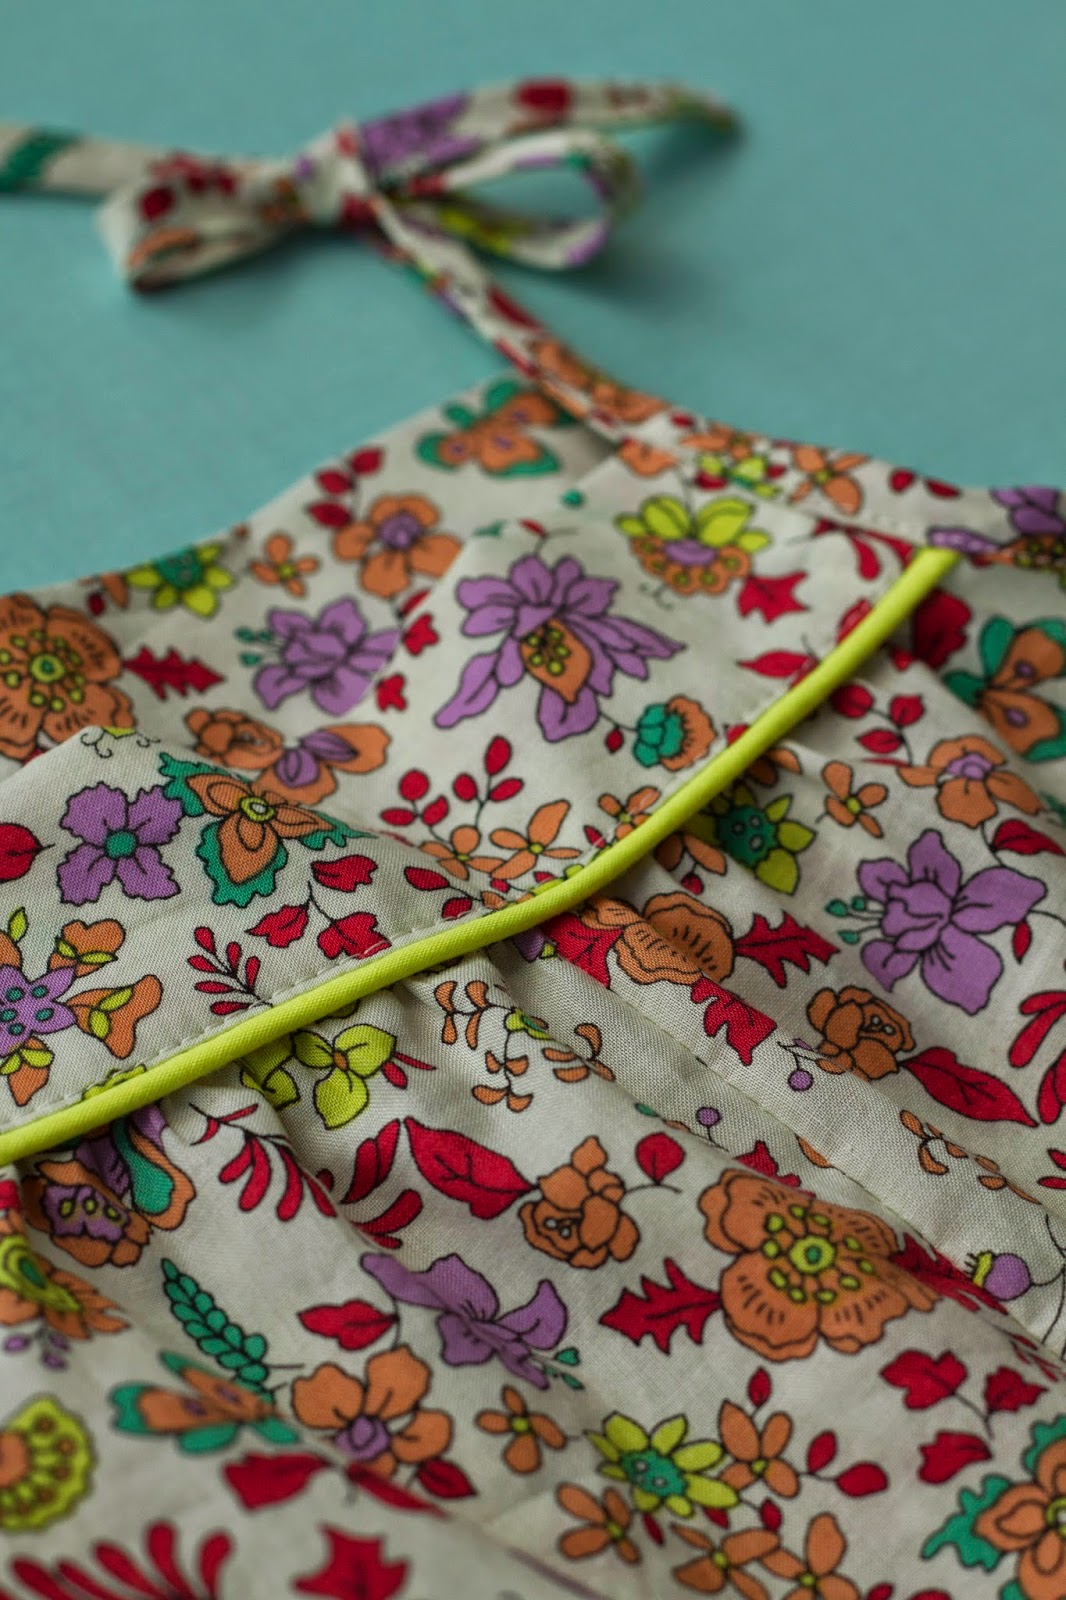
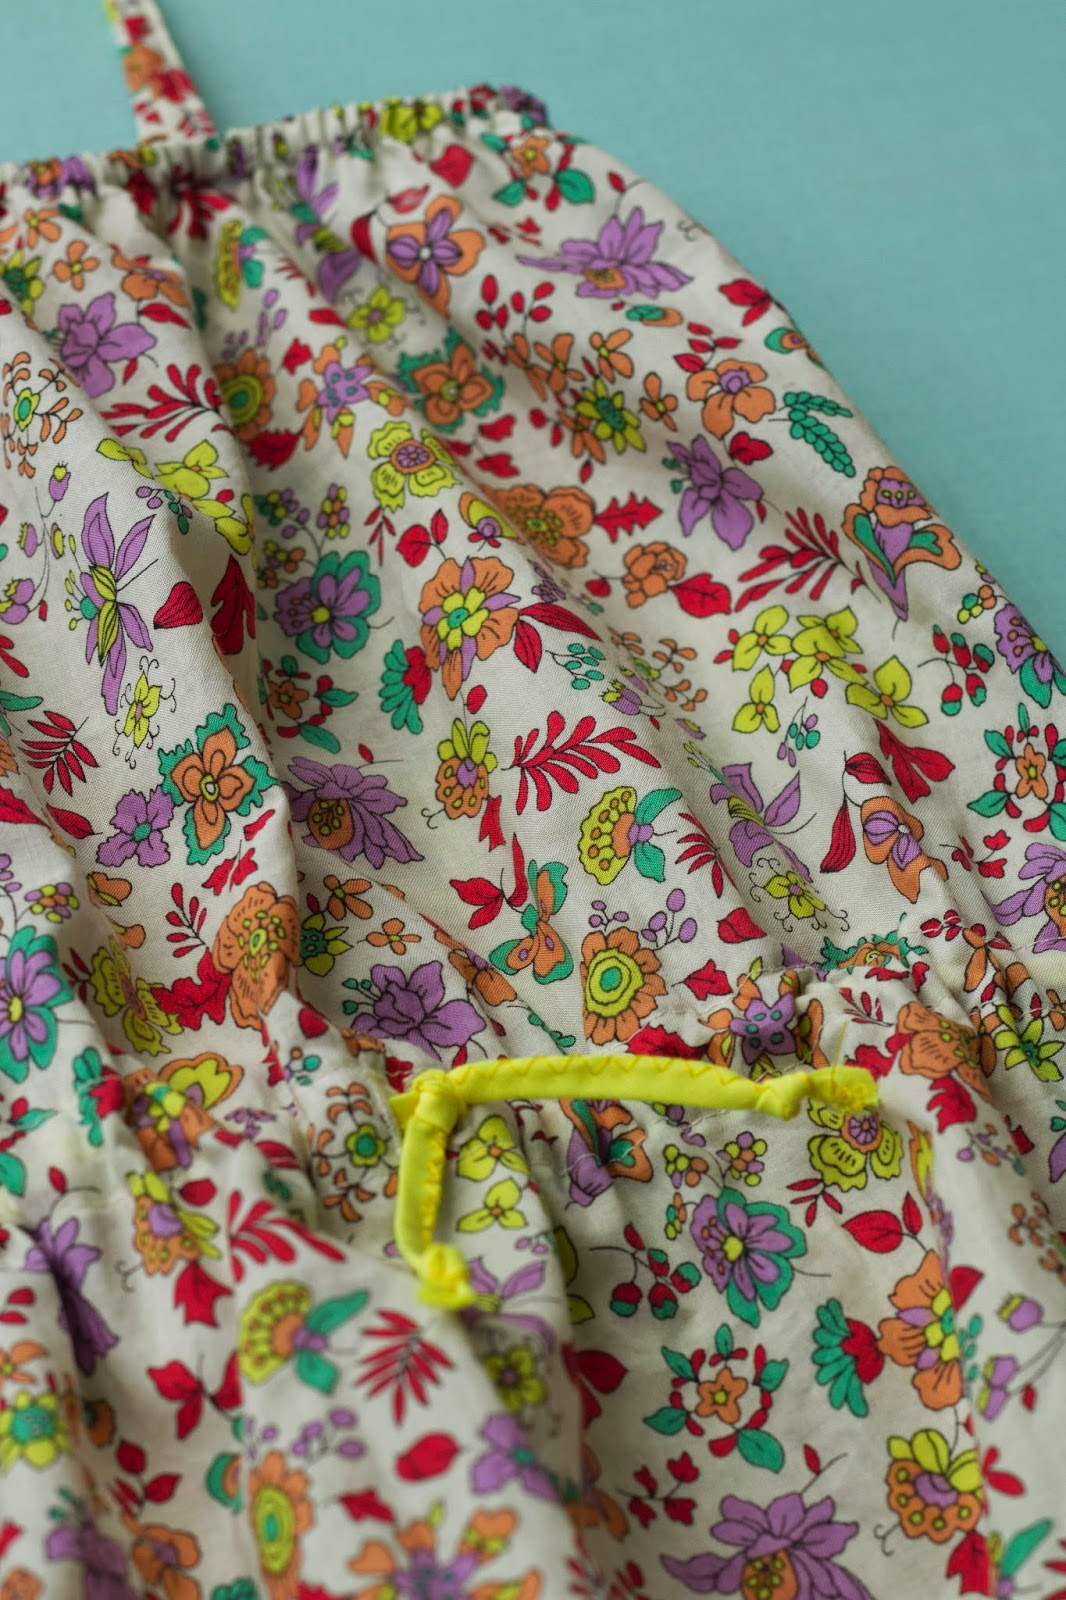
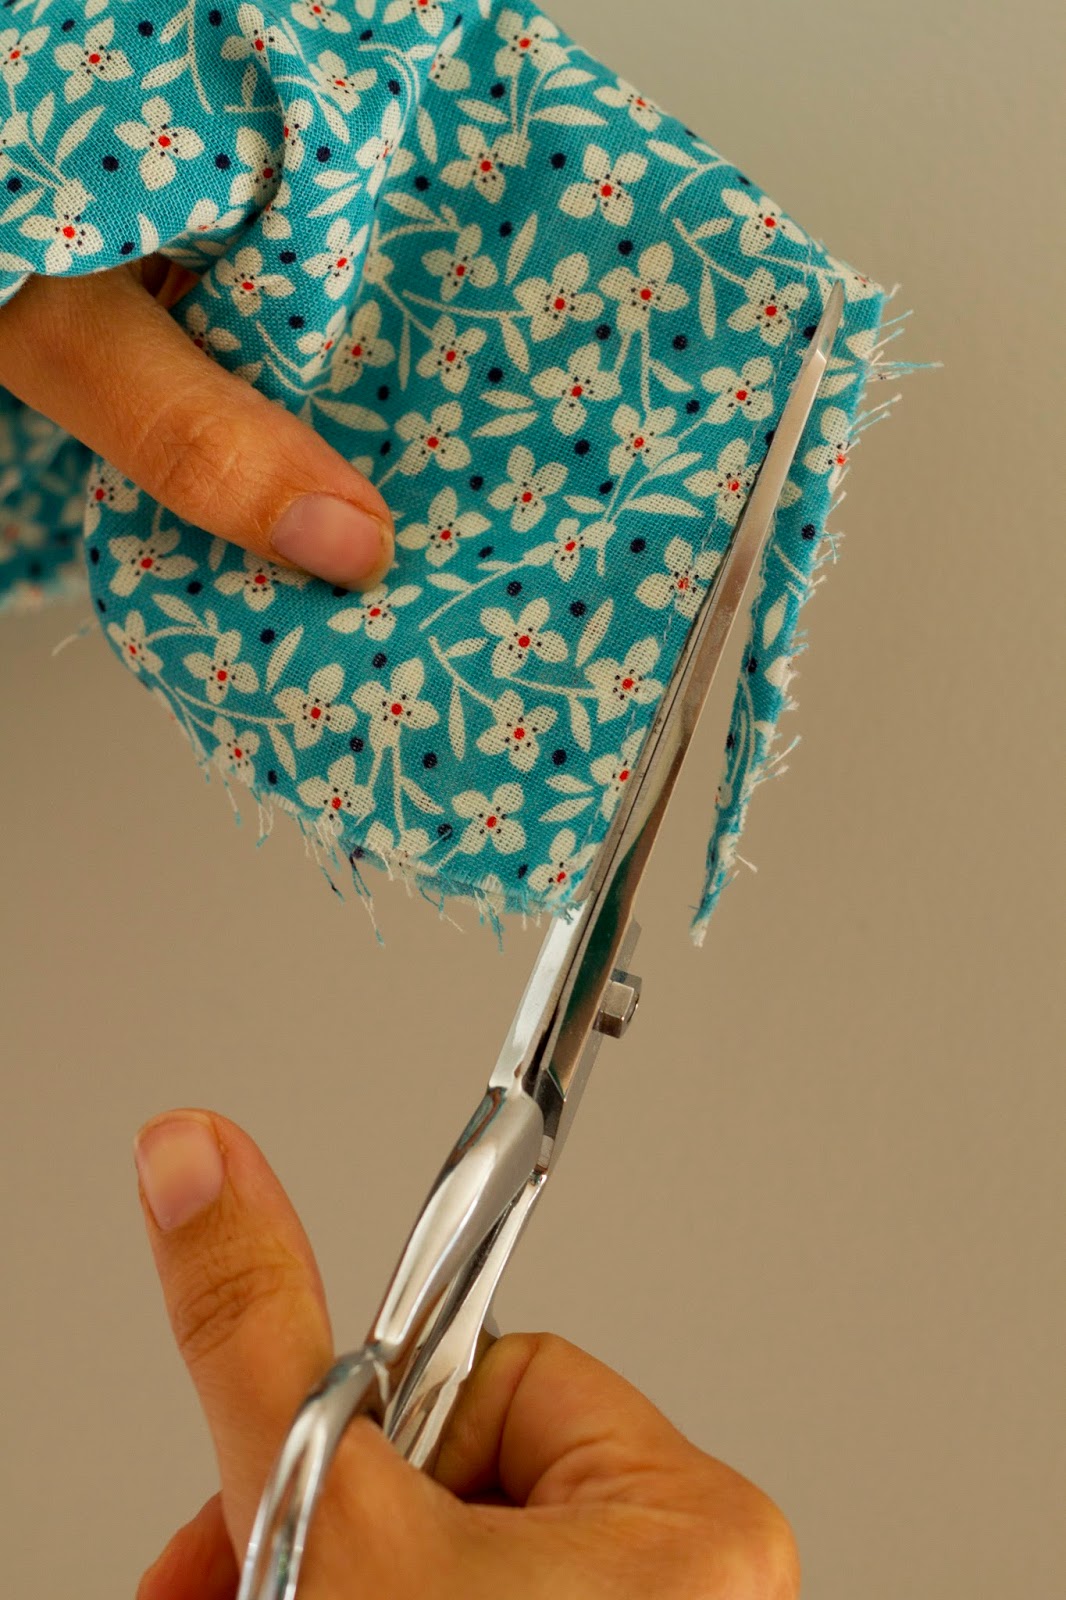
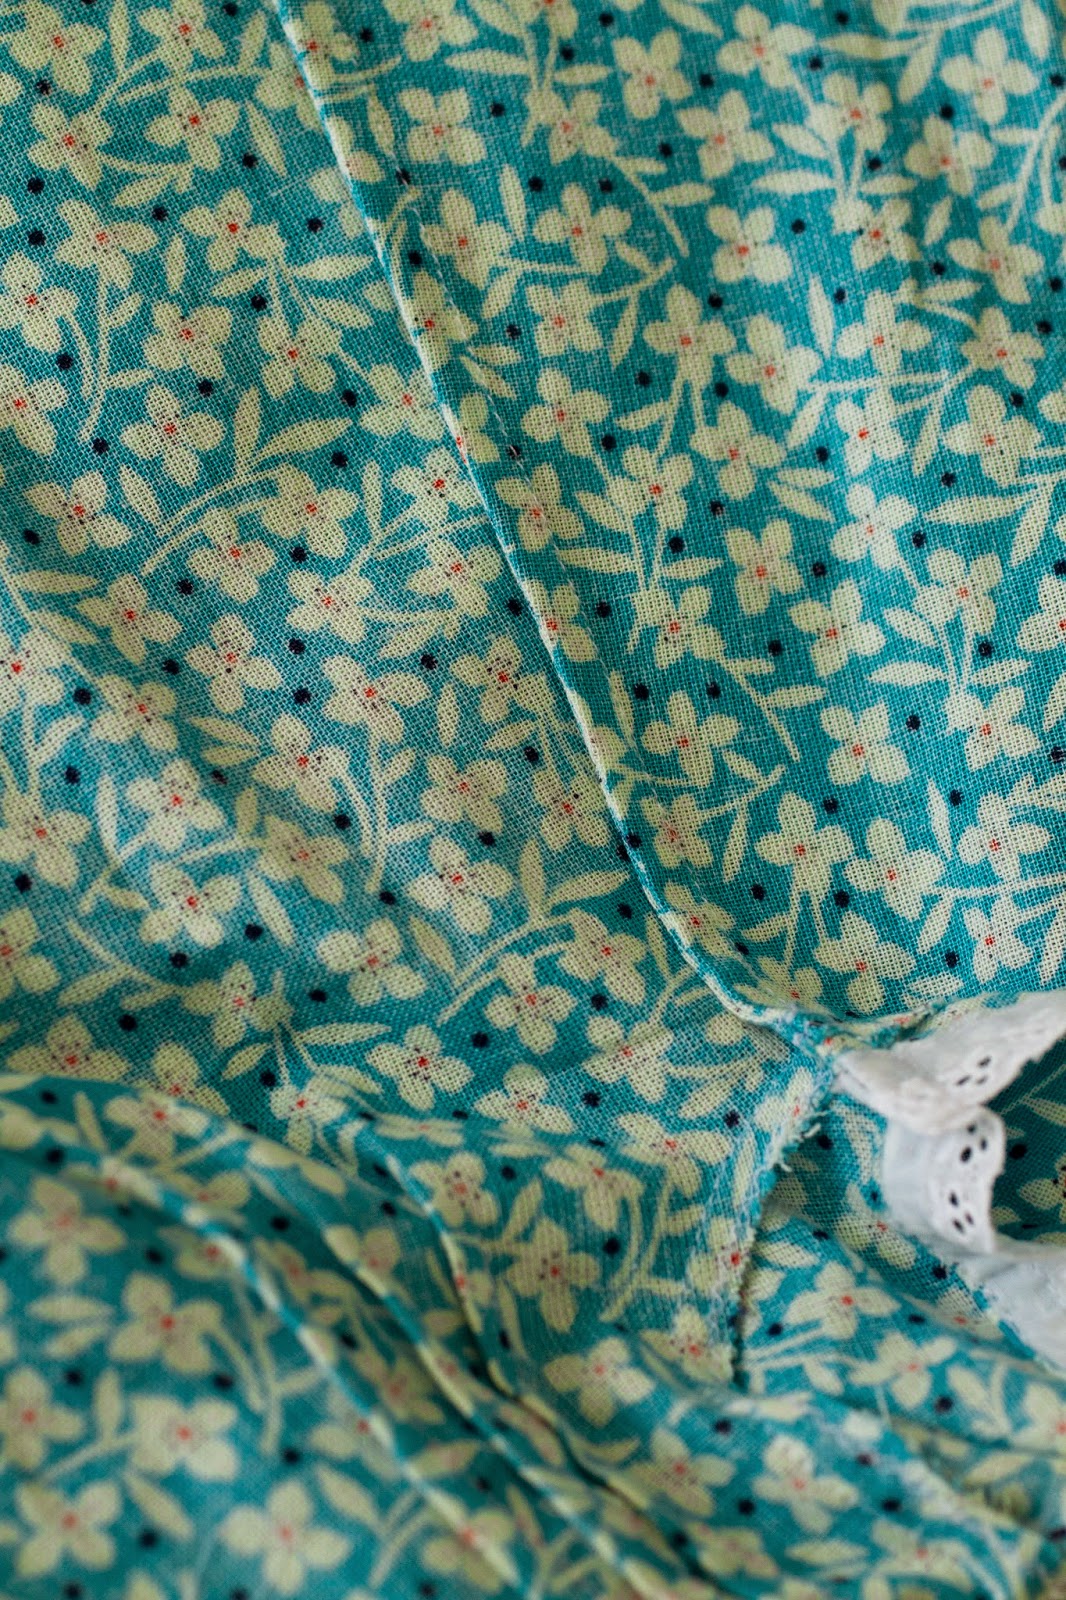
Numa cidade perto da minha casa em Inglaterra, havia uma loja de tecidos que era uma autêntica caverna de Ali Babá. Tinha os habituais rolos de tecido, mas havia também uma série de cestos a abarrotar de retalhos, que eram vendidos a peso. Todos os tecidos nesses cestos tinham defeito (alguns pequenos, outros maiores). Este tecido cor-de-rosa com cornucópias cor-de-laranja veio de um desses cestos. É um tecido curioso: muito leve, difícil de coser até (andei às voltas com a tensão da minha máquina e com a pressão do calcador), que muda de cor quando é engomado (quando arrefece volta ao normal). Parece-me ser de algodão, porque não tem nem o cheiro nem o toque do poliester, e não é muito apropriado para um vestido porque é transparente. Mas como eu queria experimentar o molde, mas simultaneamente não me apetecia perder tempo com uma prova em pano cru, decidi usar este tecido. Acho que dá perfeitamente para ser usado como saída de praia.
3. Alterações
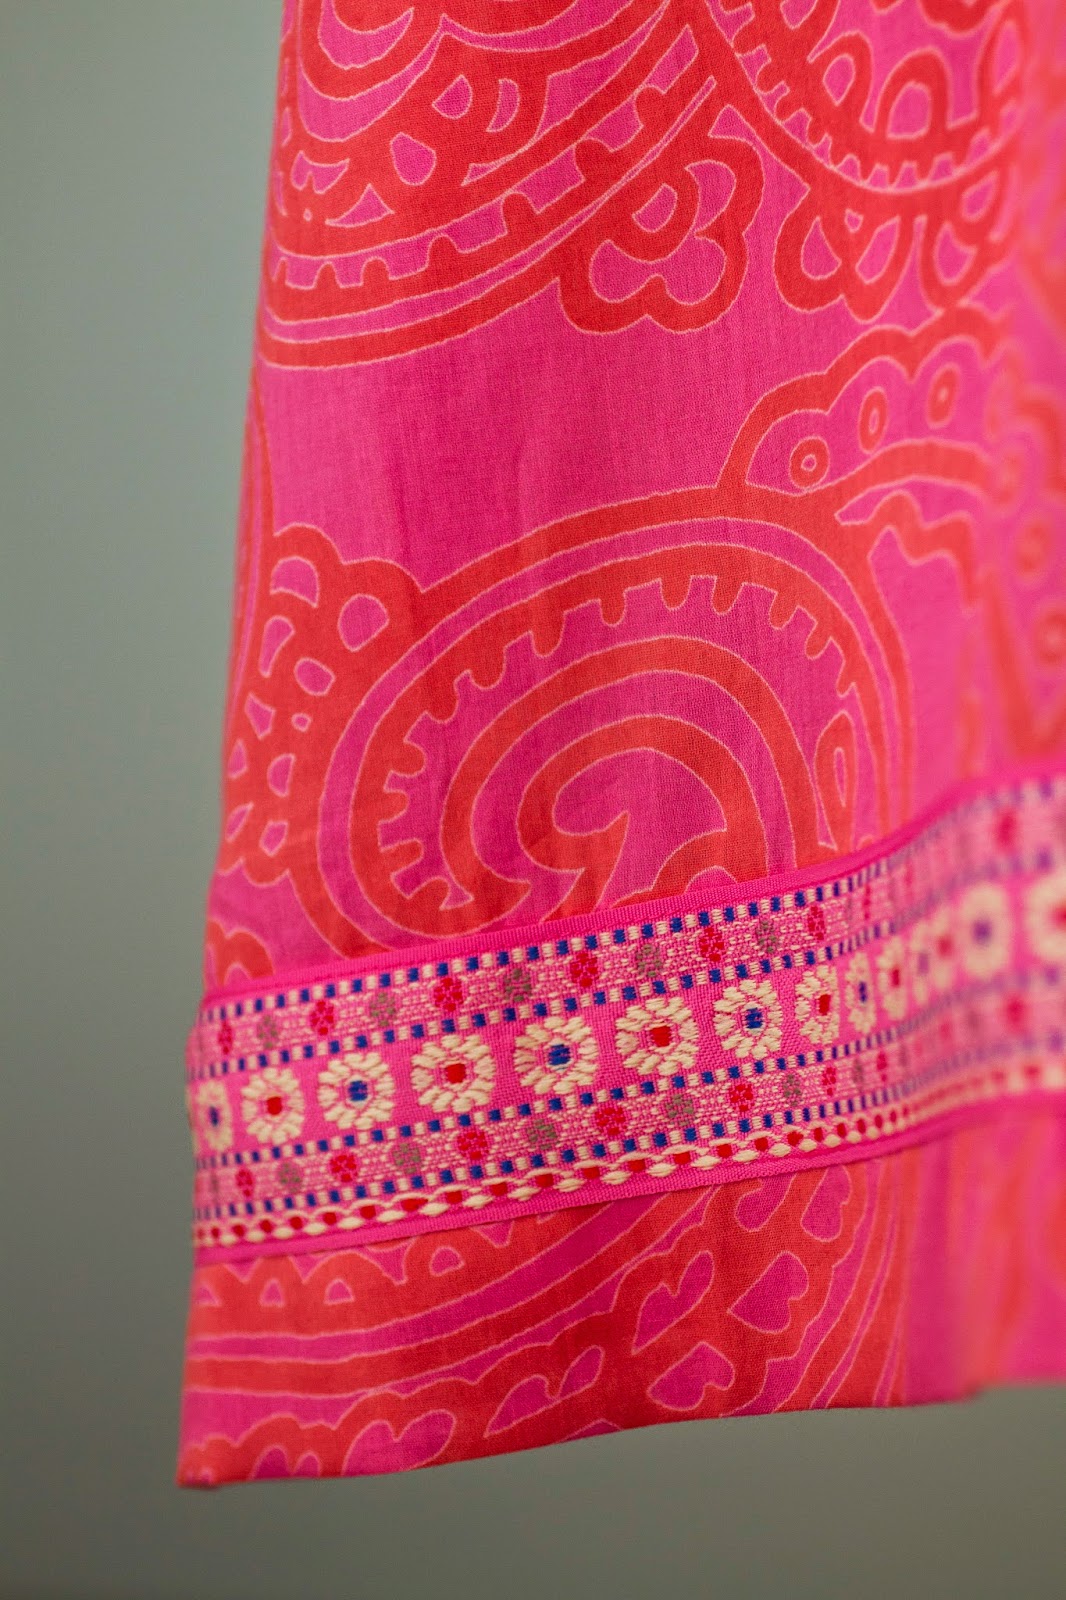
Normamente descrevo em pormenor as alterações que fiz porque acho que o meu texto poderá vir a ser útil a outras pessoas que comprem o mesmo molde (eu vou sempre espreitar o que já foi feito antes de comprar um molde). No entanto, como este é antigo e raro (não encontro uma única referência a ele na internet), acho que não vale a pena alongar-me. Assim que saltem à vista, as modificações que fiz foram não fazer casas nem pregar botões na carcela, cortar o vestido com um comprimento entre túnica e vestido abaixo do joelho (para tentar contra-balançar o volume) e aplicar um galão na bainha, porque o tecido ao longe parece liso e a barra ajuda a cortar esse efeito.
4. Notas finais
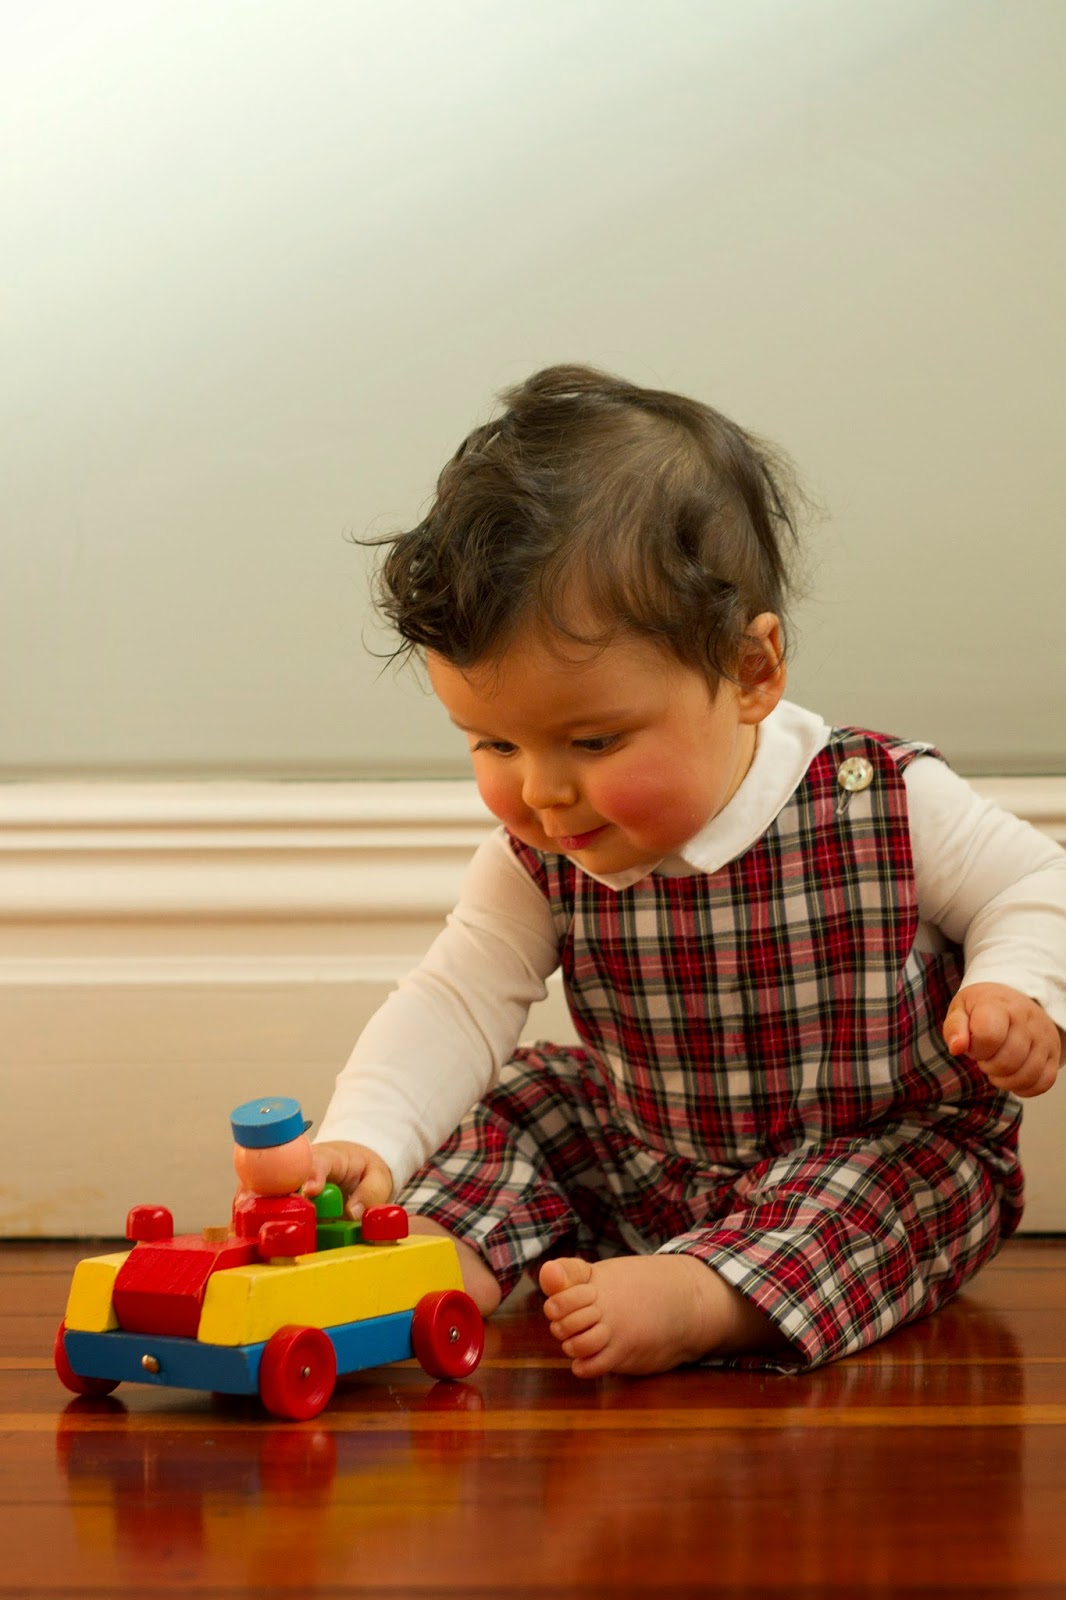
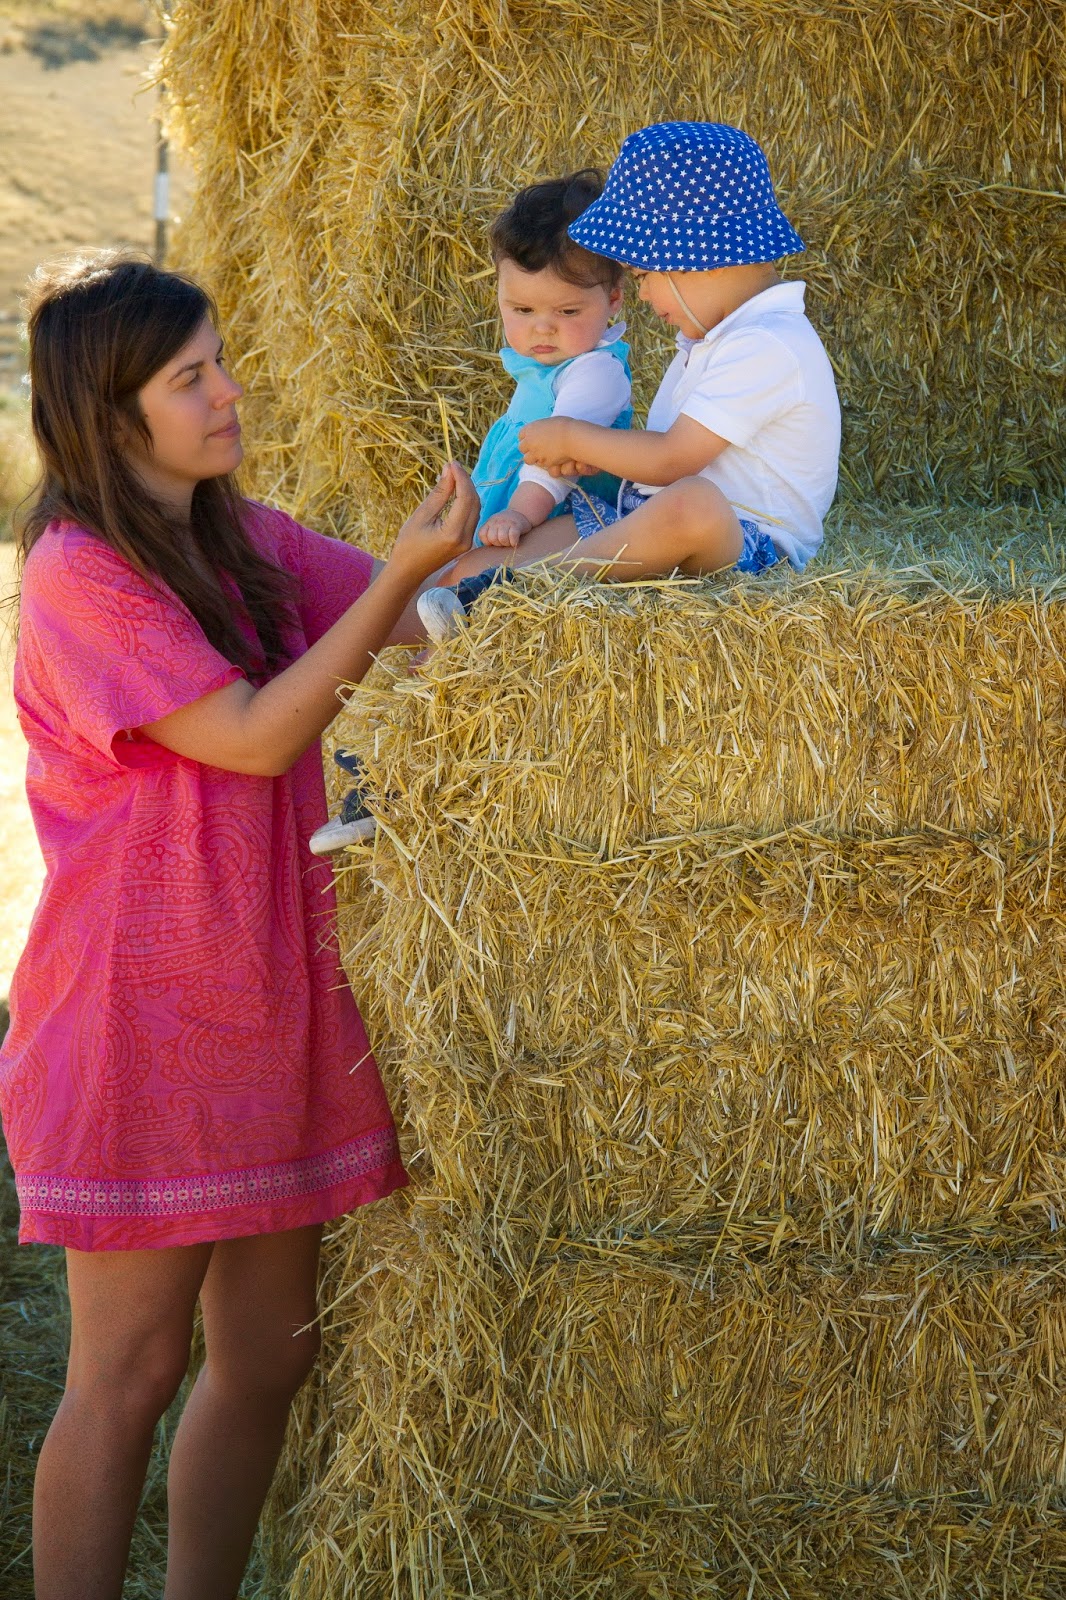
Em relação às fotografias… há qualquer coisa de ridículo nisto de nos pormos a fazer poses em frente à máquina para mostrarmos a roupa que fizemos e depois publicarmos as imagens na internet. Há quem o consiga fazer muito bem, mas eu? Nem por isso. Ainda pensei mostrar apenas as fotografias do vestido no manequim, mas não há dúvida de que a roupa ganha outra vida quando é vestida, por isso deixo aqui uns outtakes de uma sessão fotográfica que fizemos em cima de uns fardos de palha, durante as nossas férias na costa este da NZ.
Enfim. Voltando ao vestido, é um saco de batatas muito confortável e vou voltar a fazê-lo, mas para a próxima num tecido melhor.
Sometimes I feel like I’m the Grinch of dressmaking: I’m always thinking things like “so many steps! I can’t believe this takes sooo looong! all this dealing with the paper patterns, cutting fabric, deciphering instructions, press, sew, press, sew…”. But sewing clothes is a bit like going through labour —it’s painful but when you look at the result, you feel like it was all worth it. That curious phenomenon of selective memory also occurs: all the difficult bits are wiped out and you only recall everything you’ve learned along the way, how much you’ve grown as a human being, how you’re a much better person now…
I’m kidding, of course, but let’s all agree that making clothes is indeed a lot of work. So if I keep whining about it (in silence! or maybe not?…) why do I insist on doing it? Well, the fact is that making clothes is great. Even if the resulting garments look homemade, if the sleeves aren’t properly set in, if you can spot the odd puckering, if the hems are a bit wavy, if the pleats are inconsistent… Taking a flat piece of fabric and turning it into something you can actually wear is fabulous. You feel powerful, independent, the creator of something! In addition to this and as far as I’m concerned, shopping for clothes in NZ is hard. I know we’ve all got different tastes and I don’t want to say bad things about NZ, as it’s a wonderful country filled with good people. But I haven’t bought new clothes for years so, at the moment, I haven’t got much to wear. That means that, if I can’t buy, I must sew.
Well, my skills in this area are very limited, I can’t alter a pattern and I am incapable of shifting darts, correcting shoulders, etc. etc., so I have to start by making simple clothes. In past years I’ve sewn a few dresses (some of which have been worn more than others), a t-shirt (which I must make again because I wore that one until it almost fell apart), pyjama bottoms and children’s clothes. I’ve been buying lots of vintage patterns (I’m hoping to put some up for sale soon) and I decided to try making a 1980s potato sack. Let me tell you all about it:
1. PatternStyle 4090 (© 1984). Here’s what caught my eye: the collar and placket, the kimono sleeves and that band (in the shorter version of the sleeves), the fact that it’s loose and therefore cool. And, of course, the fact that it’s easy to sew. Potato sacks don’t have to fit very well because they aren’t flattering on anyone. No, I’m lying: they do look great on skinny women but since I’m miles away from that category… But you know what? Life is short and summers in NZ are hot and humid, and dresses like this one are cool and comfortable to wear.
2. FabricIn a city near my house in England, there was a fabric shop that was a real Ali Baba cave. In addition to the usual rolls of fabric, there were these baskets with remnants that were sold by weight (every remnant had some kind of flaw). This fabric came from one of those baskets. It features orange paisleys on a hot pink background and it’s a funny sort of material: very lightweight, quite hard to sew (I had to mess around with both the tension in my machine and the pressure of the foot) and it changes colour when it’s pressed (as soon as it cools down it goes back to normal). It looks like cotton to me because it doesn’t smell or feel like polyester, but I can’t be sure, and it’s not really appropriate for a dress because it’s sheer. But I really wanted to try out this pattern and I wasn’t feeling like making a toile out of, you know, muslin, so I went with it anyway. I think it’s perfectly acceptable as a beach cover-up.
3. AlterationsUsually I write about all the alterations I’ve made to the pattern I’m blogging about because it might be useful to someone who’s contemplating using the same pattern (before I start sewing something I’ll always look for how people have interpreted the pattern in question). However, since this is an old and apparently rare pattern (I can’t find anything online about it), I’ll be brief: I skipped the buttons and buttonholes on the placket, I cut the length somewhere between tunic and dress (to balance out all that volume) and I stitched a jacquard ribbon near the hem.
4. Final notesIn regard to photographs… I can’t help but feel that there’s something a bit ridicule about this whole thing of posing for clothes photos and posting about them on the internet. Some people can get away with it — but me? Not really. So I thought of only showing you the dress on the dress form but that felt a bit short… clothes do get a new life when they are being worn by a person. So here are a couple of outtakes from a photo session we did during our holidays on a hay field.
Anyway, back to the dress. It’s a very comfortable potato sack and I’ll make it in a better fabric next time.