An indie holiday story

Ainda na onda natalícia, o Indie Fixx inaugurou hoje uma rúbrica dedicada a decorações e tradições de Natal de bloggers e crafters pelo mundo fora. Se quiserem ir espreitando, o link é este.
Keeping the holidays spirit alive, Indie Fixx is featuring Christmas decor and traditions of selected bloggers and crafters (starting today and through Christmas Day). In case you are interested, here’s the link.

Árvore de Natal :: Xmas tree

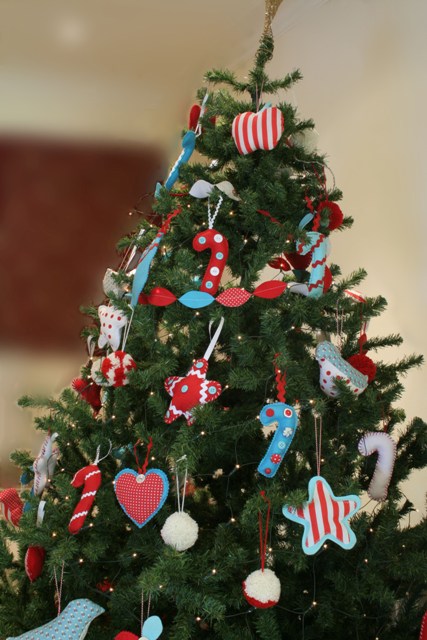
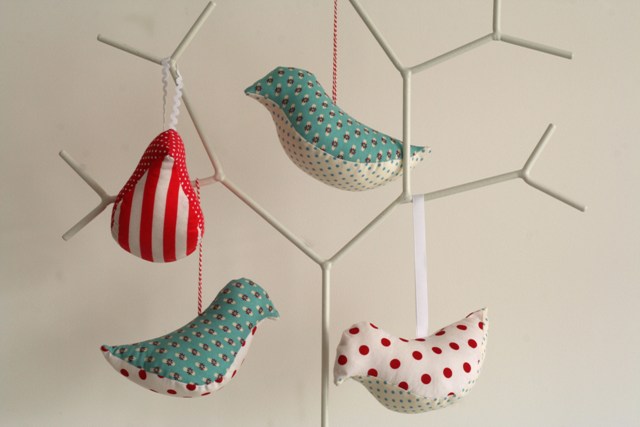
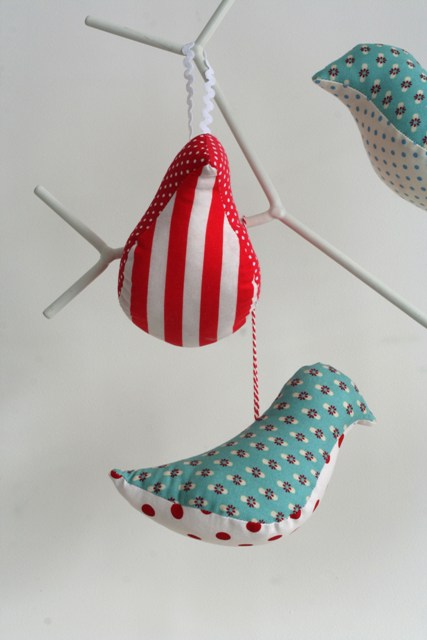
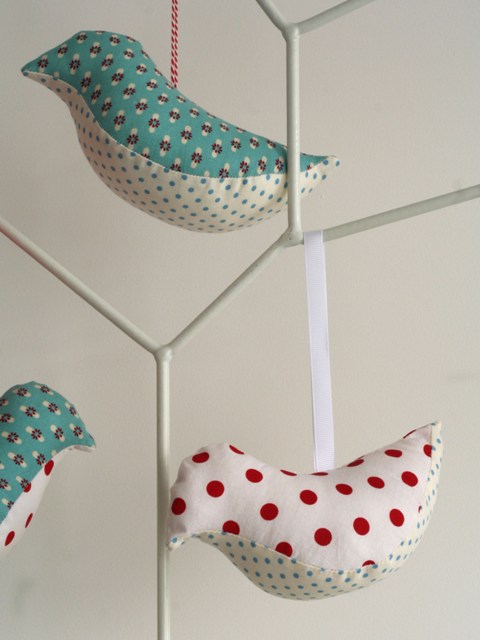
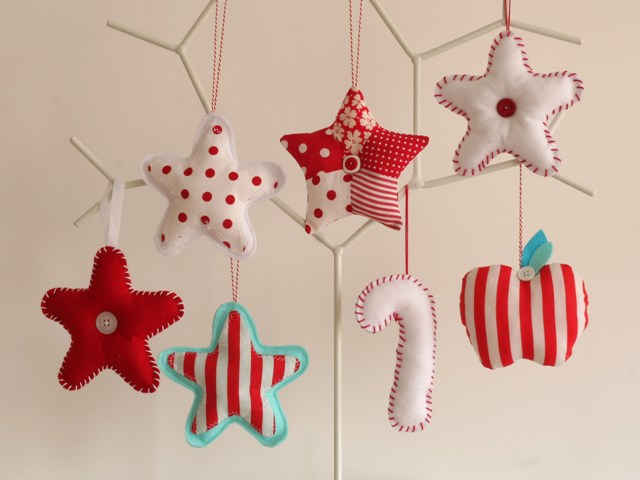
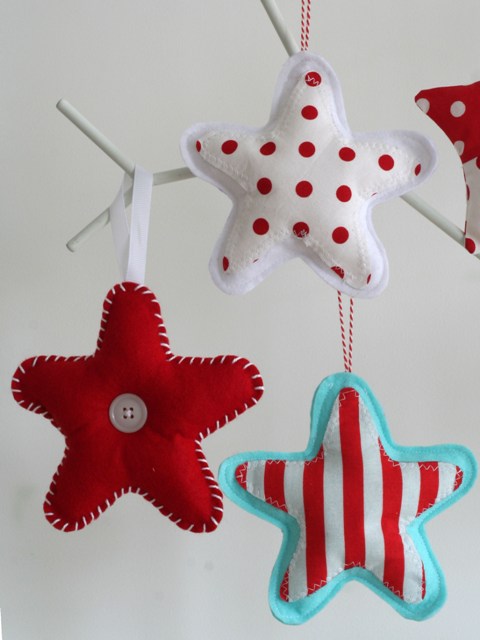
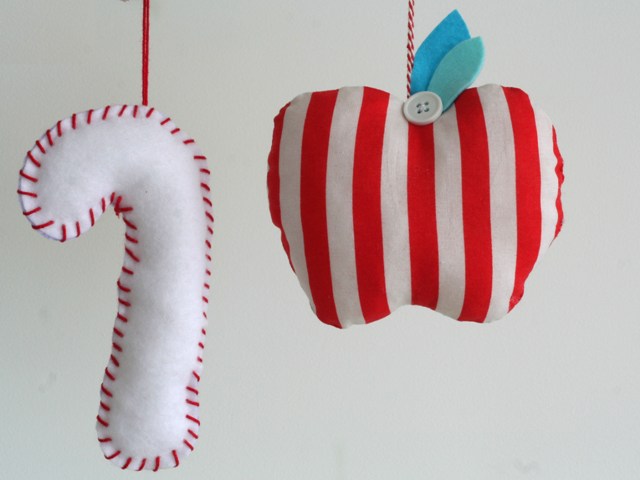
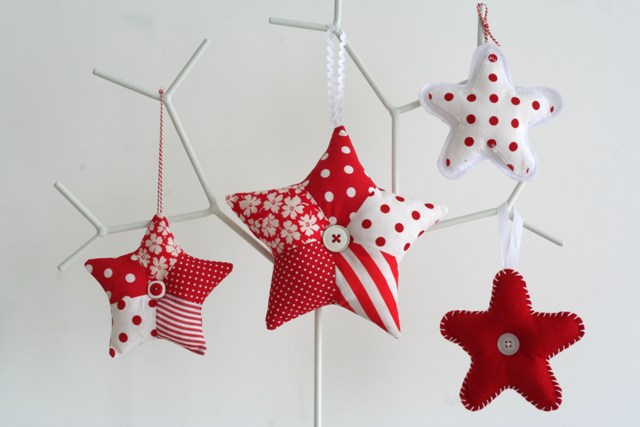
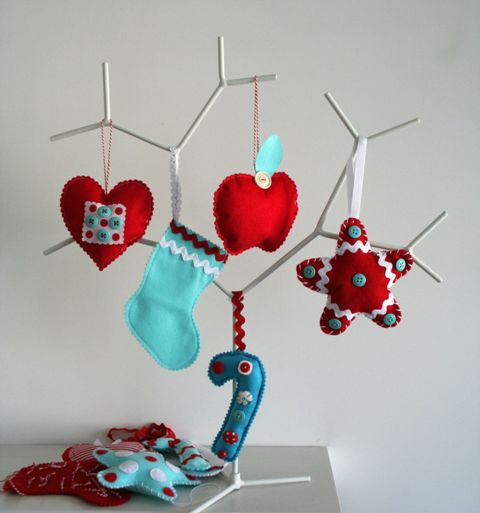
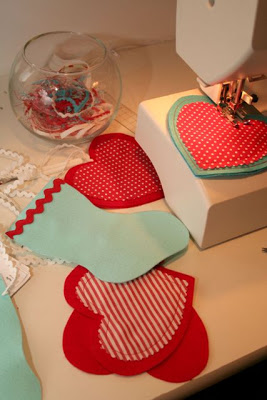
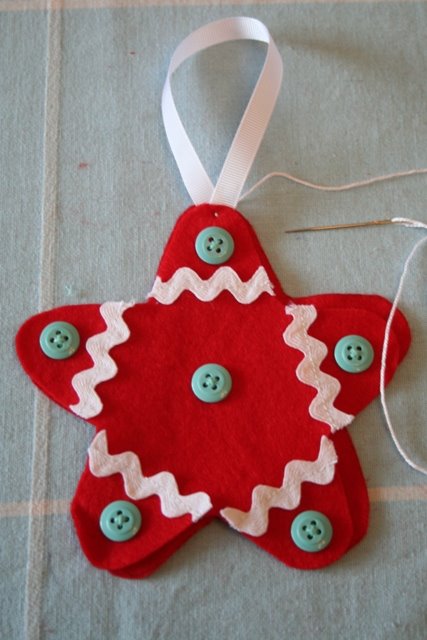
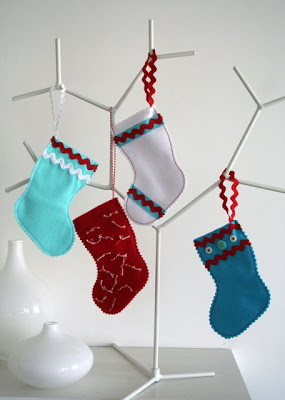
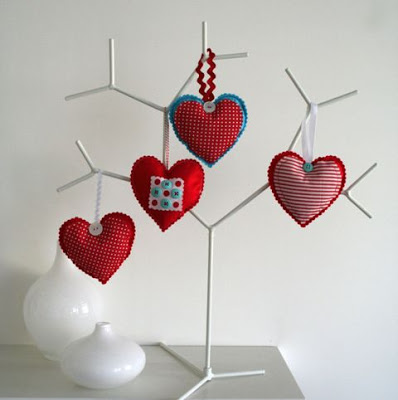
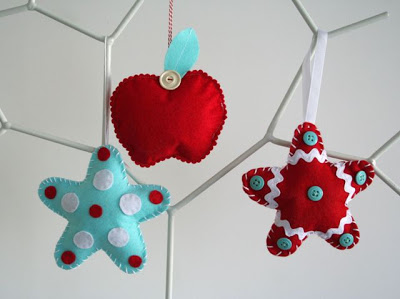
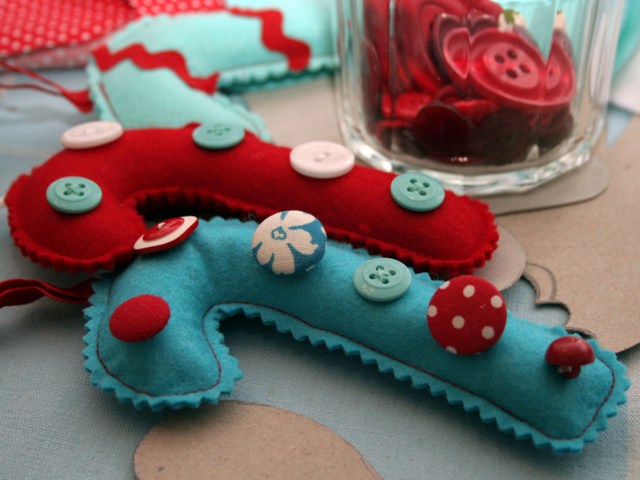
Sabe tão bem dar um projecto por terminado e ficar satisfeita com o resultado. Estes enfeites, cuja criação e evolução fui mostrando ao longo deste mês, foram encomendados pela minha sogra; hoje à tarde estivemos a pendurá-los na árvore. Agora vou atirar-me aos presentes de Natal!
~
It feels so good to conclude a project and to be happy with the result. These ornaments, whose creation and evolution I’ve been showing you these last few weeks, have been commissioned by my mother-in-law; today’s afternoon was spent hanging them on the Christmas tree. Now it’s time to start making those last-minute Christmas gifts!

Grinalda / Garland

Uma árvore de Natal não fica completa sem uma grinalda. Lembrei-me de cortar folhas de feltro e de tecido e cosê-las umas atrás das outras, sem nunca cortar a linha. Será que 4 metros chegarão?
A Christmas tree isn’t complete without a garland. I cut felt and fabric leaves and then chain sewed then. I wonder if 4 metres are enough…

How to Make Christmas Ornaments

Why buy Christmas ornaments that look handmade when you can actually make them so easily? Sharon from The Key Bunch requested me for instructions on making Christmas ornaments so I’ve tried to document all the steps you need to take when making your personalised ornaments. So, this is not really a tutorial, but rather a bunch of suggestions written in an orderly manner. Shall we get to it?

1- First of all, you may want to look at some books, magazines, blogs and flickr photos for inspiration. Decide on shapes and look for patterns online. That’s right, I’m not going to provide you with any template, sorry! Just google ‘candy cane’, ‘Christmas stocking’, ‘gingerbread man’, ‘mitten’, ‘heart’ or — even better — draw your own shapes. Then assemble all your materials: various pairs of scissors, a pencil/pen, your glasses (optional), as many types and colours of thread as you wish, baker’s twine (if you own it), loads of buttons, fabric scraps, rick-rack, ribbon, pins and needles. You may notice that I’ve chosen a very limited colour palette because I believe that’s the key to success. But of course you can go wild and pick all the colours of the rainbow.

2- Gather all your felt scraps and turn your radio on!

3- I decided I’d make my templates the old-fashioned way: first I printed them out and then traced over them using some tracing paper I found at the bottom of a drawer (I think I have these sheets since primary school). I then traced the shapes onto a cereal box for durability.


4- Trace all your shapes onto felt and cut them neatly. Always trace and cut in pairs because you’ll be stuffing the ornaments later.


5- Here they are all cut and ready to be embelished.


6- Now comes the fun part: play around with rick-rack, ribbon, buttons and scraps until you are happy with how it looks. Then sew everything onto your ornament piece. There are so many possibilities here that I had to choose and show you how to make only one type of ornament. That means that from now on you’ll watch how to finish this star; then at the end of this set you’ll see other examples of ornaments you can make.

7- Let us get back to the star: make a loop (you’ll want to hang it on a tree branch, right?) and begin sewing the front and the back pannels together.

8- You can do it either by hand or machine and use different kinds of stiches. Here I sewed it by hand using the simplest stitch ever.


9- When you’re nearly finished, grab a bit of polyfill and stuff it through that little opening. You may want to use a chopstick or other pointy tool to get the stuffing in all the tiny and tricky places.

10- Close the opening. You’re done! 🙂


As I said, I’ll show you other examples of things you can make using this technique. Have fun and if you make something based on these instructions I’d love to see it!