Progress(o)

Já comecei a cortar os tecidos para o coin quilt: 108 rectângulos de padrões entre o azul, o encarnado, o cor-de-rosa e o branco. Agora vem a parte aborrecida: cortar 109 rectângulos brancos. E a seguir virá a parte mais gira: escolher a localização de cada rectângulo… mal posso esperar!

I have already started cutting fabrics for the coin quilt: 108 blocks in blue, red, pink and white. Now comes the monotunous part: cutting 109 solid white rectangles. And then it’ll come the fun part: choosing where each print goes… I can’t wait!

(images: Constança Cabral)


Coin Quilt Piece-Along

Ando cheia de vontade de fazer um quilt a sério. Prometi a uma amiga que lhe dava o meu primeiro quilt mas também me apetece fazer um cá para casa… será sensato começar dois quilts simultaneamente? Gosto de esquemas simples (quadrados, rectângulos) e há um em especial que me está a tentar: o coin quilt sugerido por estes blogs. O esquema é este e até há um grupo no flickr para se ir partilhando os progressos. Tenho tantos retalhos e tanta vontade de os usar que acho que me vou mesmo lançar nesta empresa. Amanhã partimos para uns dias em Marrakech (espero lá encontrar tecidos giros!), mas quando voltar tenciono dedicar-me a este novo projecto.
I’ve been feeling the urge to make a real quilt. I’ve promised a friend that I’d give her my first quilt but I’d also like to make one for our home… is it wise to start two quilts simultaneously? I’m fond of simple patterns (squares, rectangles) and there’s one that’s been tempting me: the coin quilt suggested by these blogs. The pattern is here and there’s even a flickr group dedicated to it. I have so many scraps that I so badly want to put into use so I think I’m definitely going to join this venture. Tomorrow we leave for a few days in Marrakesh (I hope I’ll find nice fabrics there!) but when I come back I’ll dedicate myself to this new project.

Step-by-step quilting – part 3


Tadaa! Depois de tanto suspense, cá está o quilt! O meu primeiro quilt! Sim, é pequeno. Não, não sei qual é a sua utilidade. Mas fazê-lo deu-me imenso gozo e gosto muito dele!
Tadaa! After all the suspense, here is the quilt! My first quilt! Yes, it’s rather small. And no, I haven’t the slightest idea what it can be used for. But making it gave me so much pleasure and I love it!

Step-by-step quilting – part 2

Resta-me então falar do binding: foi preciso cortá-lo (em duas vezes, devido ao perímetro do quilt), coser as duas tiras uma à outra, aplicá-lo à máquina no direito do quilt e cosê-lo à mão no avesso. Trabalhei com um binding a direito (e não cortado em viés) principalmente por razões de economia de tecido.
Well, finally let’s talk about the quilt’s binding: I had to cut it (twice, due to the quilt’s perimeter), sew the two strips together, machine-sew it on the right side of the quilt and hand-sew it on the back. I worked with a straight binding (as opposed to one cut on the bias) mainly for economy reasons.

Pela primeira vez na vida usei um dedal. Não consigo gostar dos dedais rígidos em metal e a minha mãe ofereceu-me um em pele com uma parte reforçada em metal: aqui está ele. Adorei usá-lo e reconheço que é essencial.
For the first time in my life I wore a thimble. I can’t stand those rigid, metal thimbles so my mum bought me a leather one that has a dimpled disc inserted at the fingertip for extra protection: you can see it here. I loved using it and I admit it’s indispensable.


Não consegui tirar uma fotografia ao quilt acabado por isso terá de ficar para amanhã…
I didn’t manage to photograph the completed quilt so you’ll have to wait until tomorrow…

Step-by-step quilting – part 1

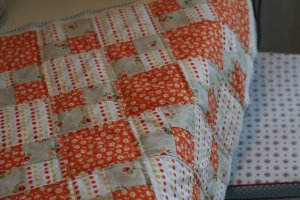
Finalmente acabei esta minha primeira tentativa de quilt. A parte de acolchoar sem walking foot não correu nada bem… como entretanto comprei um walking foot universal (marca Janome) aqui — graças à sugestão que a Soja –, resolvi desmanchar tudo e tentar novamente. Desta vez, fotografei o processo passo-a-passo.
I have finally finished my first quilting attempt. The actual quilting without a walking foot didn’t go well… but since I managed to buy an universal walking foot (Janome) here — thanks to Soja‘s suggestion — I decided to undo everything and start again. This time I photographed the process step by step.
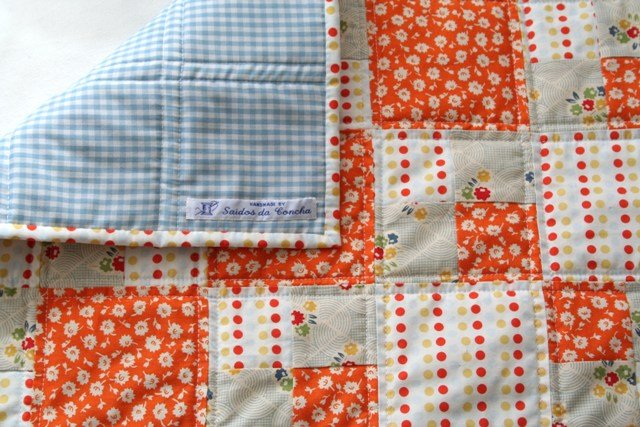
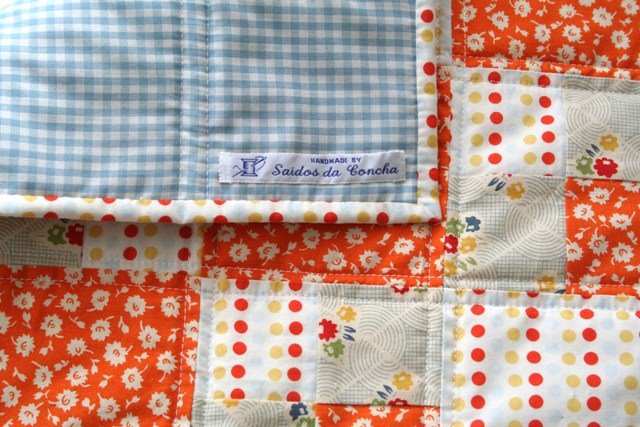
Isto é como o patchwork é no avesso. A ciência de engomar as costuras para um lado ou para o outro ainda não foi bem apreendida: limitei-me a seguir as instruções da professora.
This is what patchwork looks like on the back. The whole science of pressing the seams to on side or the other has not yet been mastered by me: I just followed my teacher‘s directions.


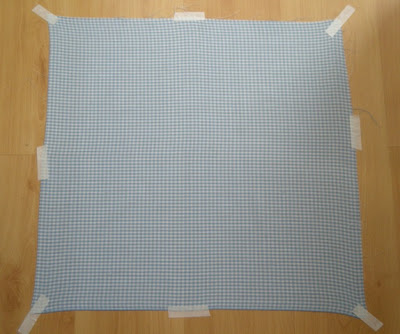
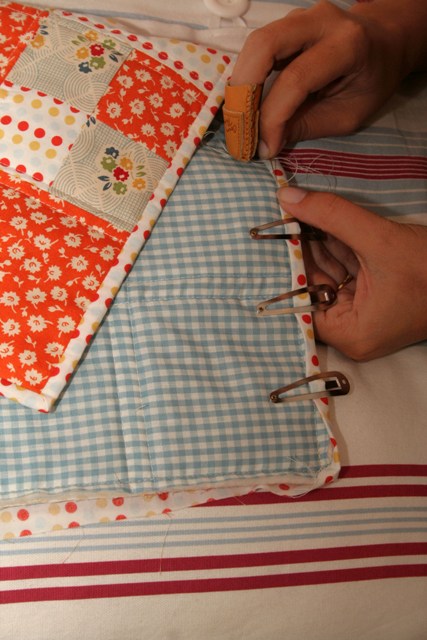
Depois fiz a sandwich: primeiro o backing, depois o batting e em seguida o top.
Then I made the sandwich: first the backing, then the batting and finally the top.

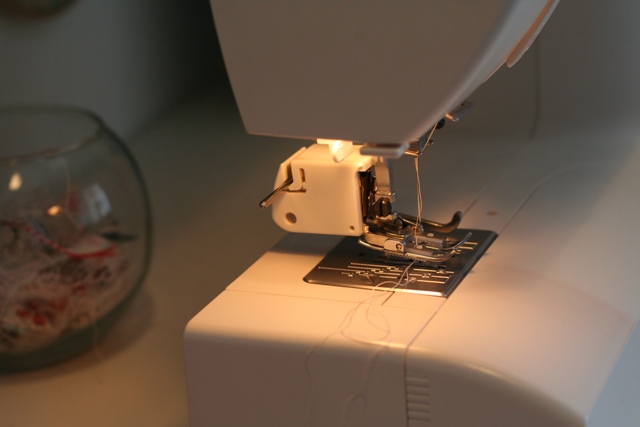
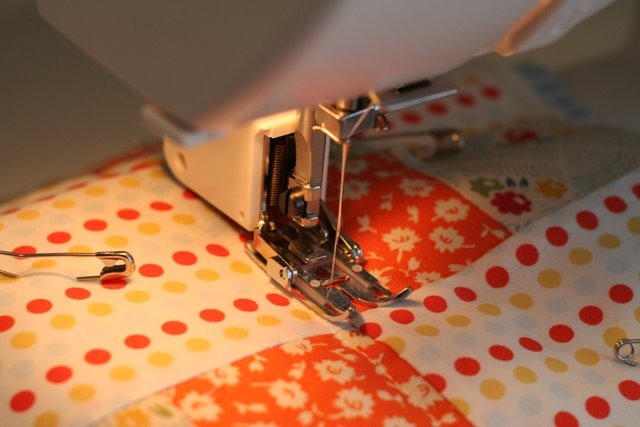
Aqui está ele: o meu walking foot! Já li muitas vezes que tentar fazer quilts sem as ferramentas adequadas pode ser muito frustrante e é verdade que o walking foot tornou tudo facílimo.
Here it is: my walking foot. Several times I have read that trying to quilt without the proper tools can be very frustrating , and it’s true that owning a walking foot made things so much easier.

Cá está ele em acção…

Here you can see it in action…

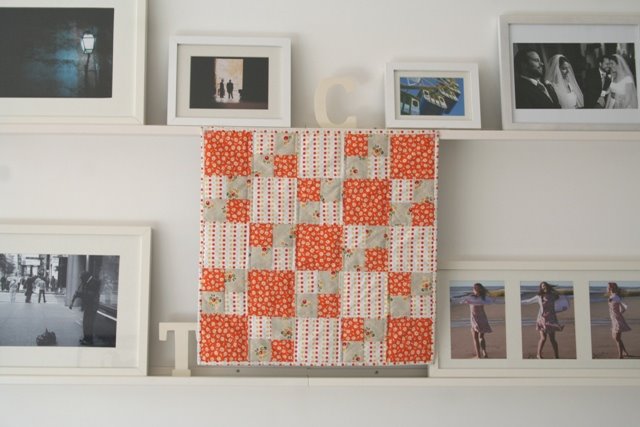
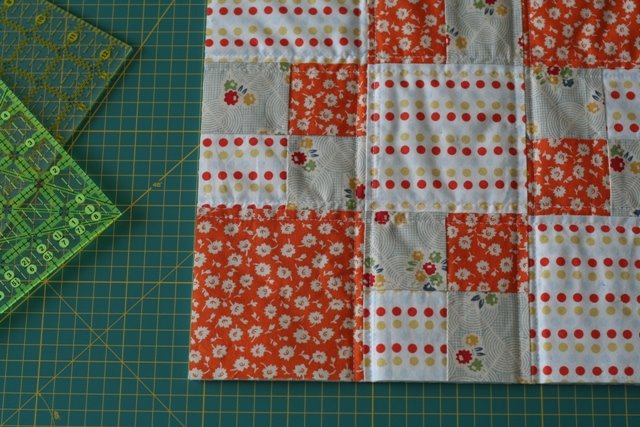
E aqui está o resultado final. Guiei-me pelas costuras exteriores dos quadrados e limitei-me a coser linhas paralelas e perpendiculares.
And here is the final result. I used the outer seams of the squares to simply sew parallel and perpendicular lines.

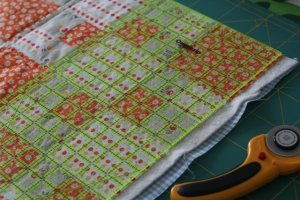
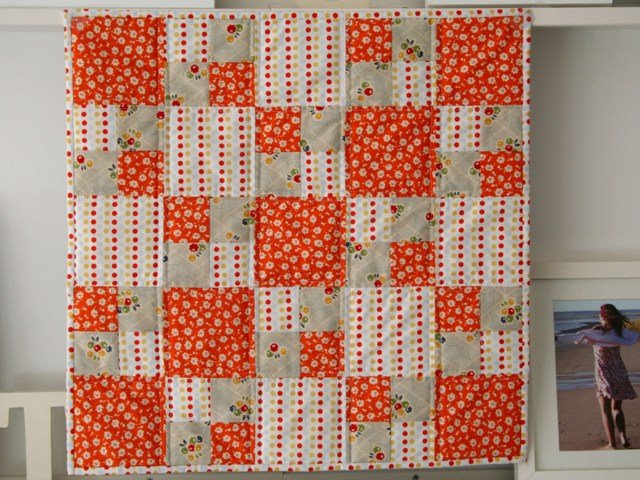
Depois foi tempo de acertar o quilt, cortando-lhe tudo o que estava a mais e tornando-lhe os ângulos rectos.
Then it was time to square up the quilt, cuting off the extra backing and batting and making the edges even.

Amanhã mostro como correu a parte do binding (ou, em bom português, debrum).
Tomorrow I’ll show you how the binding part went.