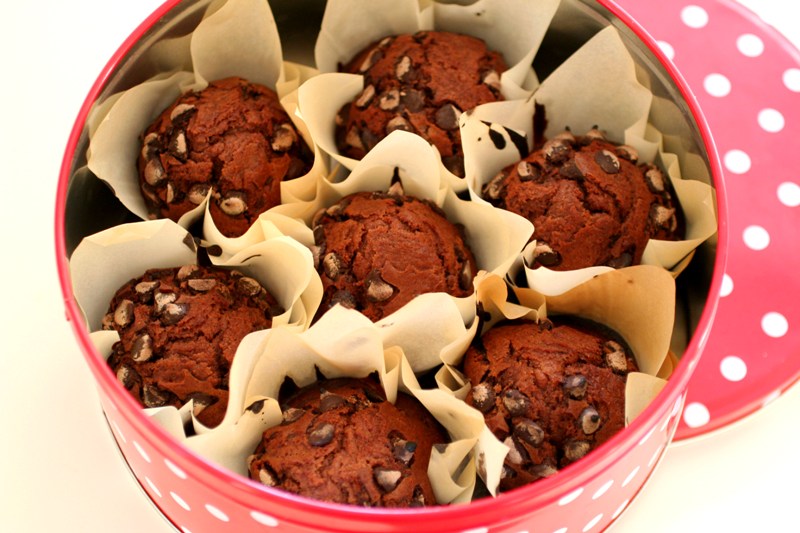
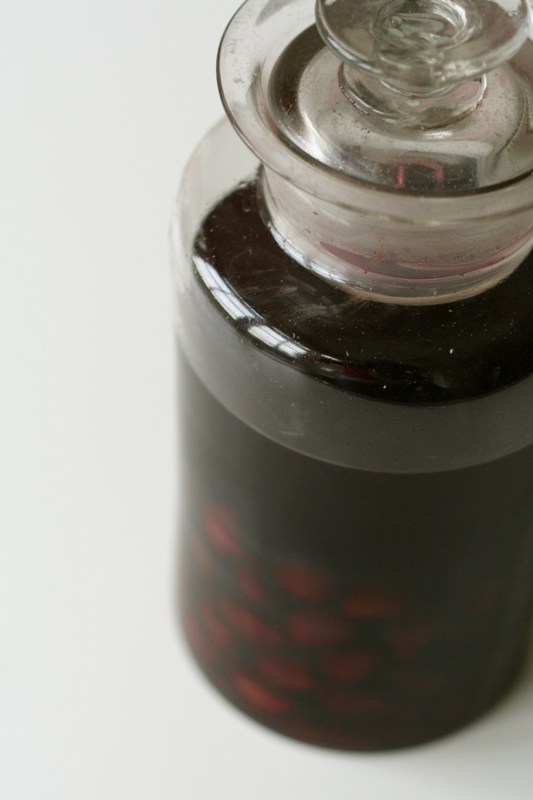
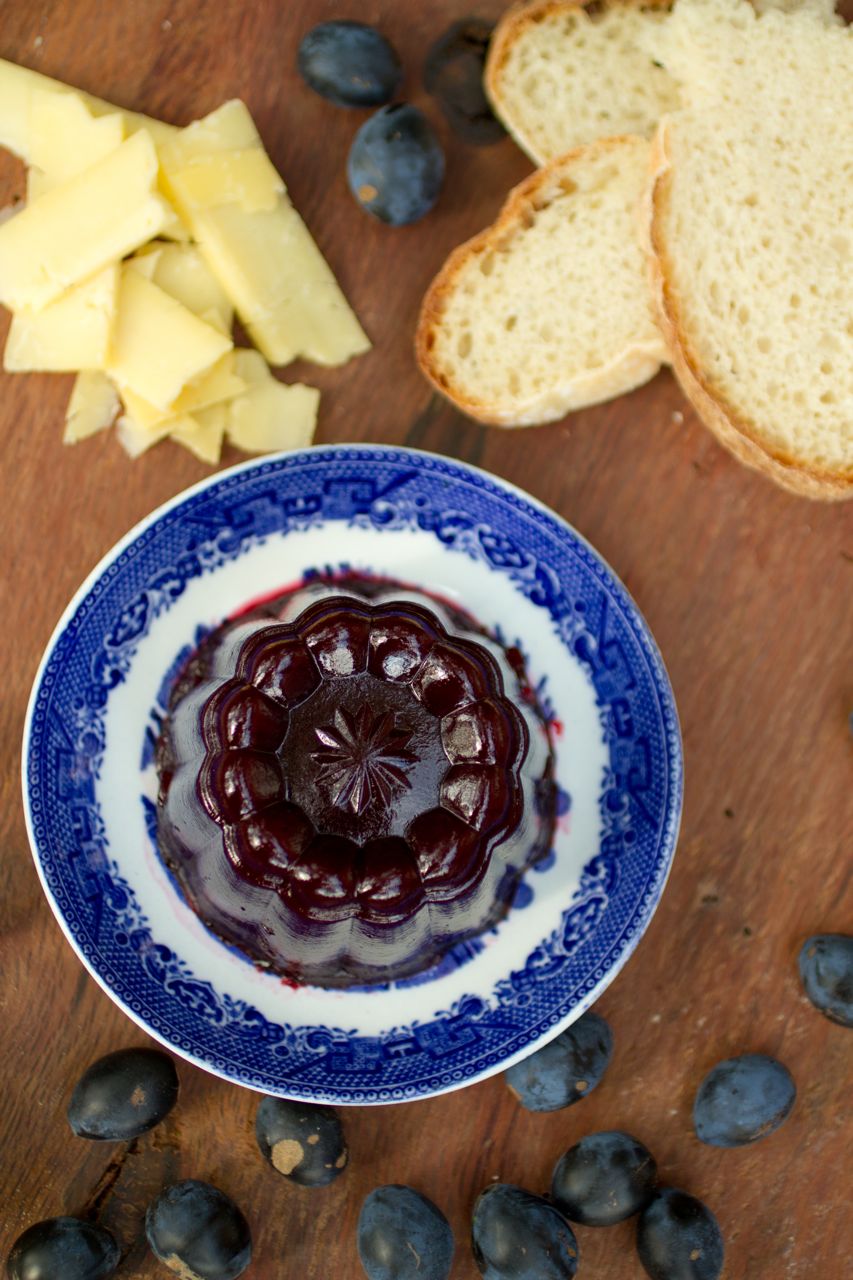
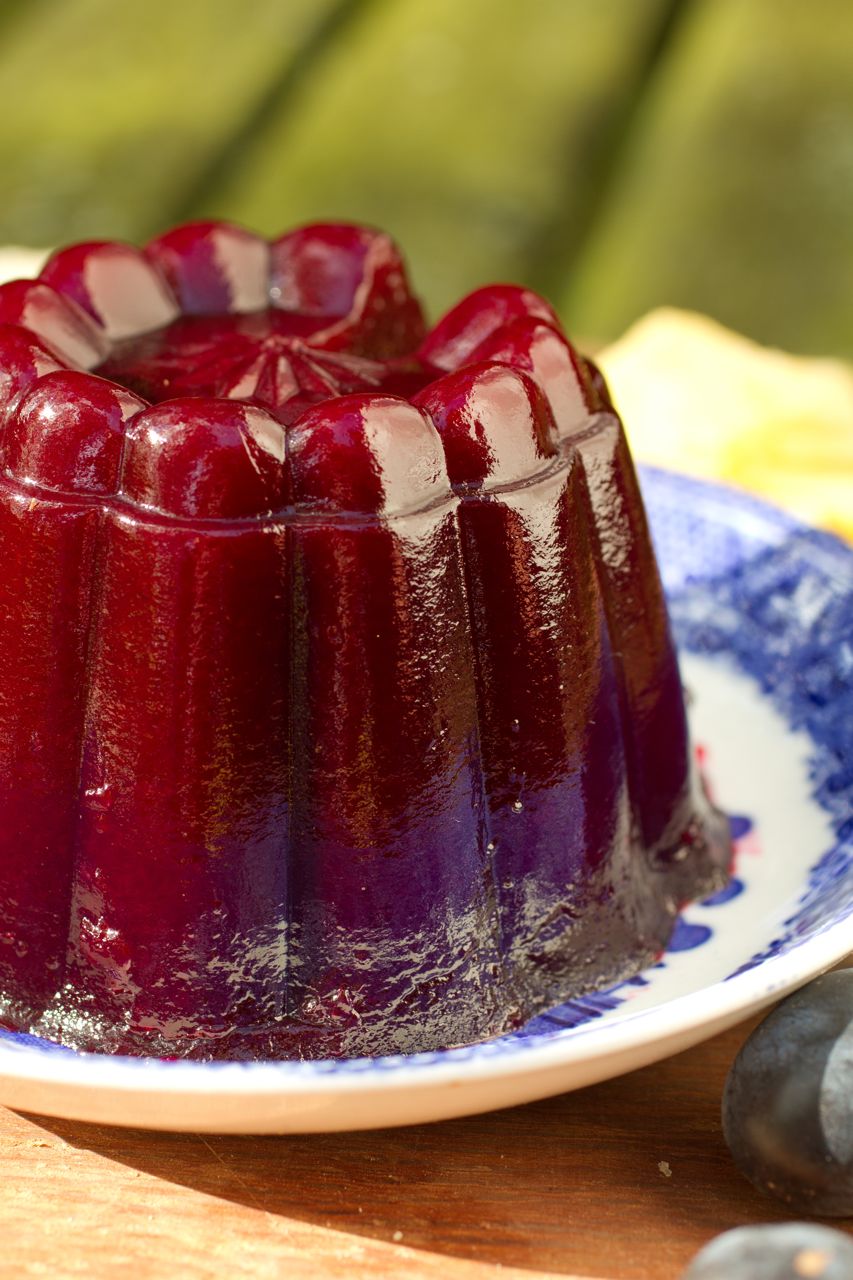
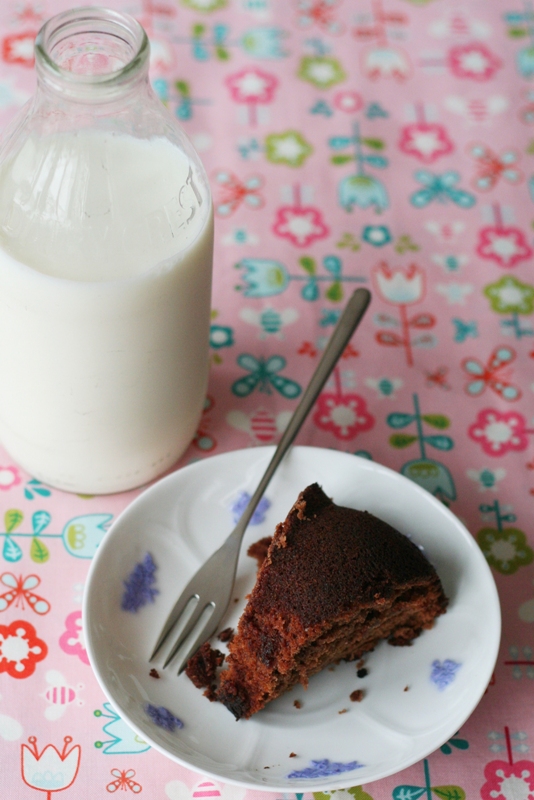
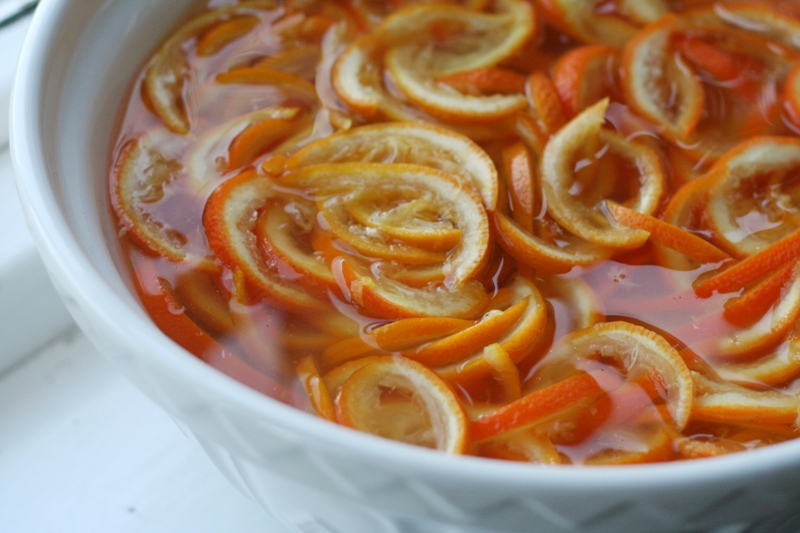
Ora cá está o doce de framboesa que fiz ontem. Ficou bom, não muito doce, e cheira e sabe a framboesas. Missão cumprida, portanto.
Hoje vou falar-vos de como faço as minhas conservas. Como já vos disse, antes de vir viver para o campo inglês nunca na vida tinha feito — nem tão pouco tinha visto fazer — doces em casa. Li uns livros, pesquisei na internet e simplesmente experimentei. A primeira tentativa não saiu mal mas foi uma atrapalhação: gerir tantas panelas ao lume ao mesmo tempo, sem saber bem o que se iria passar no momento seguinte, foi bastante confuso. Lavar a fruta, esterilizar os frascos e mantê-los limpos, quentes e secos, deixar derreter bem o açúcar, caso contrário o doce cristaliza, não deixar queimar, não mexer demasiado, fazer o teste do prato para ver se o preparado já gelificou, voltar a deixá-lo ferver violentamente mais 5 minutos, fazer novamente o teste… E depois deitar a mistura para dentro dos frascos, não os encher nem de menos nem de mais, limpar os gargalos, pôr as tampas, enroscá-las bem, e ferver os frascos cheios durante 10 minutos para os pasteurizar (na Europa ninguém liga nenhuma a isto mas nos EUA são obcecados com esta fase final)…
Claro que a prática ajuda imenso e hoje em dia já faço tudo isto quase de olhos fechados. Como é que eu fiz este doce de framboesa?
Comecei por pôr um prato no congelador. Lavei os frascos e esterilizei-os dentro de uma panela com água a ferver durante 15 minutos e depois pu-los a secar dentro do forno a 150ºC. A panela com água vai ser necessária no final por isso o melhor é baixar o lume mas manter a água quente. As tampas não podem ser fervidas porque se estragam: depois de bem lavadas, o melhor é pô-las dentro duma tigela e, na fase final, cobri-las com água quente (as tampas devem estar quentes para ajudarem a criar vácuo dentro dos frascos).
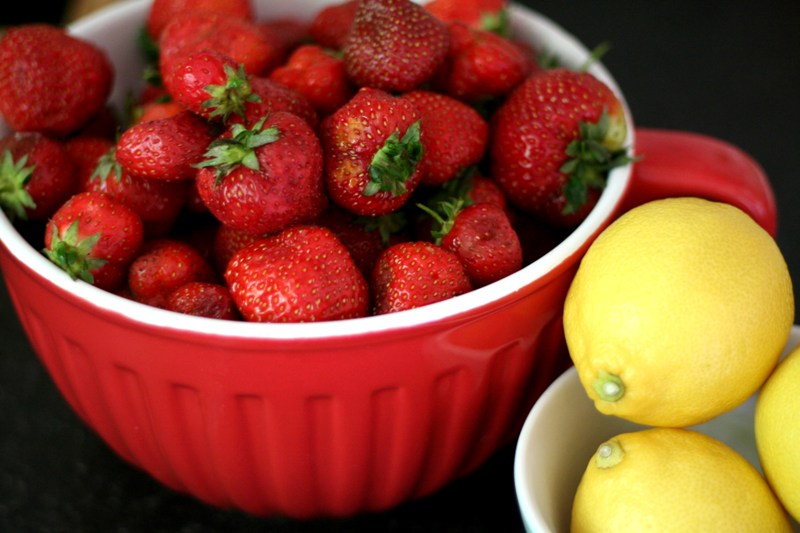
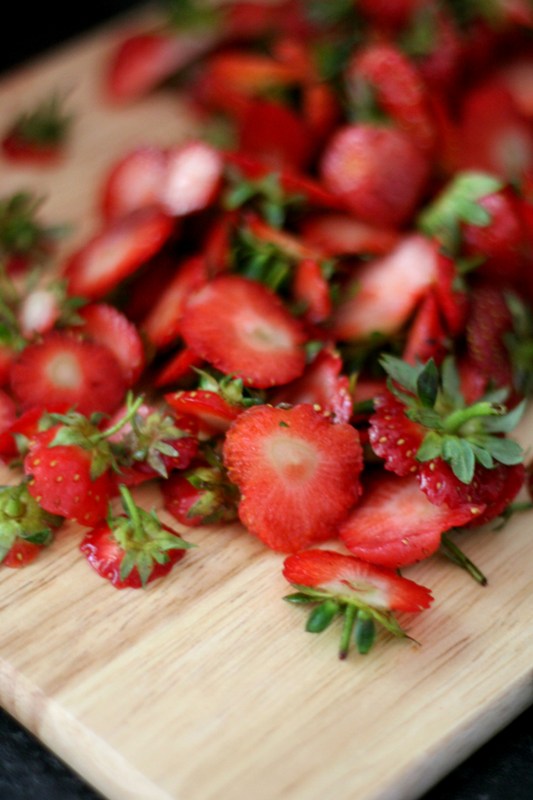
Lavei 1 kg de framboesas e pus metade das bagas dentro duma
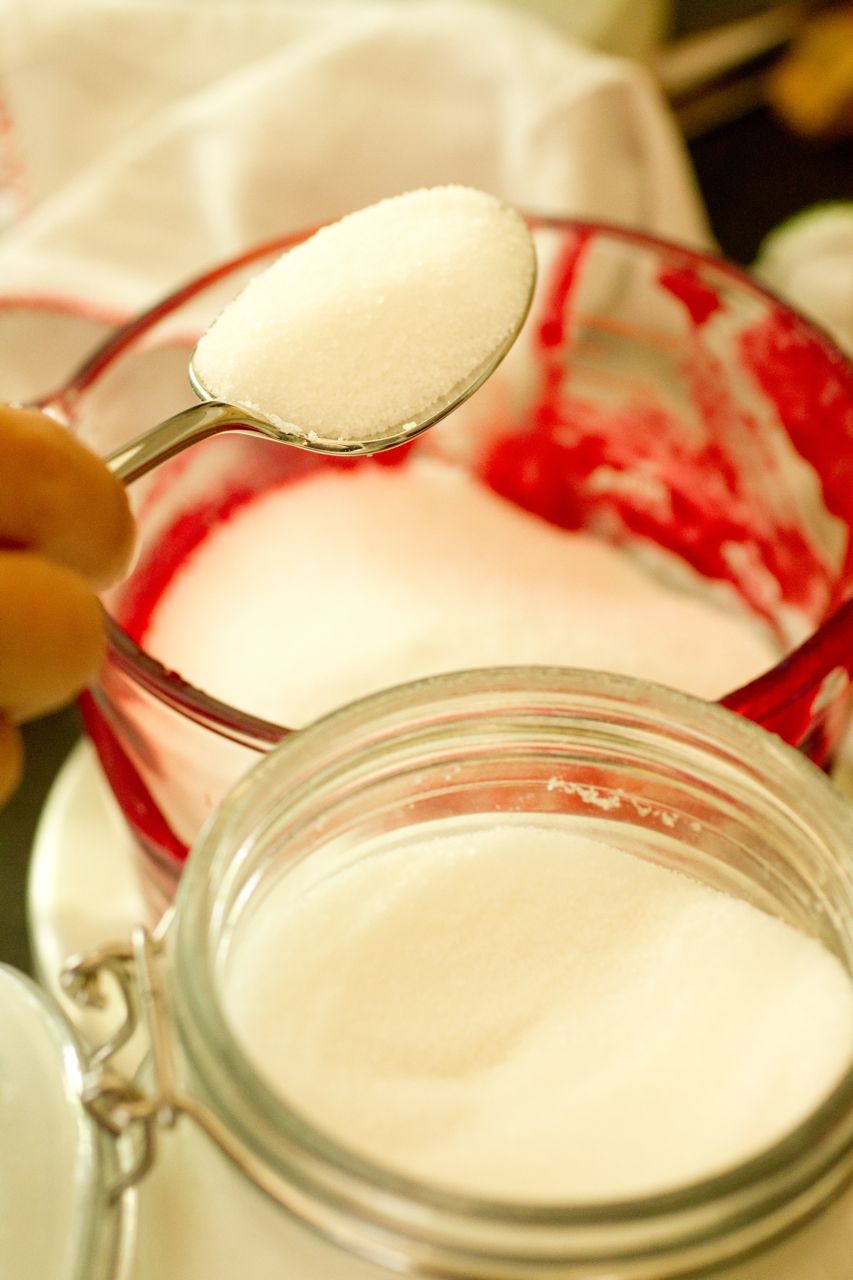
panela destas (que comprei após a primeira tentativa de fazer doce e que recomendo vivamente: é muito larga, o que facilita a evaporação da água, e o fundo é bastante grosso, o que evita que os docem se queimem) e esmaguei-as com um daqueles instrumentos para fazer puré de batata. Em seguida, deitei lá para dentro o resto das framboesas e 1 kg de açúcar (usei 500 g de açúcar refinado comum e 500 g de
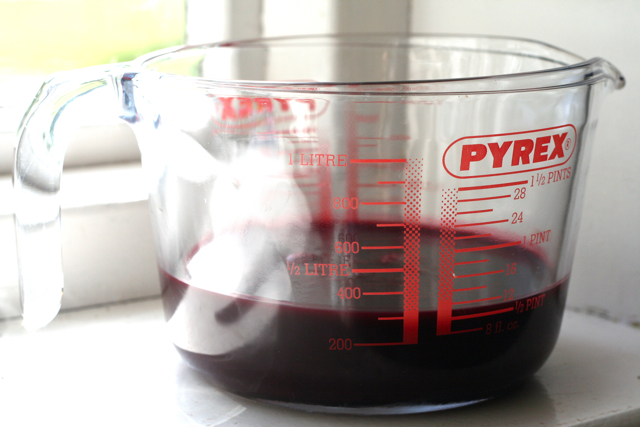
jam sugar, um açúcar com pectina. Neste caso usei pectina porque as framboesas têm muito pouca pectina natural; no caso das groselhas e das maçãs, por exemplo, não é preciso adicionar pectina). Em lume baixo, mexi a mistura até o açúcar ter derretido completamente. Quando deixei de ver cristais de açúcar na colher de pau, juntei o sumo de um limão e aumentei o lume para o máximo e deixei a mistura ferver durante 10 minutos, mexendo de vez em quando mas não demasiado. Ao mexer estamos a favorecer a evaporação da água, mas simultaneamente a baixar a temperatura, e queremos que a temperatura seja bastante alta para que o doce gelifique. Ao fim de 10 minutos tirei a panela do lume e fiz o teste do prato: pus um bocado de doce no prato frio (aquele que estava no congelador), pus o prato no frigorífico, esperei 2 minutos e depois empurrei o doce com o dedo. Se o doce fizer rugas, significa que está pronto! Se continuar líquido, há que voltar a pô-lo a ferver e ir testando de 5 em 5 minutos.
Retirei toda a espuma que se formou na superfície e deixei o doce descansar durante 5 minutos, para que ele arrefecesse um bocado; caso contrário, quando o deitasse para dentro dos frascos as sementes viriam todas à superfície. Com a ajuda de um
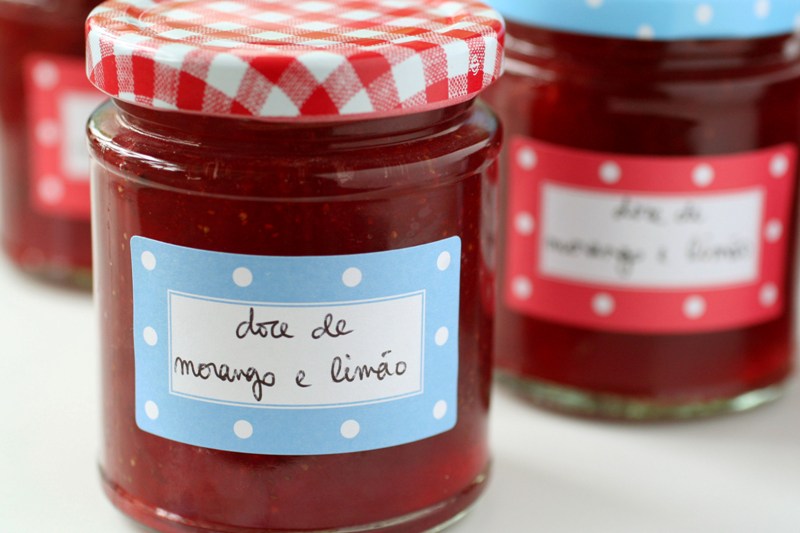
funil de boca larga e de uma concha da sopa (ou de um pequeno jarro), enchi os frascos quase até à superfície (os americanos dizem para deixar 1/4 de polegada, ou seja, 6 mm). Limpei os gargalos, enrosquei as tampas (quentes e bem secas) e pus os frascos dentro daquela primeira panela com água a ferver. Ao fim de 10 minutos, tirei-os lá de dentro e pu-los em cima de um pano da loiça dobrado, onde os deixei a arrefecer durante toda a noite. Na manhã seguinte, limpei-os (a água daqui tem imenso calcário) e pus-lhes umas etiquetas. Se algum frasco tiver transbordado ou não tiver feito vácuo, há que o pôr imediatamente dentro do frigorífico. Todos os outros aguentam um ano num sítio escuro, fresco e seco, como uma despensa.
Esta é a maneira como eu faço doce de framboesa — não quer dizer que seja a única maneira correcta de fazê-lo. É fruto de apenas um ano de experiências e daquilo que fui lendo aqui e ali. Parece muito trabalhoso mas asseguro-vos de que é um processo bastante simples. E o resultado é delicioso!
Here’s the raspberry jam I made yesterday. It’s not too sweet and tastes and smells like raspberries. Mission accomplished.
Today I’m going to tell you in detail how I make my preserves. As I’ve said before, before coming to the English countryside I had never made — or indeed seen anyone make — jams at home. I read some books, did a little research online and just gave it a try. The first attempt wasn’t too bad but I was overwhelmed with so many pans and things happening at the same time, without having a clue what to expect next. Wash the fruit, sterilise the jars and keep them warm, let the sugar dissolve completely, otherwise the jam will crystallize later on, do not stir too much, test the jam on a cold plate to se if it’s set; if not, boil again for 5 more minutes, test it again… And them pour the mixture into jars, do not fill them too much nor too little, clean the rims, seal them and can them in a hot water bath (no-one cares about this in Europe but in the US they’re pretty obsessed with this so I decided not to take any risks)…
Of course practice makes perfect and nowadays I can do all this with my eyes (almost) close. SO I exactly this I make this raspberry jam?
I started by placing a saucer in the freezer. I washed the jars in soapy water, sterilised them in a pan with boiling water for 15 minutes and them dried them in the oven at 150ºC. That pan will be needed later so reduce the heat but keep the water warm. The lids can’t be boiled or you’ll ruin them so I washed them well and placed them in a heatproof bowl; later I covered them with hot water (they must be warm in order for the jars to seal properly).
I washed 1 kg of raspberries and put half of them into a preserving pan (which I bought after my first attempt at making jam and which I highly recommend: it’s very wide, which facilitates evaporation, and the bottom is quite thick, which stops the jam from burning) and I crushed them with a potato masher. Then I added the remaining berries and 1 kg of sugar (I used 500 g of granulated sugar and 500 g of jam sugar; the latter contains added pectin. In this case I used it because raspberries are low in pectin; if you’re cooking blackcurrants or apples, for instance, pectin isn’t necessary at all). Over a low heat I stirred the mixture until the sugar was completely dissolved. When I could no longer see any sugar crystals, I added the juice of one lemon and increased the heat to high. I boiled it hard it for 10 minutes, stirring it from time to time but not too much. When you stir it you increase evaporation but the temperature decreases, and we want the temperature to be very high so that the jam will set. After 10 minutes, remove the pan from the heat and test for setting point: drop a little jam on the cold saucer (the one that you’d placed earlier in the freezer), allow it to cool for 2 minutes in the fridge and then push the jam with your fingertip. If it crinkles, it’s set! If it’s still too runny, boil it for 5 more minutes and test again.
I skimmed any foam from the surface of the jam and let it cool for 5 minutes, otherwise all the pips would rush to the top of the jars. With the help of a jam funnel and a ladle (or a small jug), I filled the jars almost to the top (Americans say you should leave 1/4 inch/6 mm of room at the top), wiped the rims and put the lids on (they must be warm and dry). Then I placed the jars inside that first pan (the one with the boiling water) and let them boil for 10 minutes. Then I placed them on a folded tea towel and left them there overnight. The next morning I wiped the jars (the water over here is very high on lime) and labelled them. If any of the jars has overspilled or hasn’t sealed, immediately place them in the fridge. All the others will keep for a year on a dark, cool, dry place such as a larder.
This is the way I make raspberry jam — it doesn’t mean it’s the only correct way to do it. It’s the fruit of my readings and experiences of only a year. It may seem like a lot of trouble but I promise you it’s quite simple. And the result is simply delicious!
(photos: Constança Cabral)