Apesar de não tricotar (acho que um ou dois projectos por ano não contam), adoro lãs. Em Inglaterra é muito fácil encontrar fios de excelente qualidade (não só em pura lã como também em alpaca, caxemira, seda, algodão e outras fibras naturais) e a enorme diversidade de cores e texturas disponíveis nas lojas fazem disparar a imaginação até de uma não-tricotadeira como eu.
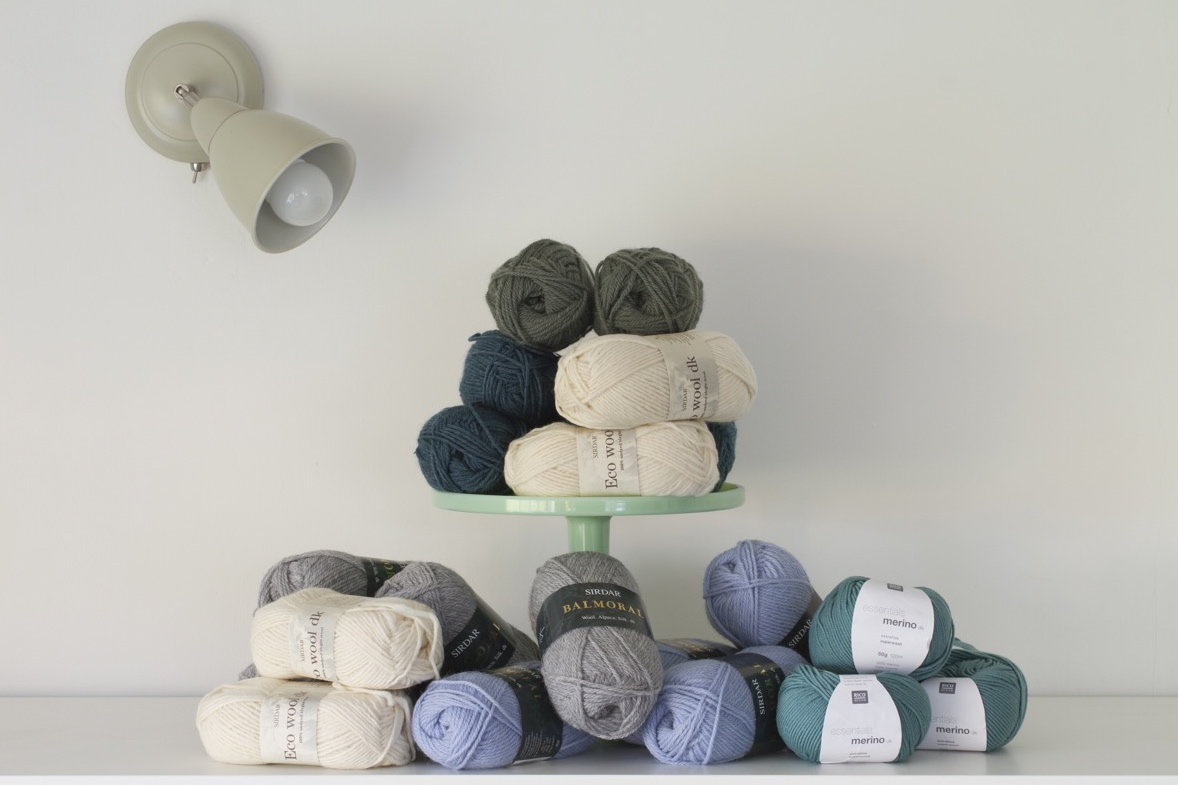
A minha mãe veio cá passar uns tempos e no sábado fomos às compras. Estes novelos vão ser transformados em camisolas e casacos de bebé para o próximo Outono… mal posso esperar!
Although I don’t knit (I don’t think my one or two projects a year are enough to qualify me as a knitter), I love yarn. In England it’s very easy to find excellent quality yarn (not only pure wool but also alpaca, cashmere, silk, cotton and other natural fibers) and the huge array of colours and textures that are available in the shops make even a non-knitter such as myself dream about all their possibilities.
My mother has come to stay and on Saturday we went shopping. These skeins are destined to become the baby’s cardigans and jumpers for next autumn… I can’t wait!
(photos: Tiago Cabral)