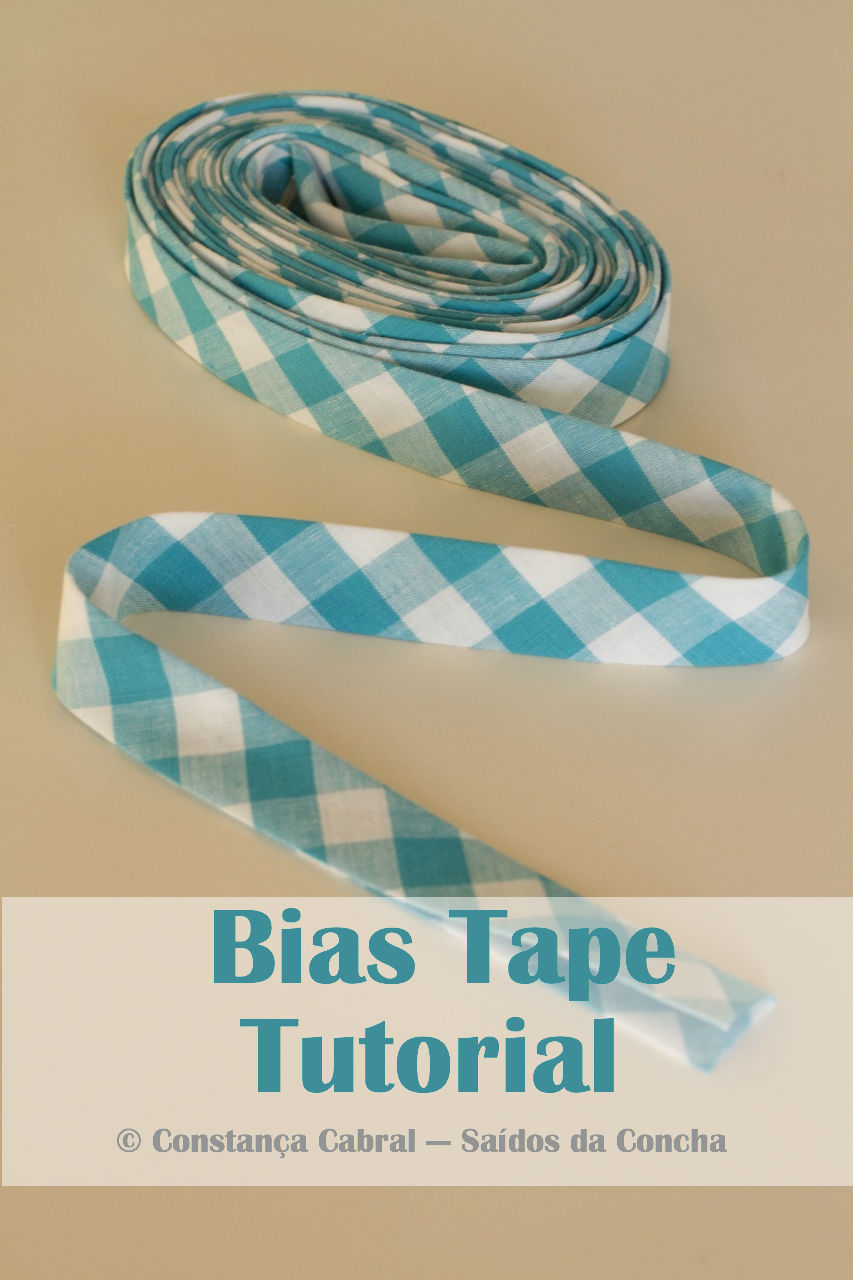
Na semana passada mostrei-vos
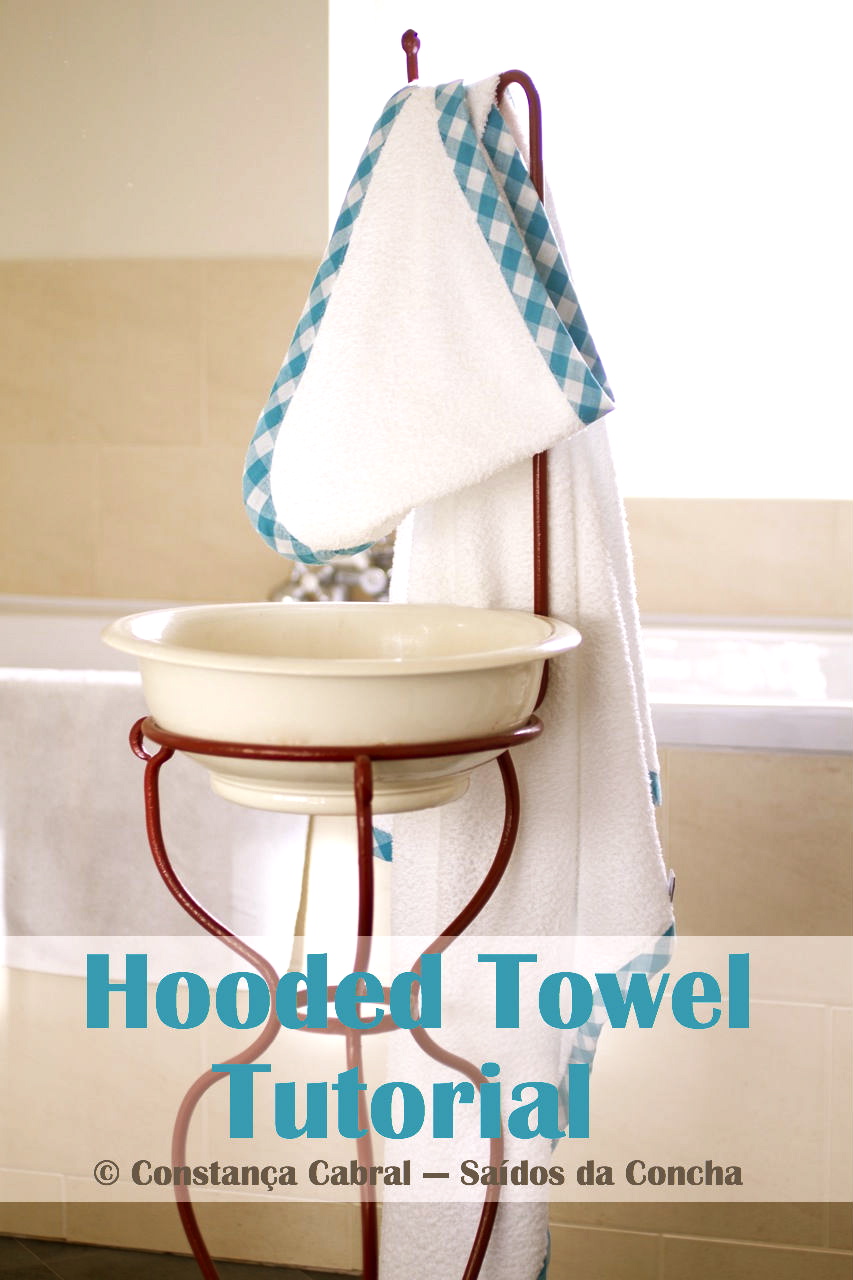
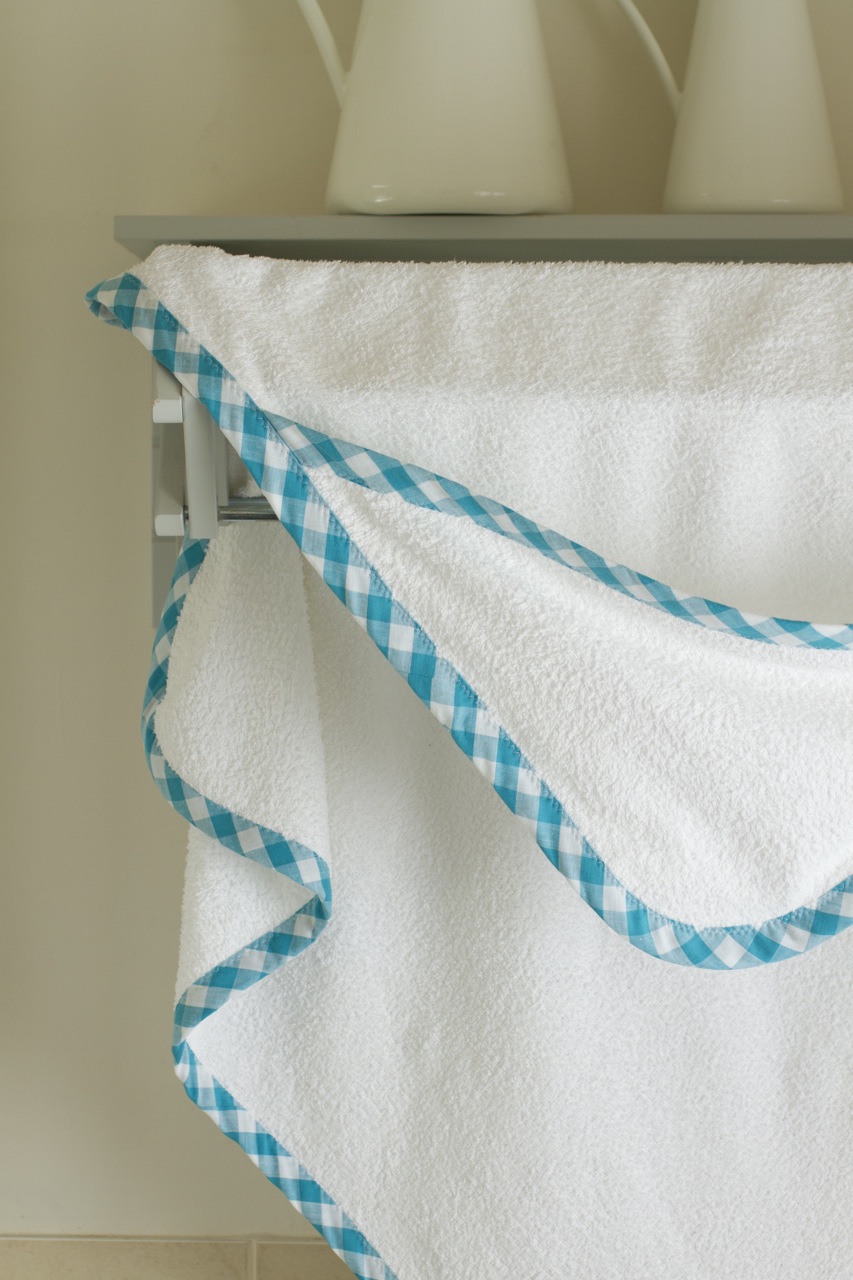
como faço fita de viés — hoje vamos ver como aplicá-la. Fiz uma toalha de banho para o bebé (aquele modelo clássico com capuz) e fotografámos o passo-a-passo. Vamos a isso?
Last week I showed you how I make bias tape — today we’ll see how to apply it. I made a baby towel (that classic hooded pattern) and we photographed the process step-by-step. Are you ready?
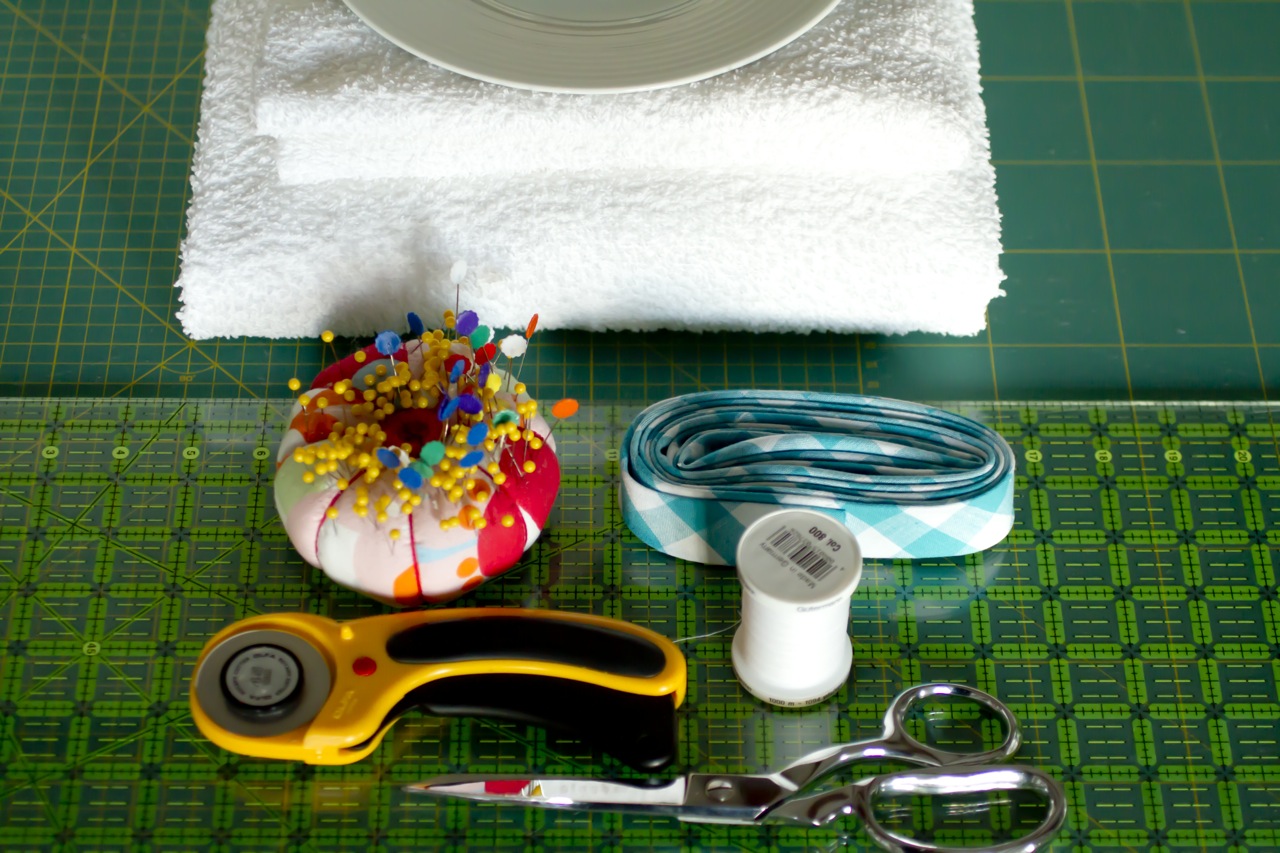
1. Material necessário:
– um quadrado de turco branco com 100 x 100 cm (ou 80 x 80 cm, se a toalha se destinar a um bebé pequeno)
– um quadrado de turco branco com 50 x 50 cm (ou 40 x 40 cm)
– 5 metros de fita de viés larga
– linha de coser branca
– alfinetes
– tesoura
– cortador rotativo (opcional)
– régua em acrílico (opcional)
– tapete de corte (opcional)
– um prato de sobremesa
– máquina de costura
– walking foot (opcional)
1. Supplies:
– one 100 x 100 cm (1 x 1 yard) square of white cotton towelling (if the towel is for a young baby, you could use a 80 x 80 cm square)
– one 50 x 50 cm (½ x ½ yard) square of white cotton towelling (or 40 x 40 cm)
– 5 metres (5 yards) of wide bias tape
– all-purpose thread in white
– pins
– fabric scissors
– rotary cutter (optional)
– acrylic ruler (optional)
– cutting mat (optional)
– one dessert plate
– sewing machine
– walking foot (optional)
2. Corte o quadrado de turco mais pequeno no sentido da diagonal. Ficará com dois triângulos, mas só precisará de um para fazer o capuz.
2. Cut the smaller square of towelling in half diagonally. You’ll now have two triangles but you’ll only need one to make the hood.
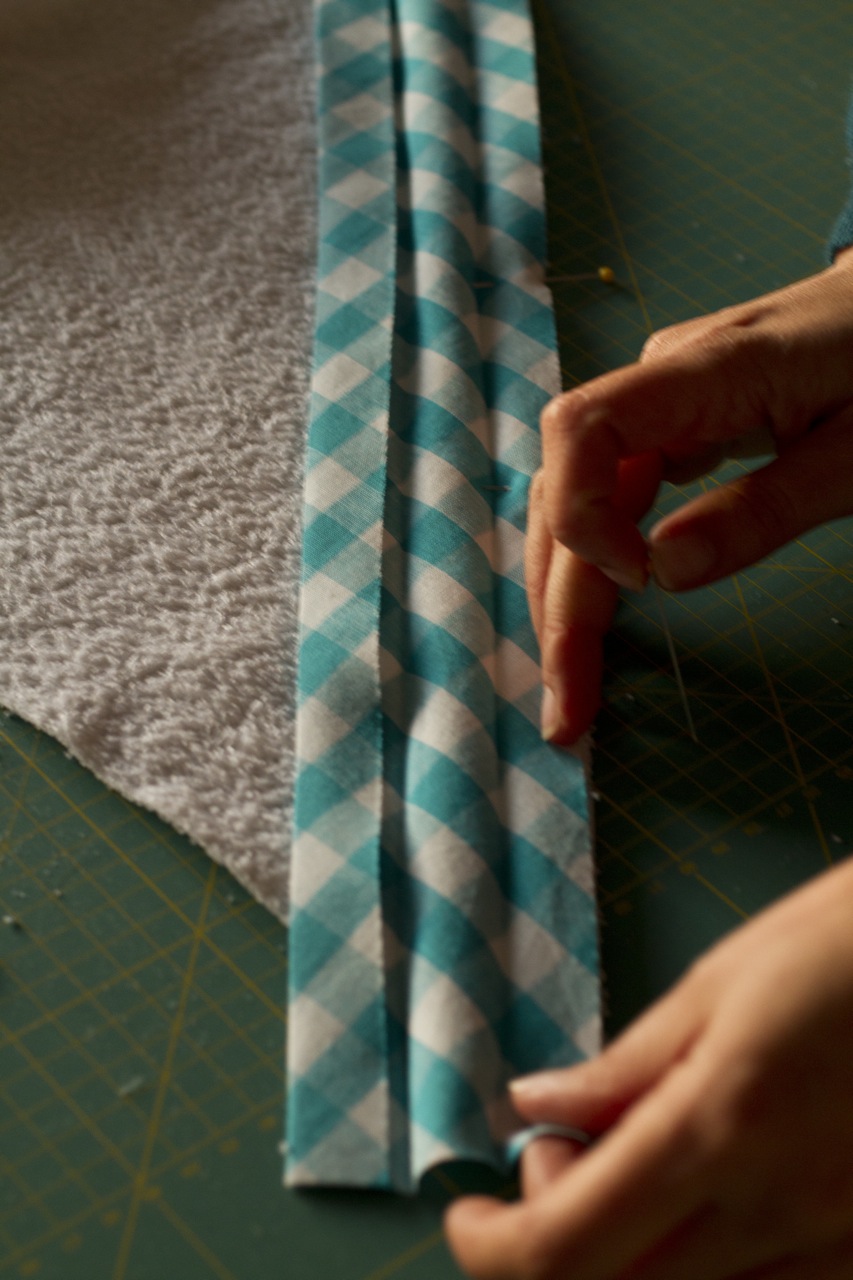
3. Corte uma tira de fita de viés com comprimento suficiente para debruar o lado maior do triângulo. Abra-a completamente, alinhe um dos lados da fita com a extremidade do triângulo e prenda com alfinetes.
3. Cut a length of bias tape to fit the bottom edge of the hood. Unfold the tape and pin it to the edge of the hood.
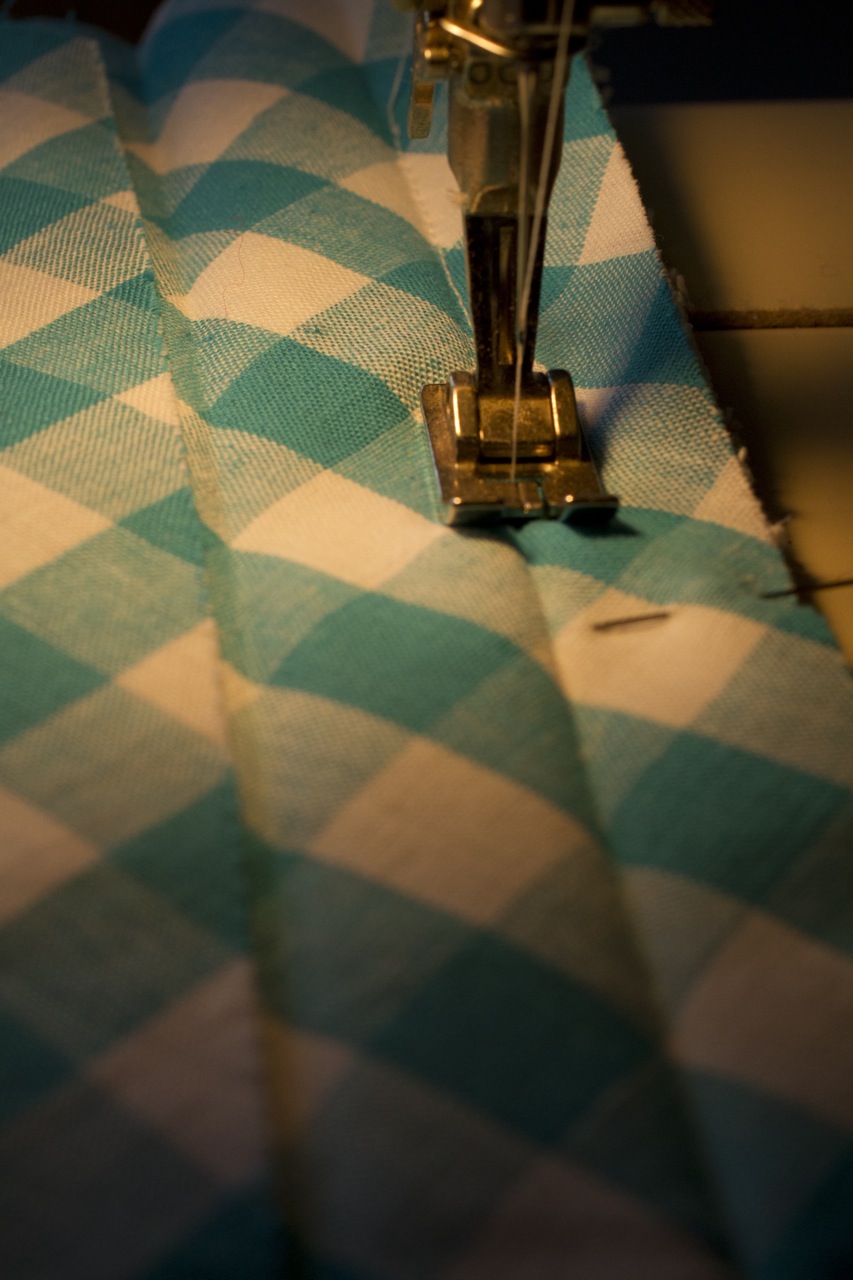
4. Cosa em cima do primeiro vinco.
4. Stitch on top of the first crease.
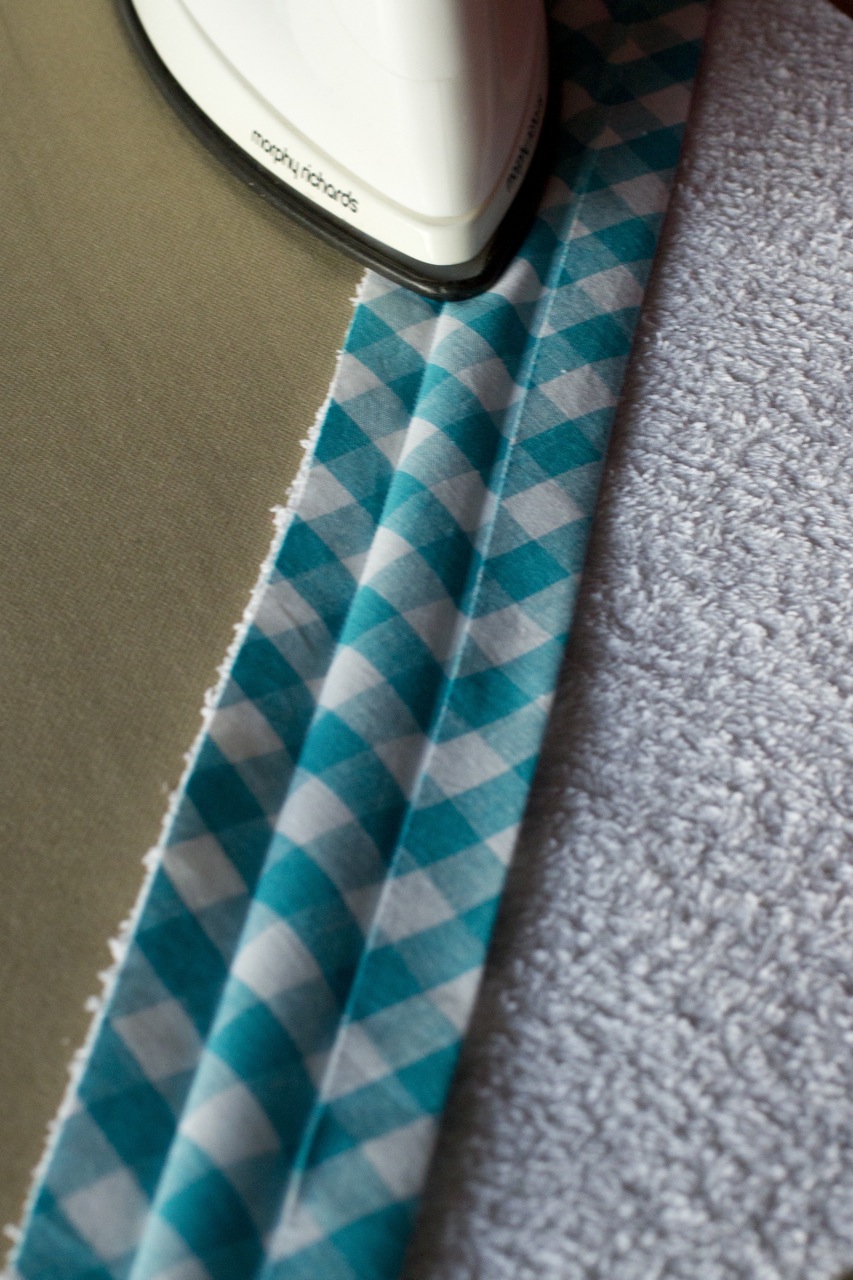
5. De forma a estabilizar os pontos e reduzir quaisquer problemas de tensão, engome a costura tal como foi cosida (ainda do avesso).
5. In order to set the stitches and ease any tension problems, press the seam as sewn (still on the wrong side of the bias tape).
6. Dobre a fita e engome.
6. Fold the tape and press.
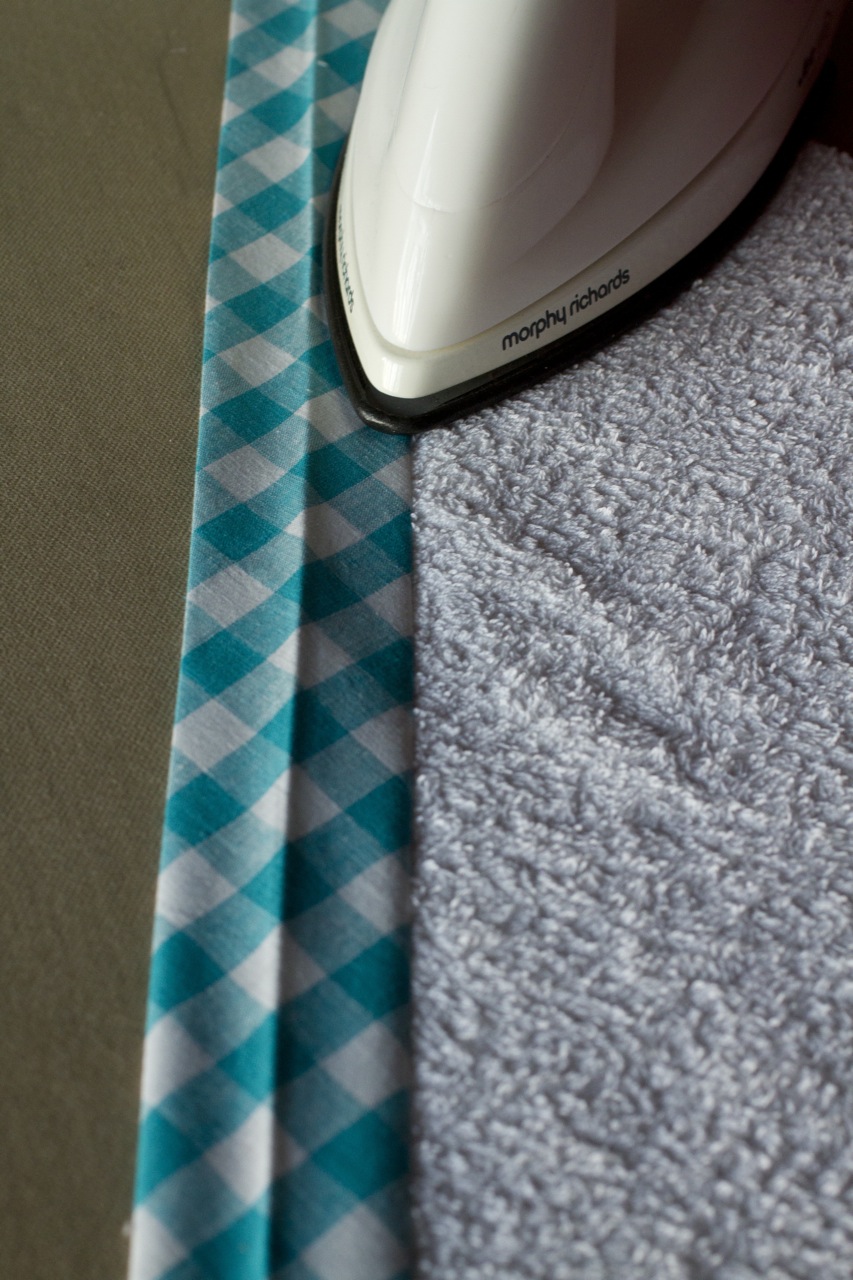
7. Vire o capuz, dobre a fita e engome. Se desejar, prenda com alfinetes.
7. Flip the hood over and fold the bias tape, pressing it in place. Pin in place if you wish.
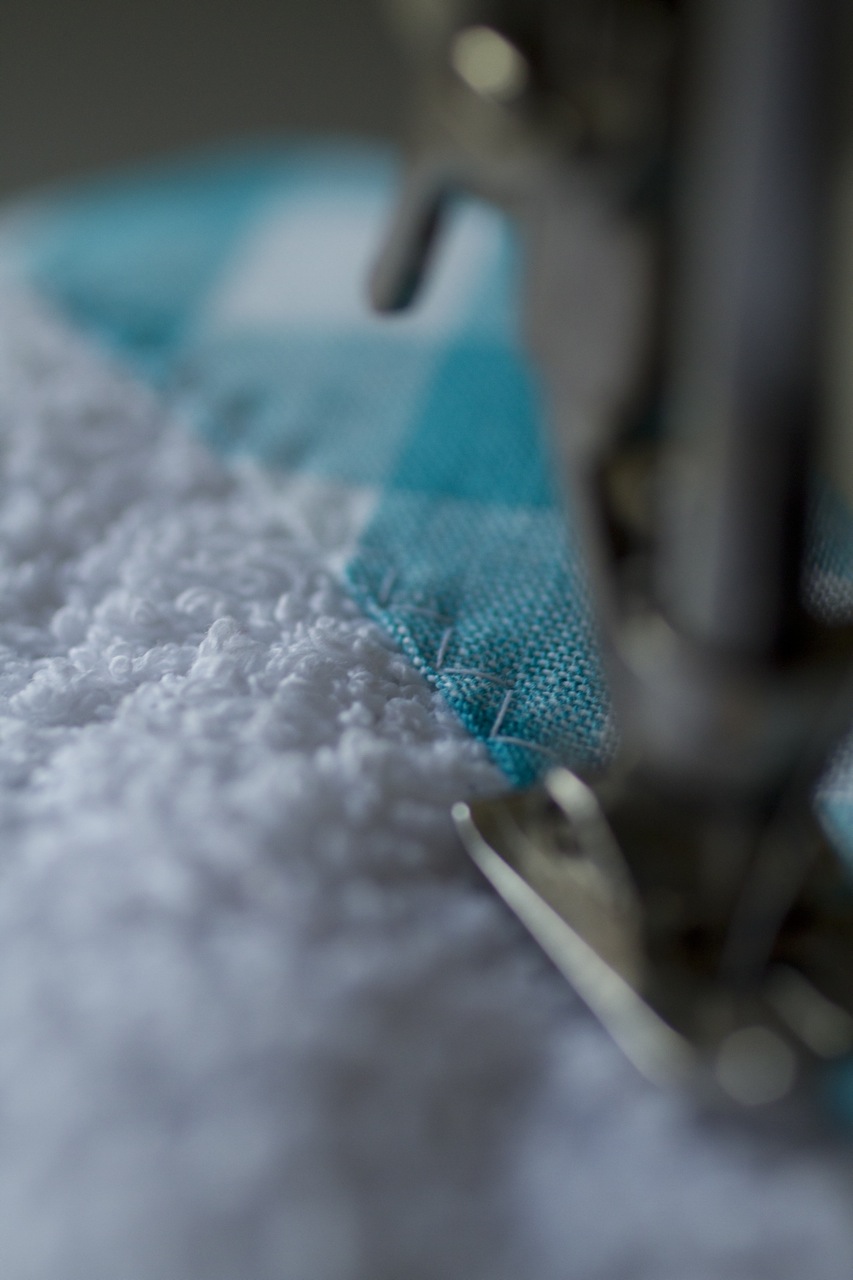
8. Cosa o mais próximo possível da extremidade da fita. Eu gosto de usar um ponto zig-zag largo, mas claro que se pode coser a direito (ou, se preferir, cosa à mão com pontos invisíveis).
8. Sew as close to the edge of the bias tape as you can. I like to use a wide zig-zag stitch but you can stitch a straight line if you prefer (or even blind stitch it by hand).
9. Alinhe a ponta do capuz com um dos cantos do quadrado de turco maior e prenda com alfinetes.
9. Pin the hood on a corner of the larger towelling square.
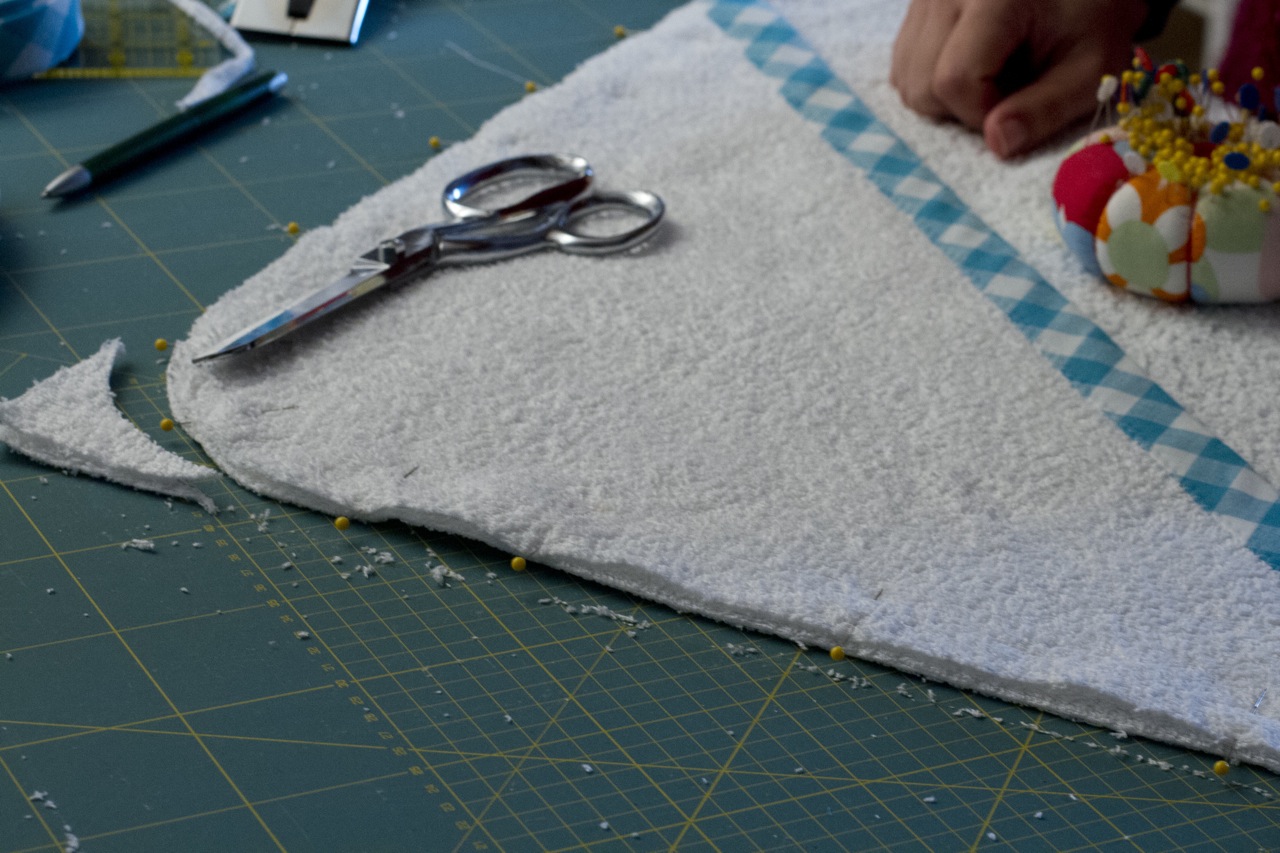
10. Para arredondar o canto, trace à volta de um prato de sobremesa e corte o excesso.
10. To round off the corner, trace around a dessert plate and cut along that line.
11. Com um ponto largo, cosa o capuz à toalha e engome.
11. Machine baste the hood in place and press.
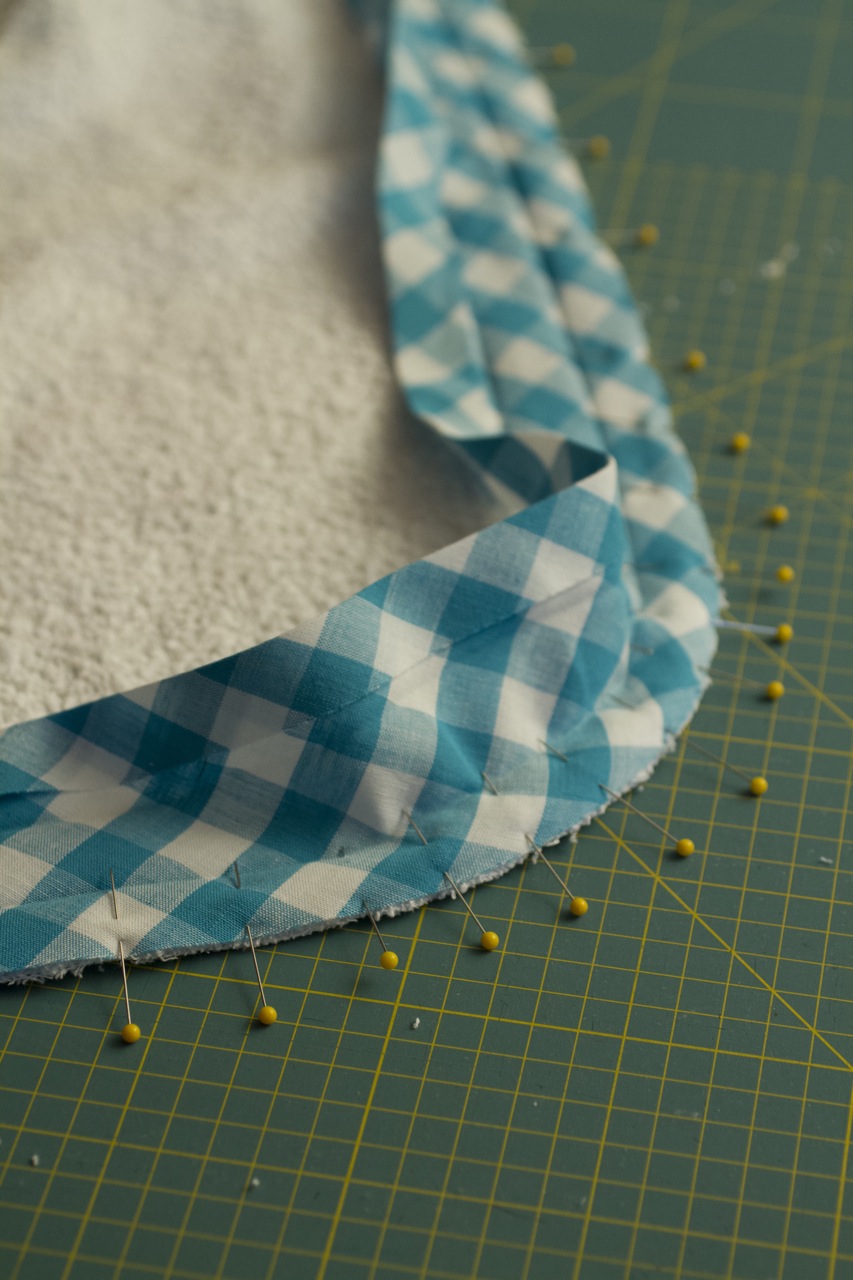
11. Agora só falta debruar a toalha: abra a fita de viés e prenda-a com alfinetes ao avesso da toalha.
11. Now you just need to bind your towel: open the bias tape and pin it to the wrong side of your towel.
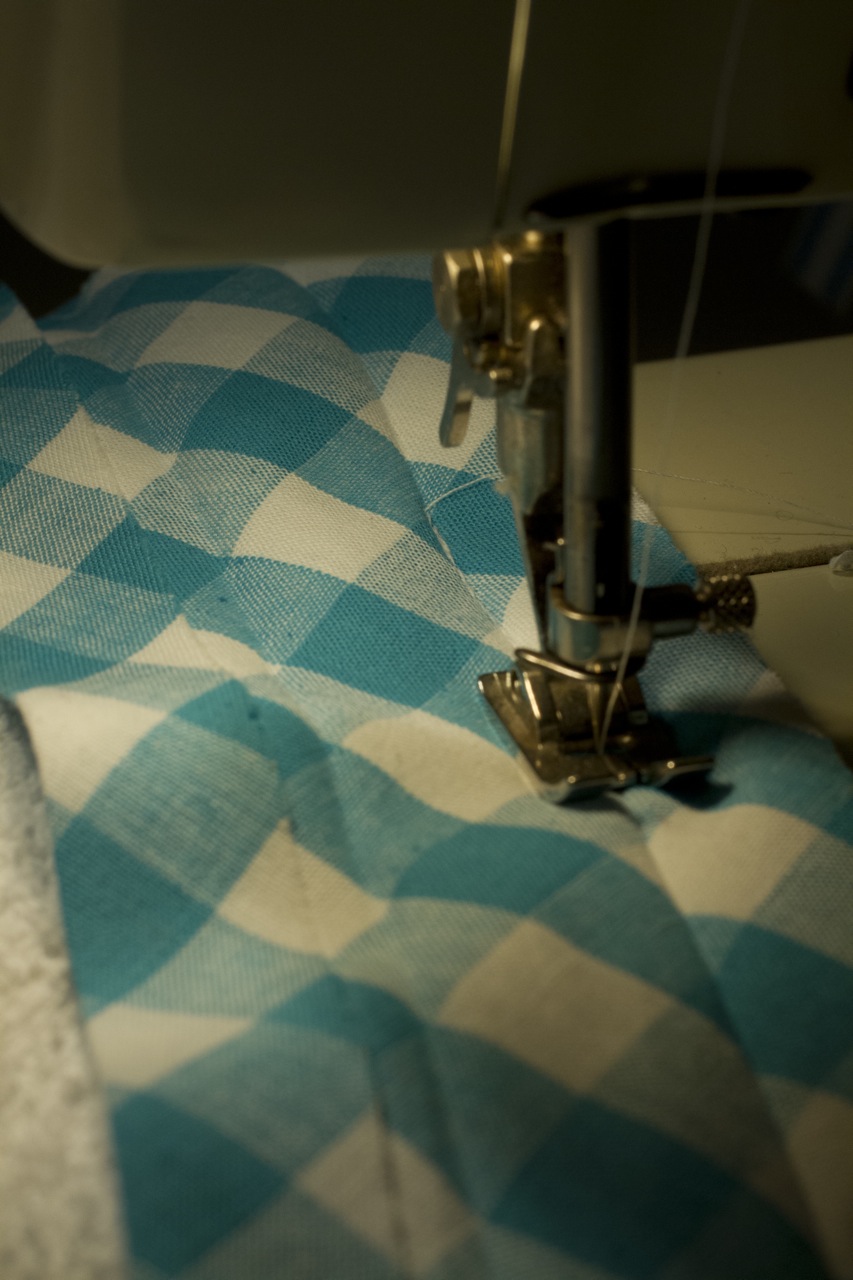
12. Antes de começar a coser, deixe uma cauda de fita com cerca de 10 cm. Cosa em cima do primeiro vinco a toda a volta da toalha, mas atenção…
12. Before you start stitching, make sure you leave a tail of approx. 10 cm / 4” unsewn. Stitch on top of the first crease all around your towel but make sure you…
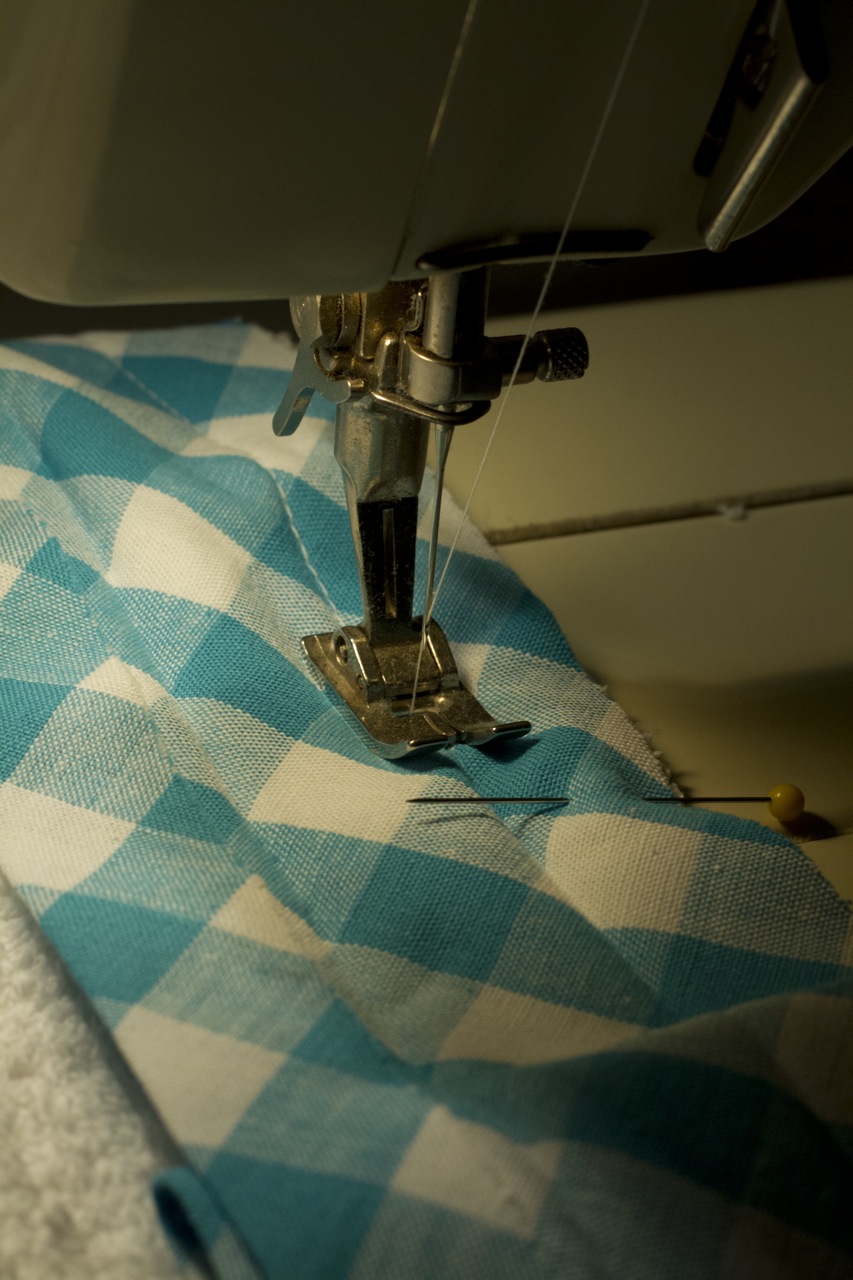
13. … pare de coser a cerca de 10 cm do final.
13. … stop sewing approx. 10 cm (4”) from the end.
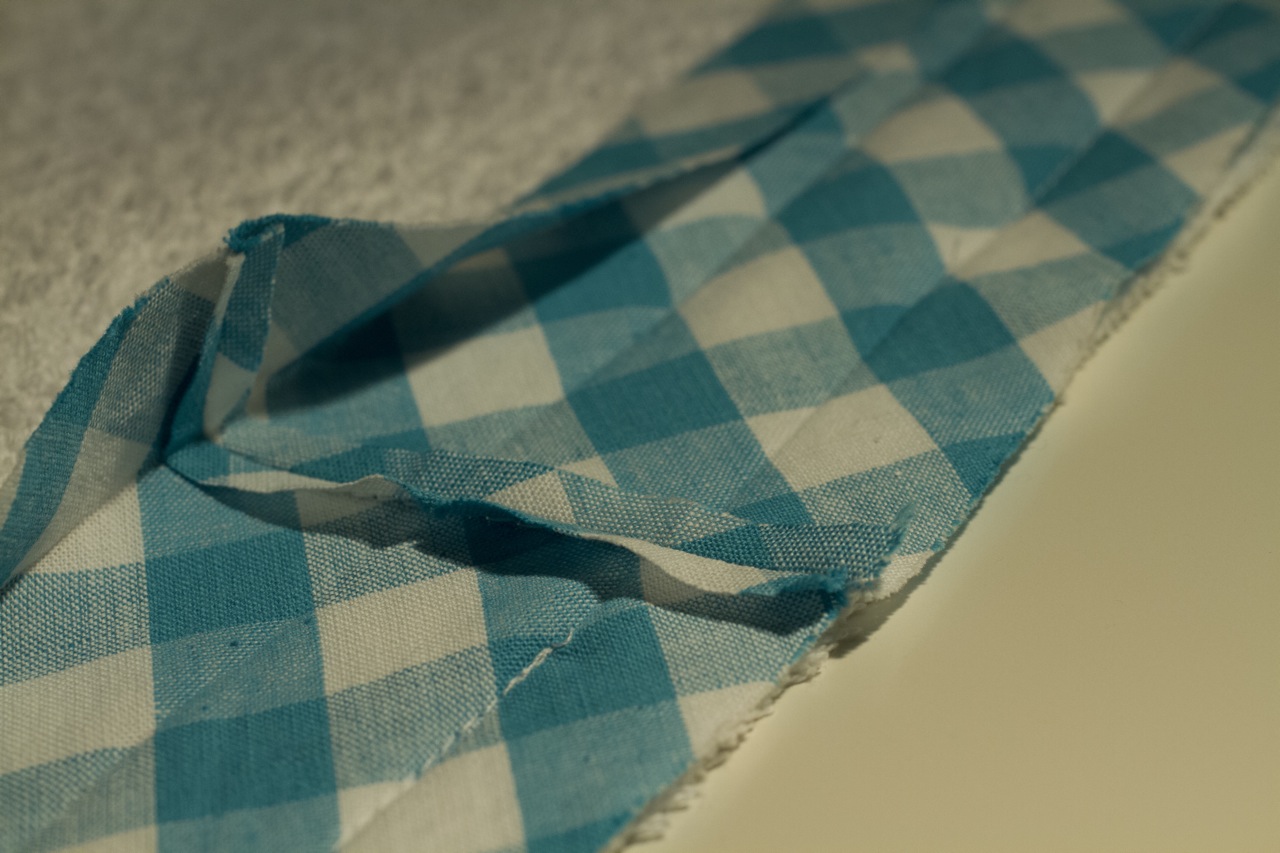
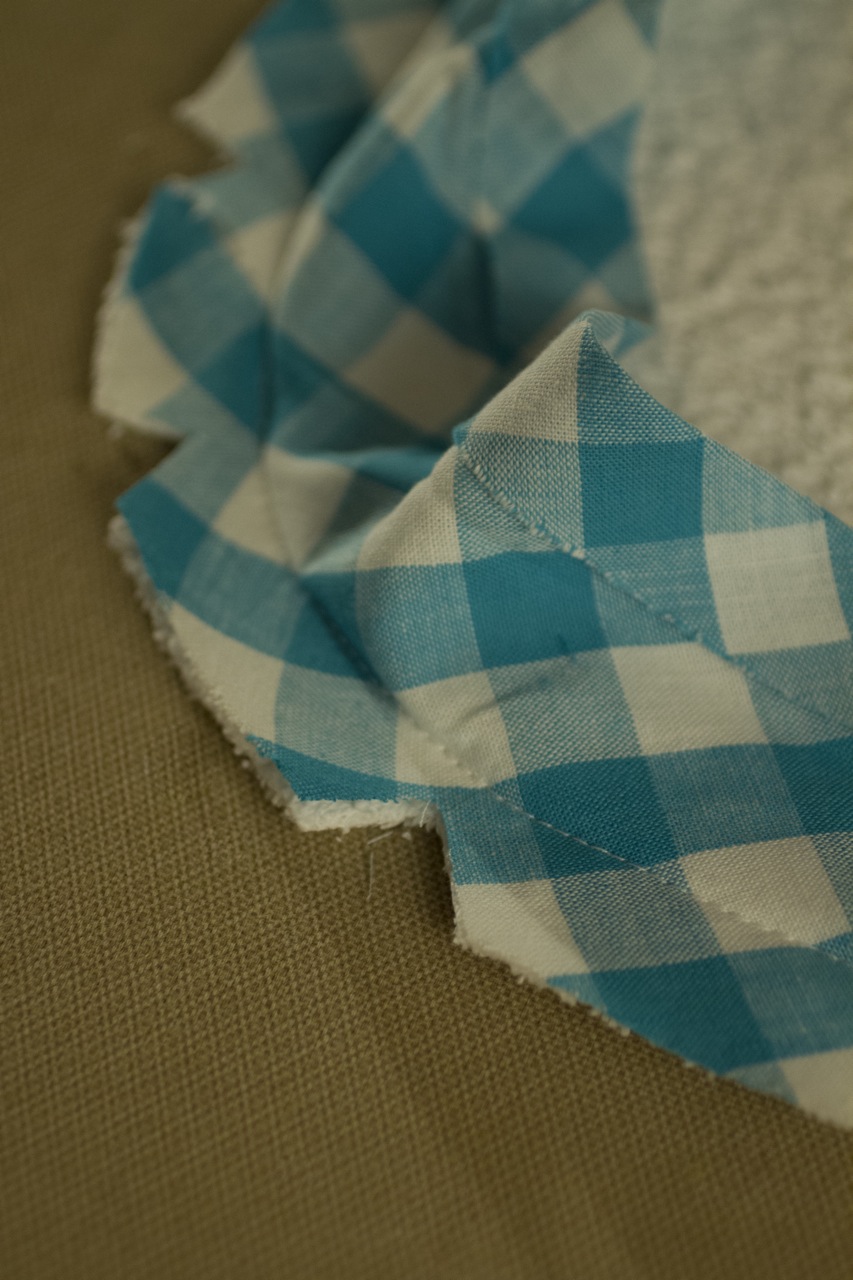
14. Dobre as extremidades da fita e vinque. Afaste do turco as partes da fita ainda por coser e prenda os vincos (direito com direito) com alfinetes.
14. Bring the start and the end of the tape together and fold them where they meet. Finger press, take the unsewn bits of tape away from the towelling and and pin the creases right sides together.
15. Cosa em cima dos vincos de forma a juntar as duas extremidades. Corte o excesso de tecido e abra a costura com o ferro. Acabe de coser a fita de viés à toalha.
15. Stitch a straight line along the creases to join both ends. Trim the excess fabric and press the seam open. Finish sewing the bias tape to the towel.
16. Dê pequenos golpes nas curvas.
16. Clip the curves.
17. Engome conforme descrito nos passos 5, 6 e 7.
17. Press as described in steps 5, 6 and 7.
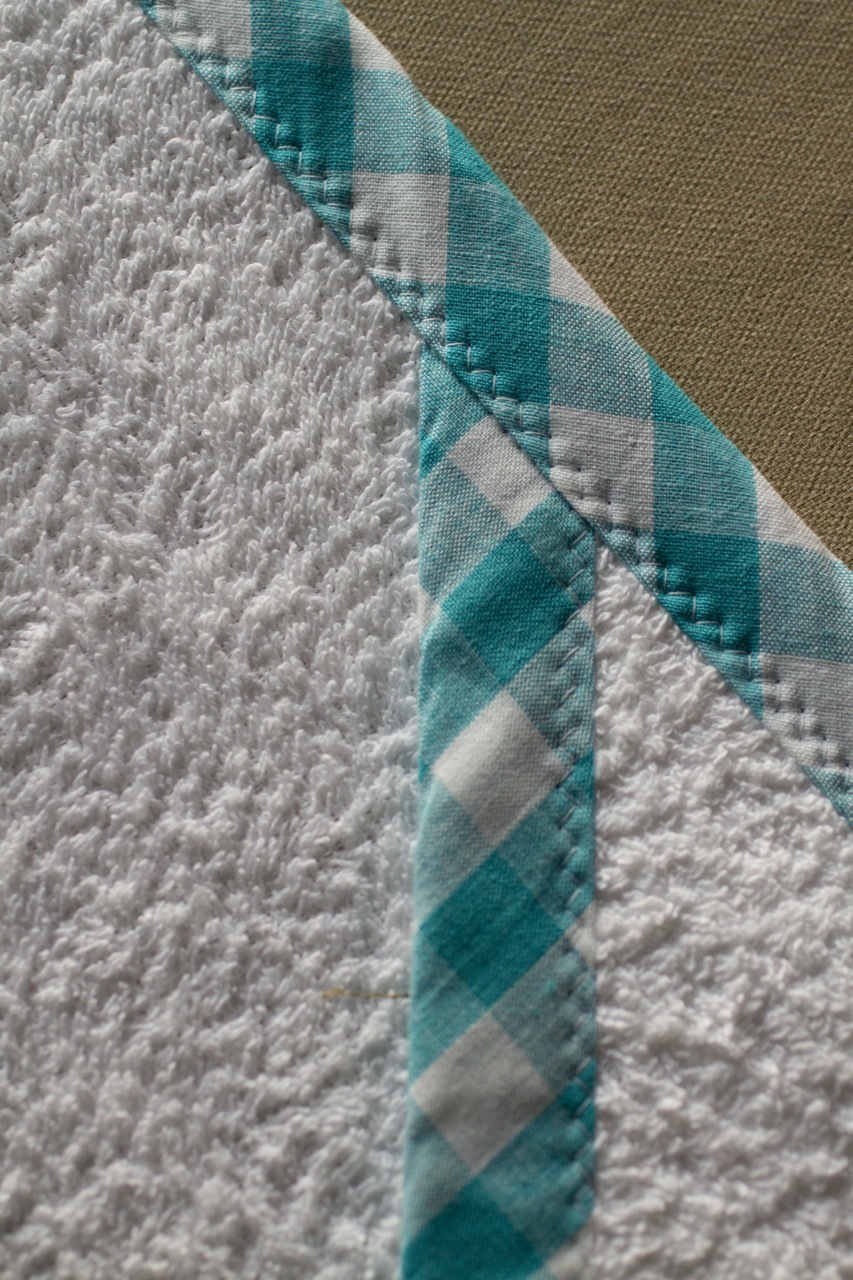
18. No direito da toalha, cosa a fita de viés a toda a volta com um ponto zig-zag largo (ou a direito, ou à mão). Engome.
18. On the right side of the towel, stitch the bias tape in place using a wide zig-zag stitch (or use a straight stitch, or blind stitch by hand). Press.
Já está!
That’s it!
(photos: Tiago Cabral)