Querer é poder.
Nós queríamos um candeeiro para a sala. Eu reuni os materiais. O Tiago executou.
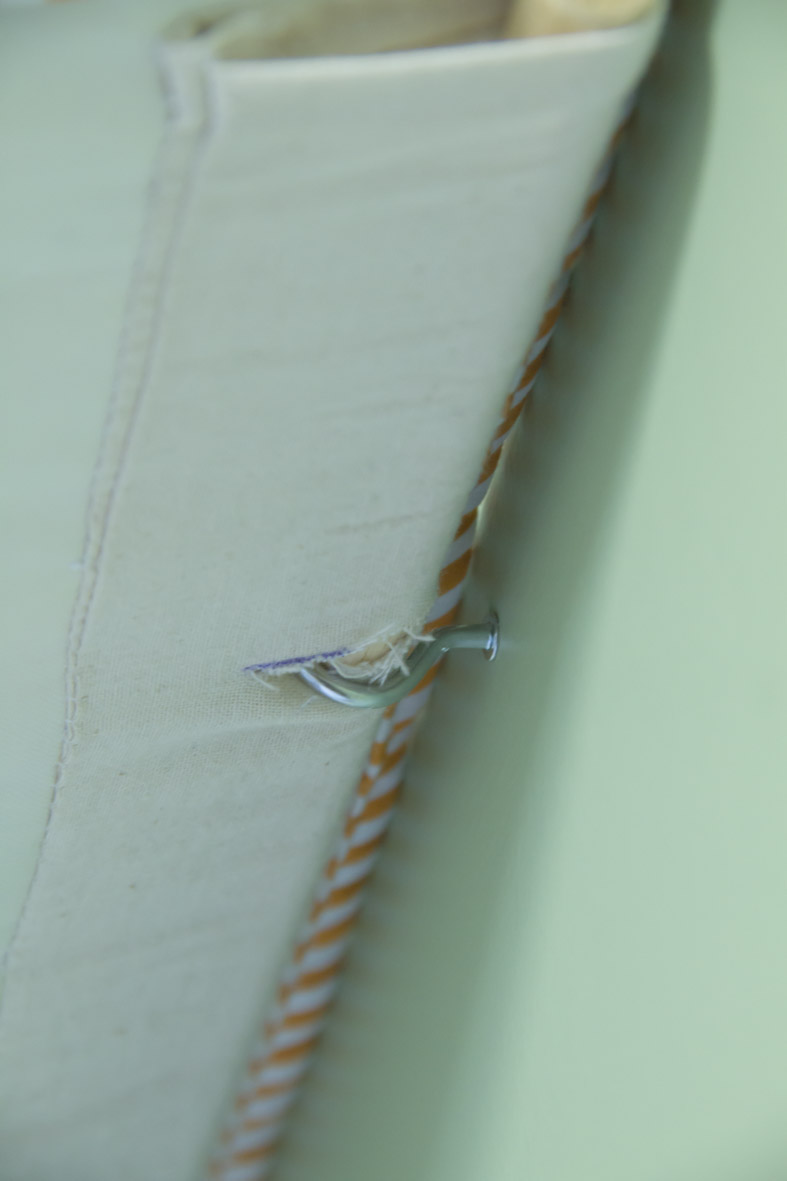
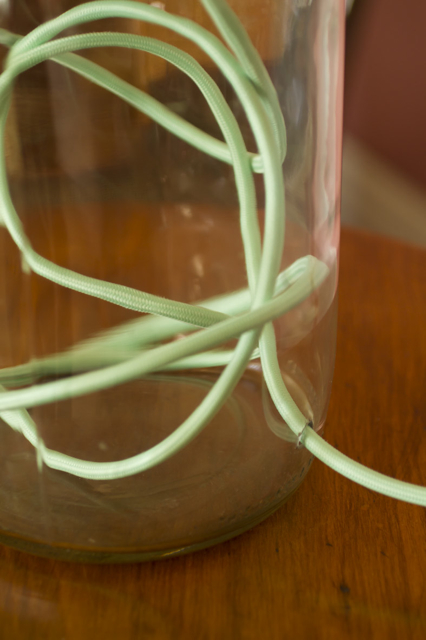
Receita: um frasco grande de vidro (que comprámos há uns anos numa junk shop na Cornualha) + um cabo eléctrico revestido a tecido (fartei-me de procurar por essa internet fora e finalmente encontrei uma cor gira num site neozelandês, mas aposto que há disto à venda em todos os países) + um abat-jour de serapilheira (a condizer com os futuros cortinados) + um casquilho com interruptor + uma ficha + um furador com uma broca para vidro + os dotes de electricista do Tiago.
Querer é poder. Eu deveria lembrar-me desta máxima mais vezes.
Where there’s a will, there’s a way.
We’ve been wanting a lamp for our sitting room for a while now. I assembled the materials. Tiago executed.
Recipe: one large glass container (bought at a junk shop in Cornwall some years ago) + a piece of electrical cord covered in cloth (I spent hours online looking for a nice colour and finally discovered it for sale in NZ but I bet you can find something similar in most countries) + one hessian lampshade (to match our future curtains) + one socket with on/off switch + one plug + one glass drill + Tiago’s electrical skills.
Where there’s a will, there’s a way. I should remind myself of this more often.
(photos: © Constança Cabral)