WIPs

Estes últimos dias têm sido atípicos — entre tremores de terra e uma virose que se apoderou do corpo do Rodrigo e que teima em querer ficar por lá, o meu surto de produtividade sofreu um abanão. Mas, graças ao Instagram, posso mostrar-vos uns vislumbres daquilo que têm sido os meus dias (as partes mais desinteressantes e difíceis não são para aqui chamadas):
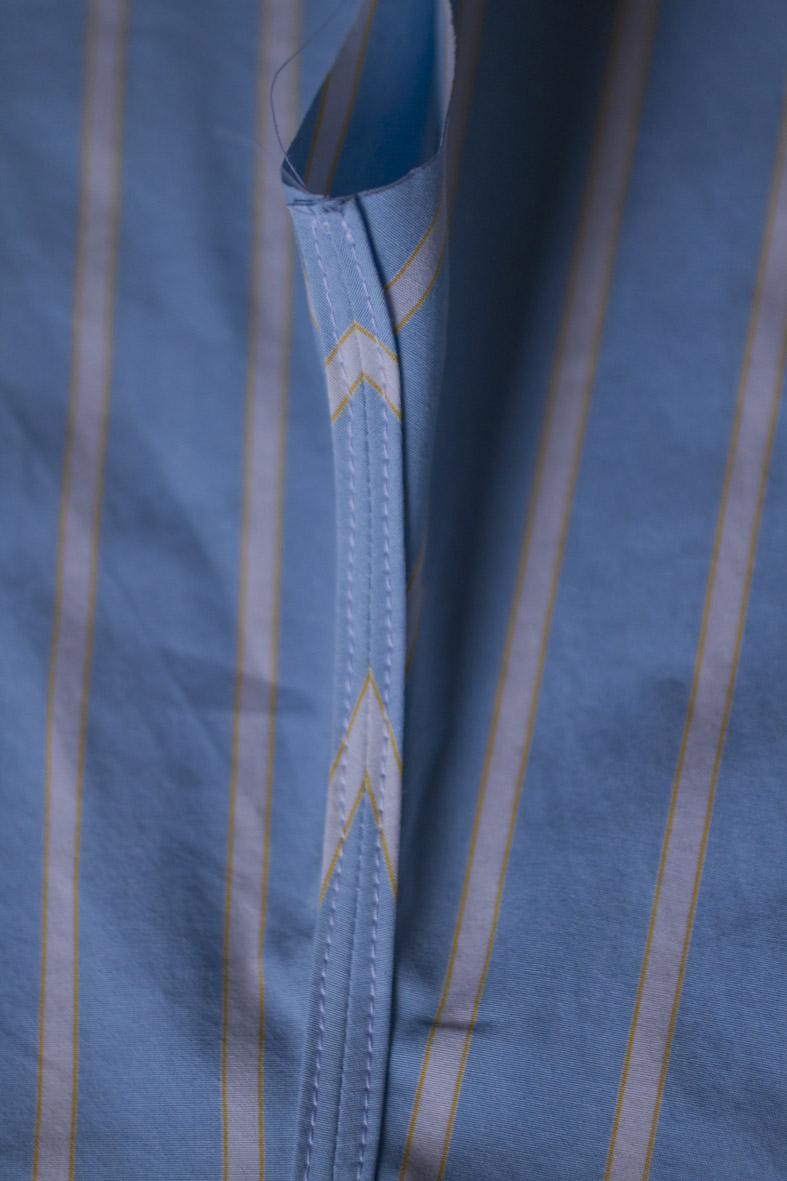
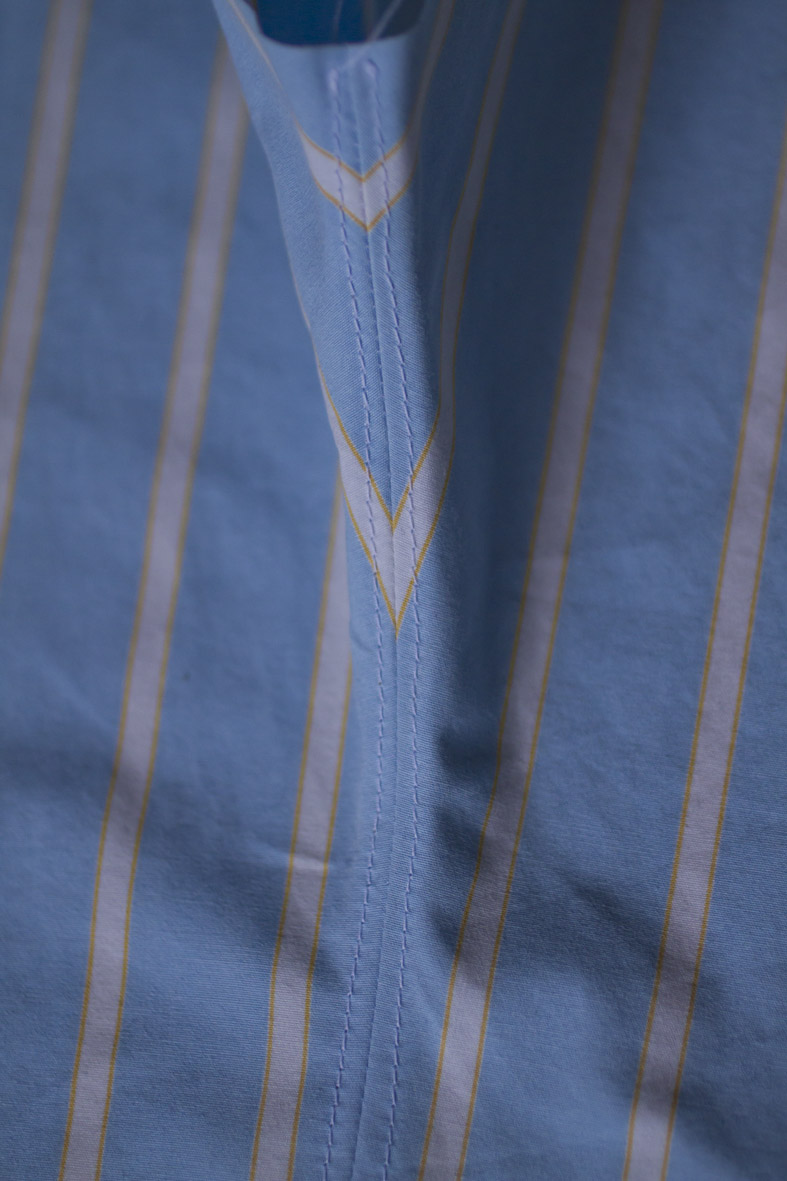
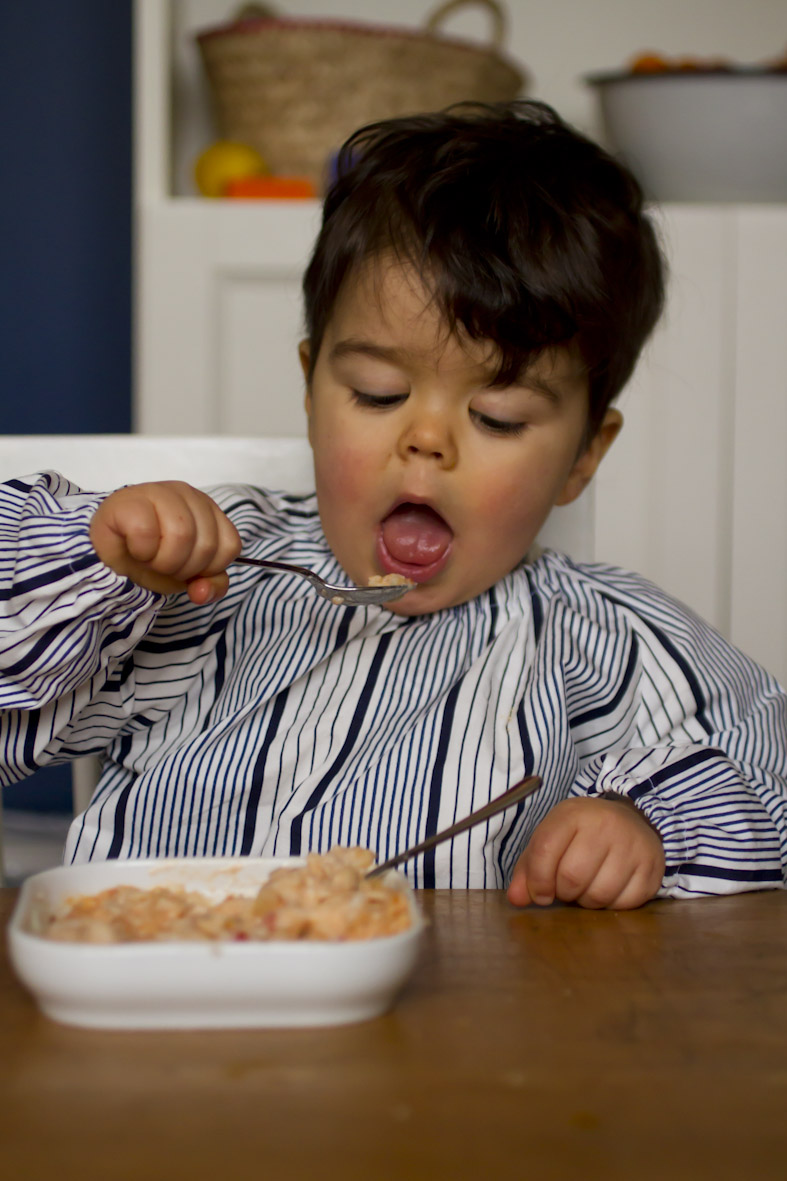
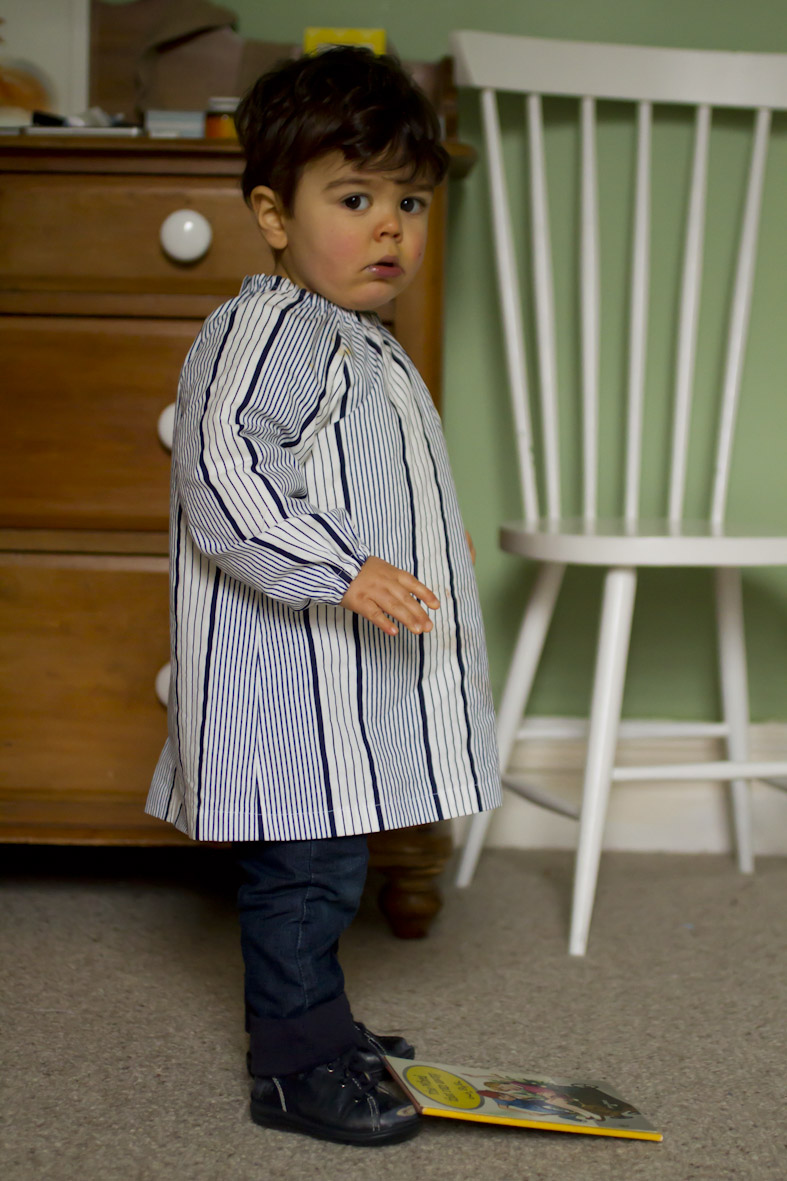
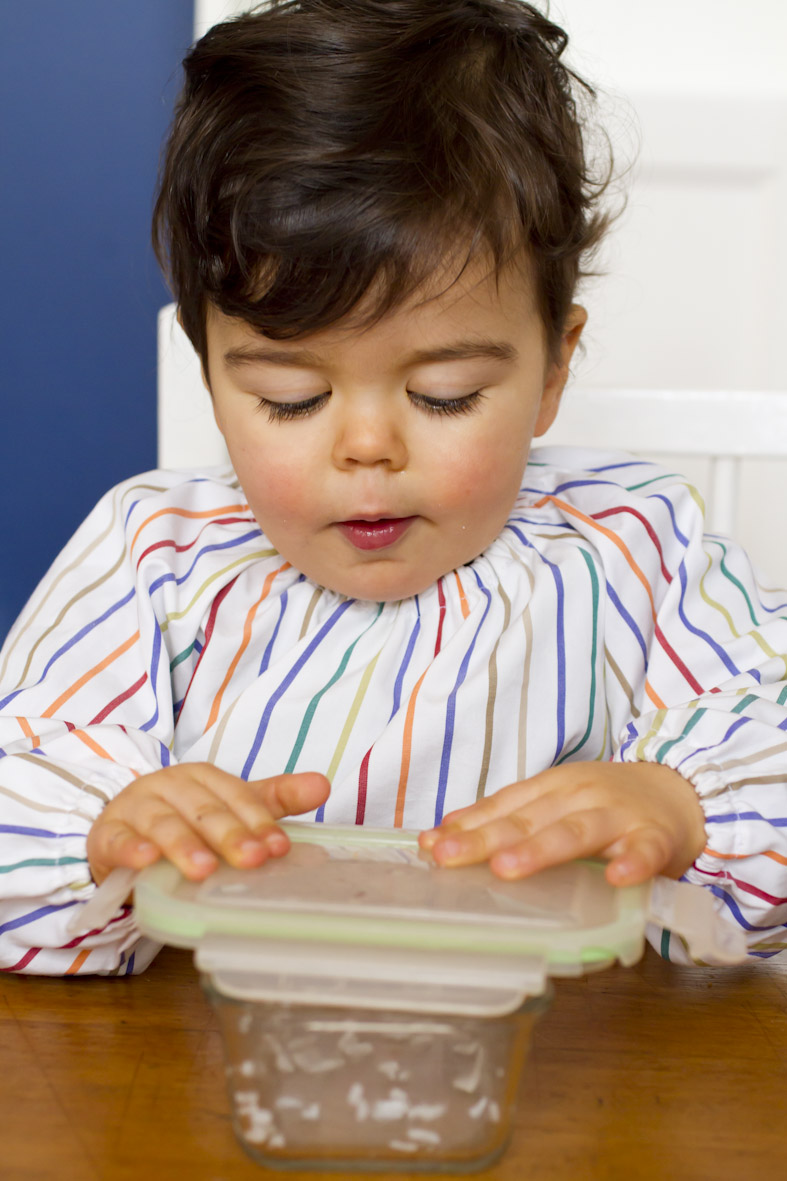
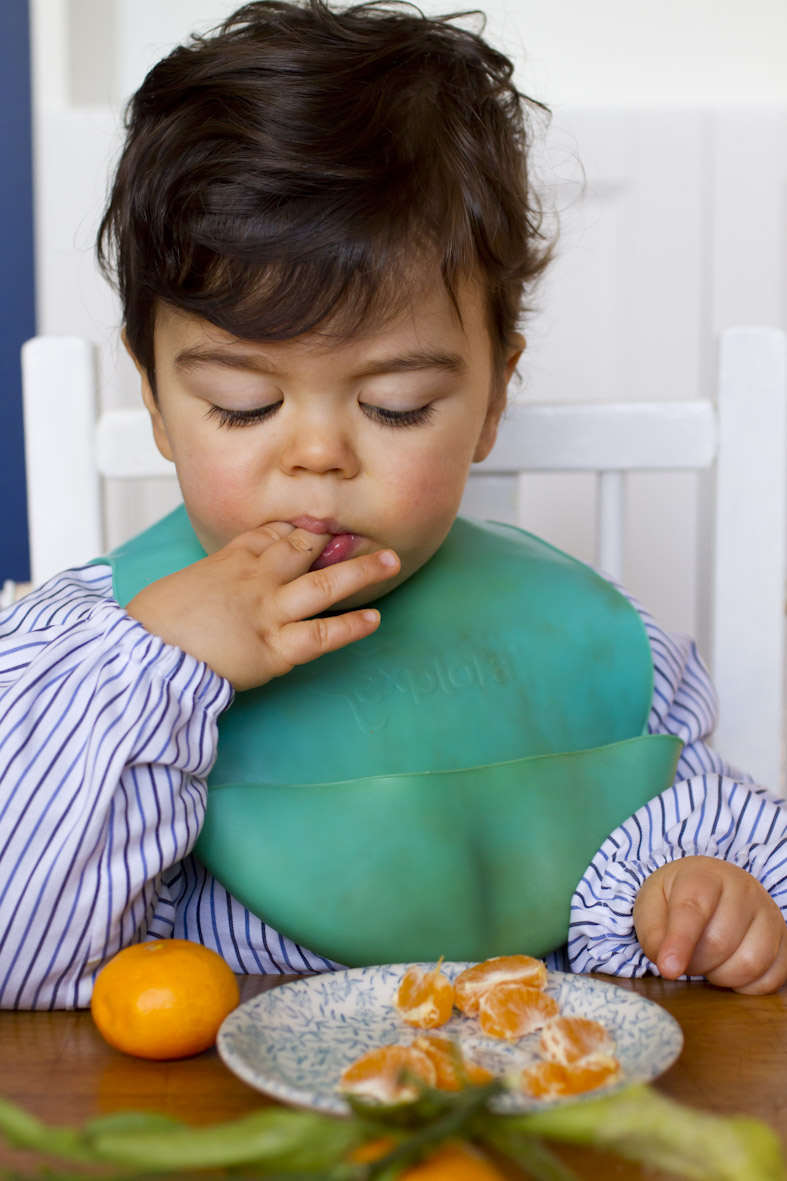
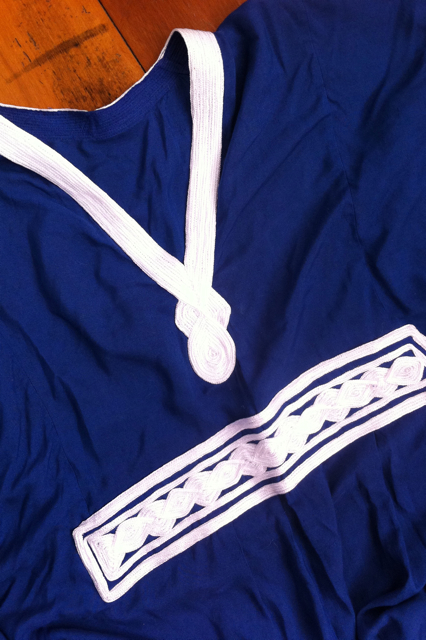
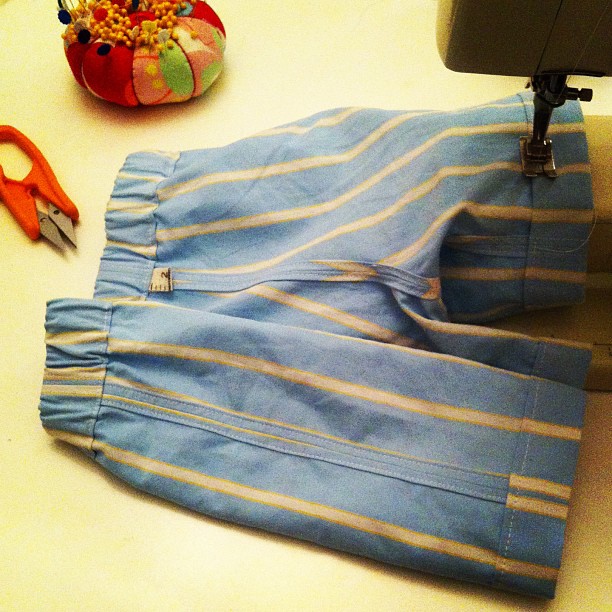
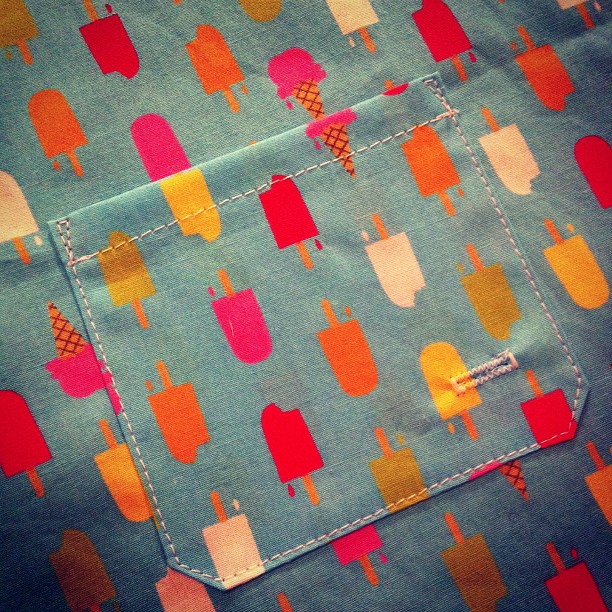
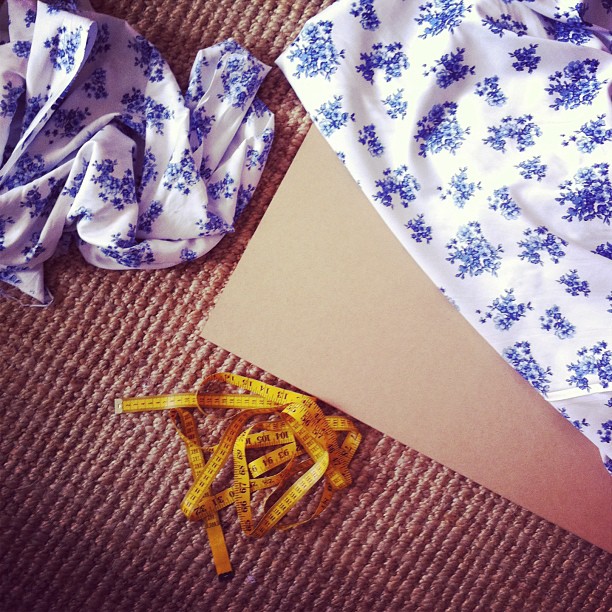
– pijamas: ando a fazer pijamas de Verão para o meu rapazinho. Já sabem do meu horror a tecidos muito grossos no Verão… tenho aproveitado as camisas mais leves que o Tiago já não usa para cortar calções. As partes de cima estão a ser feitas com cambraia branca e restos dos tecidos das camisas. Quando estiverem acabados hei-de escrever um post sobre o assunto;
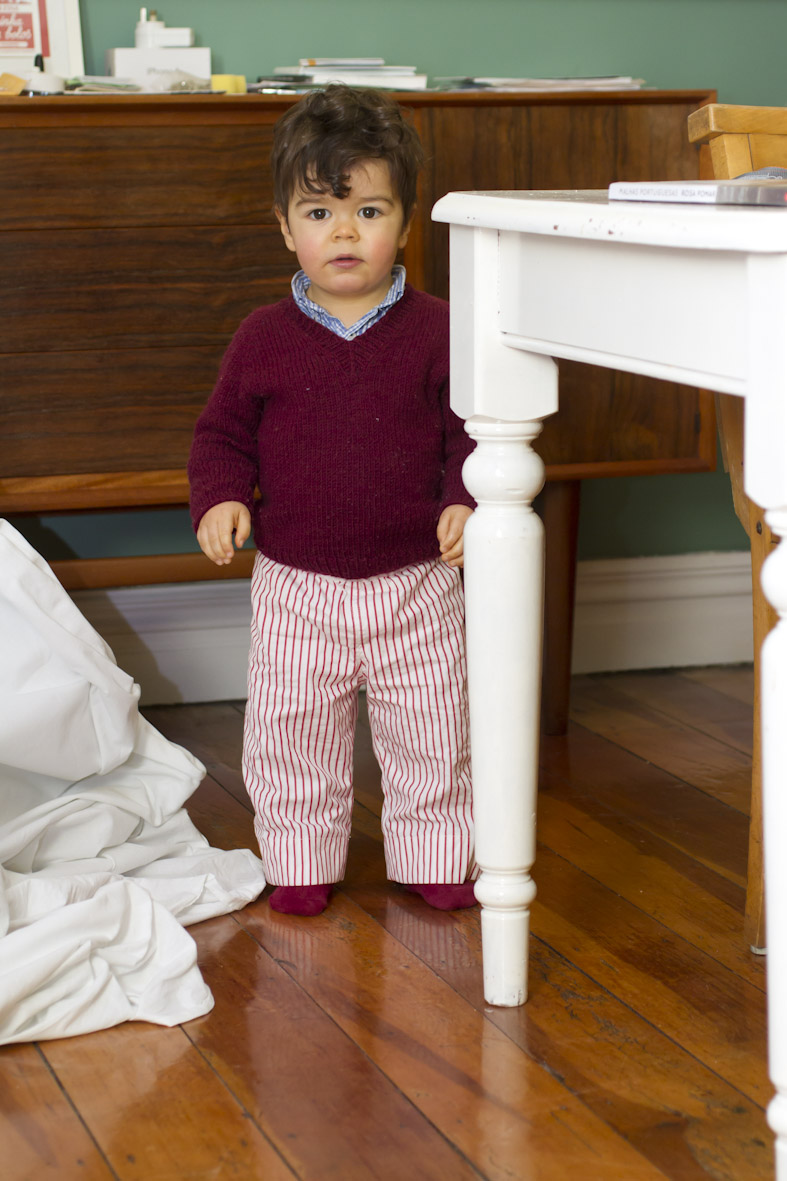
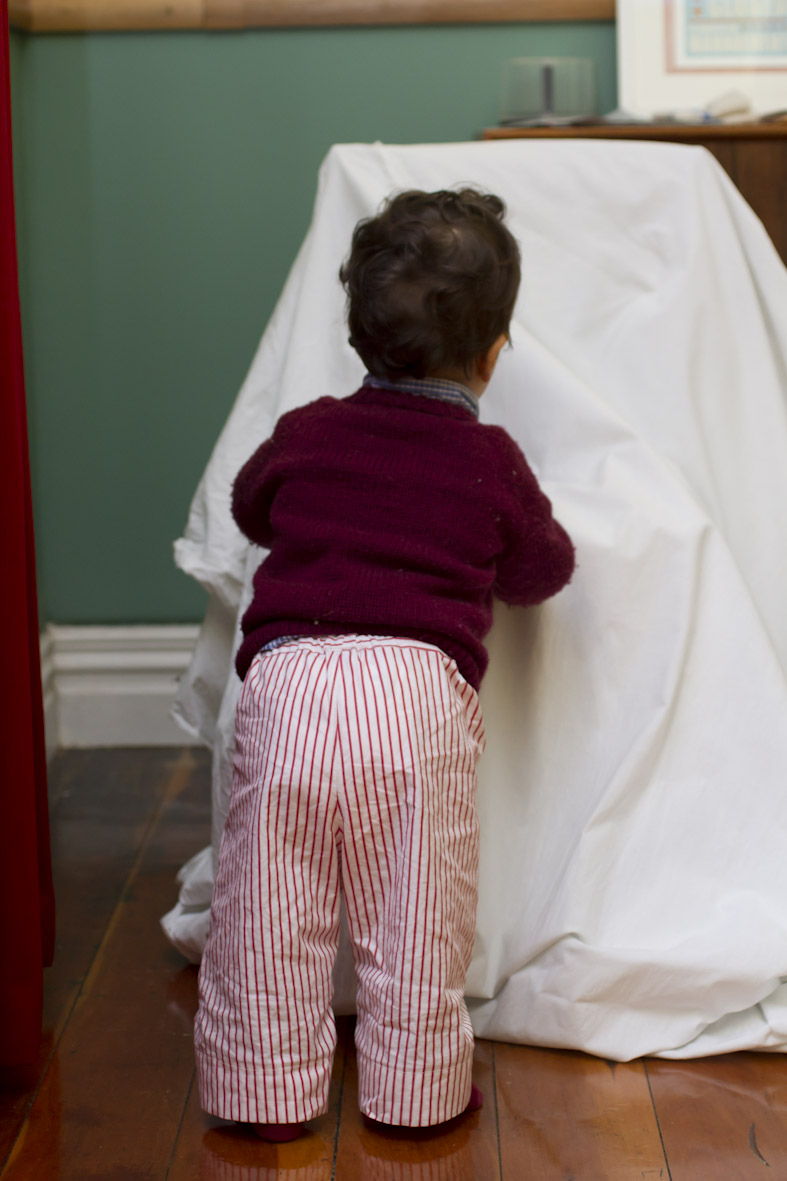
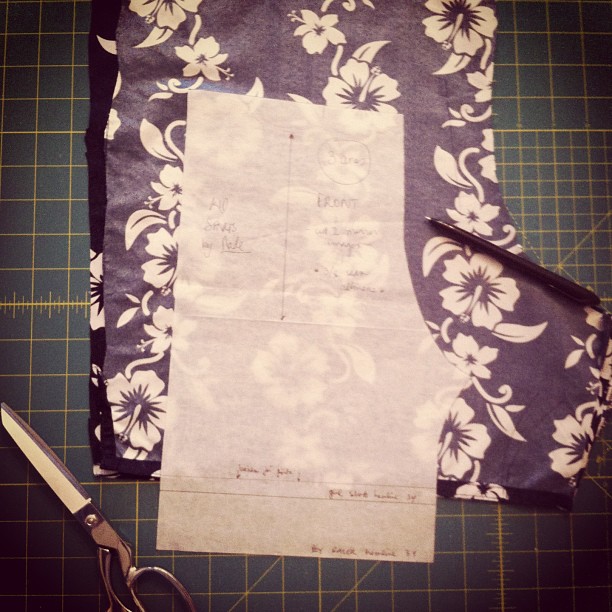
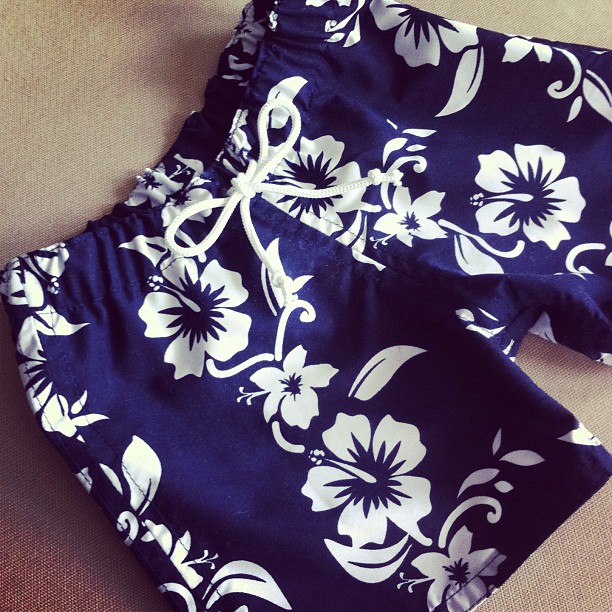
– fatos-de-banho: aproveitei uns calções antigos do Tiago para fazer um fato-de-banho para o Rodrigo (notam aqui um padrão? é verdade, farto-me de guardar roupa antiga para aproveitar um dia mais tarde). Estou a fazer mais alguns mas estes de algodão normal, porque já não tenho mais calções antigos para usar. Mas já sei que há uns quantos pares à minha espera em Lisboa!
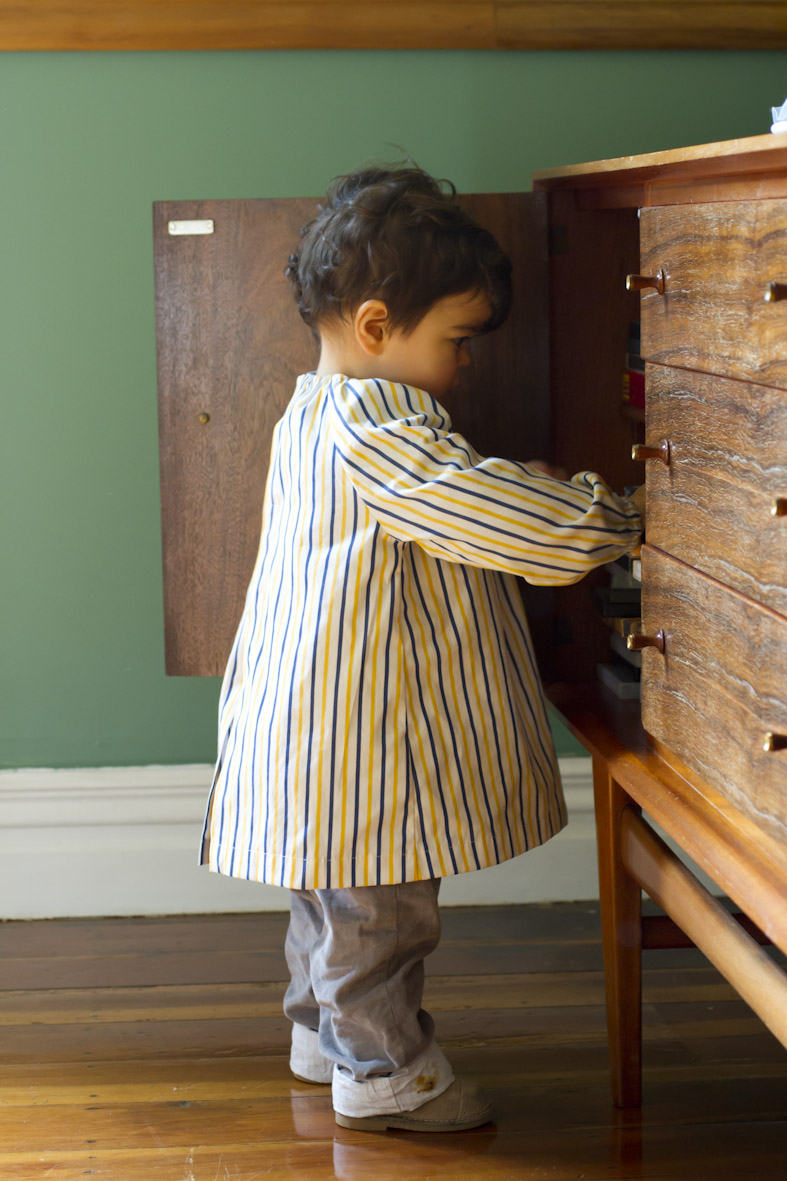
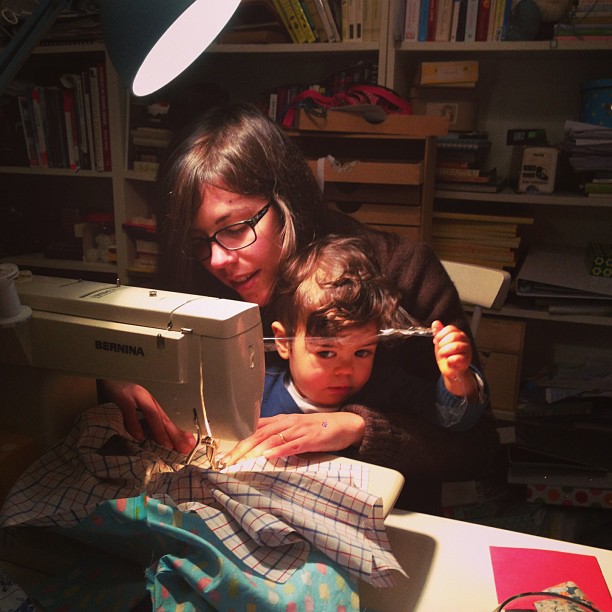
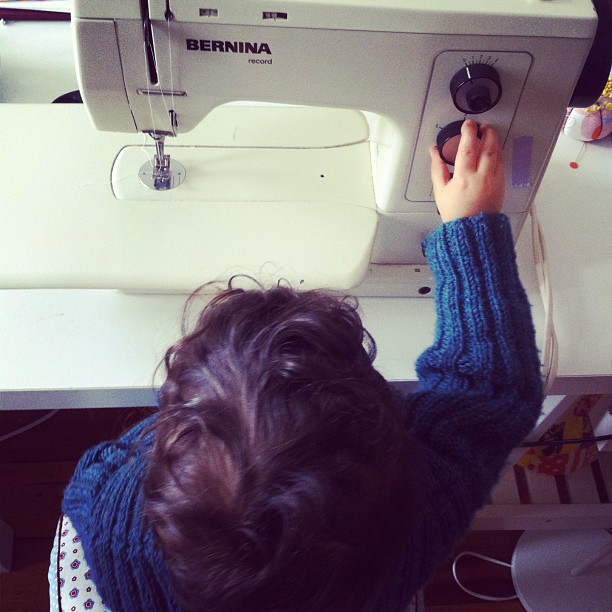
– coser: não costumo deixar o Rodrigo à solta no escritório por causa dos alfinetes, agulhas e outros perigos do género. Mas ele está tão farto de estar enfiado em casa que deixei-o satisfazer a curiosidade em relação à máquina de costura;
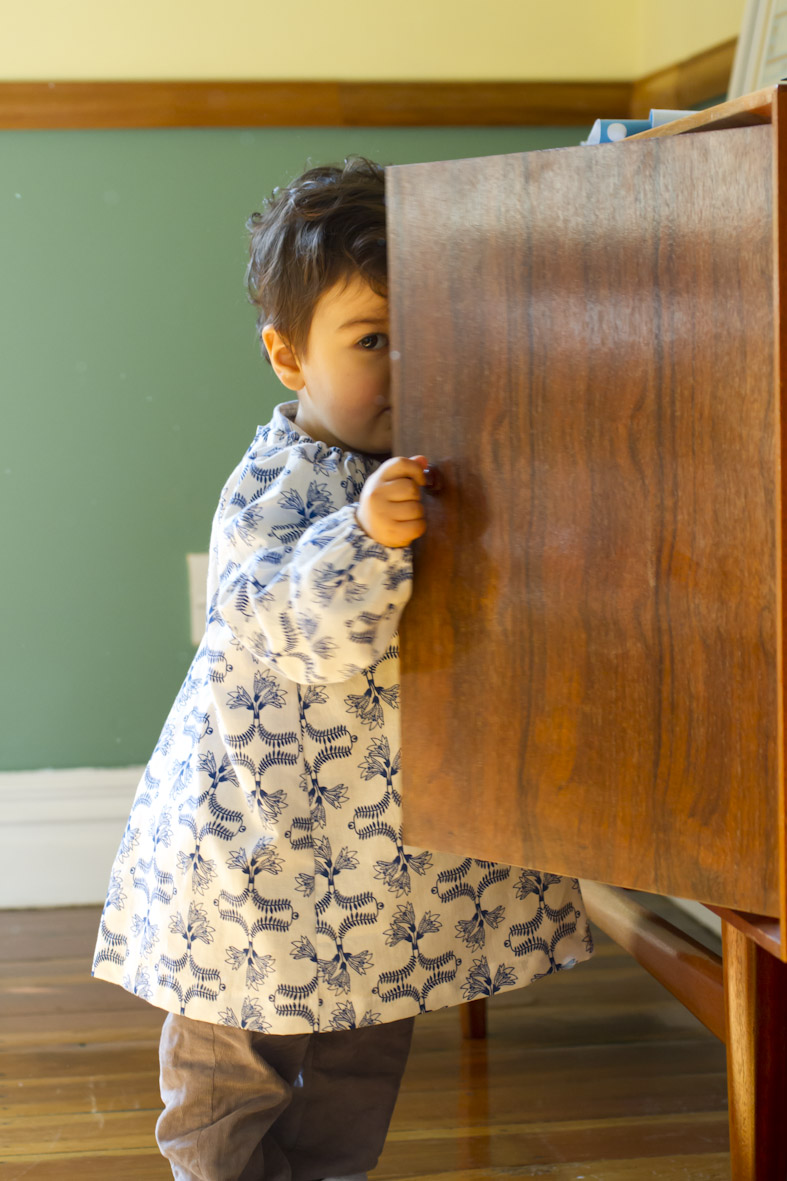
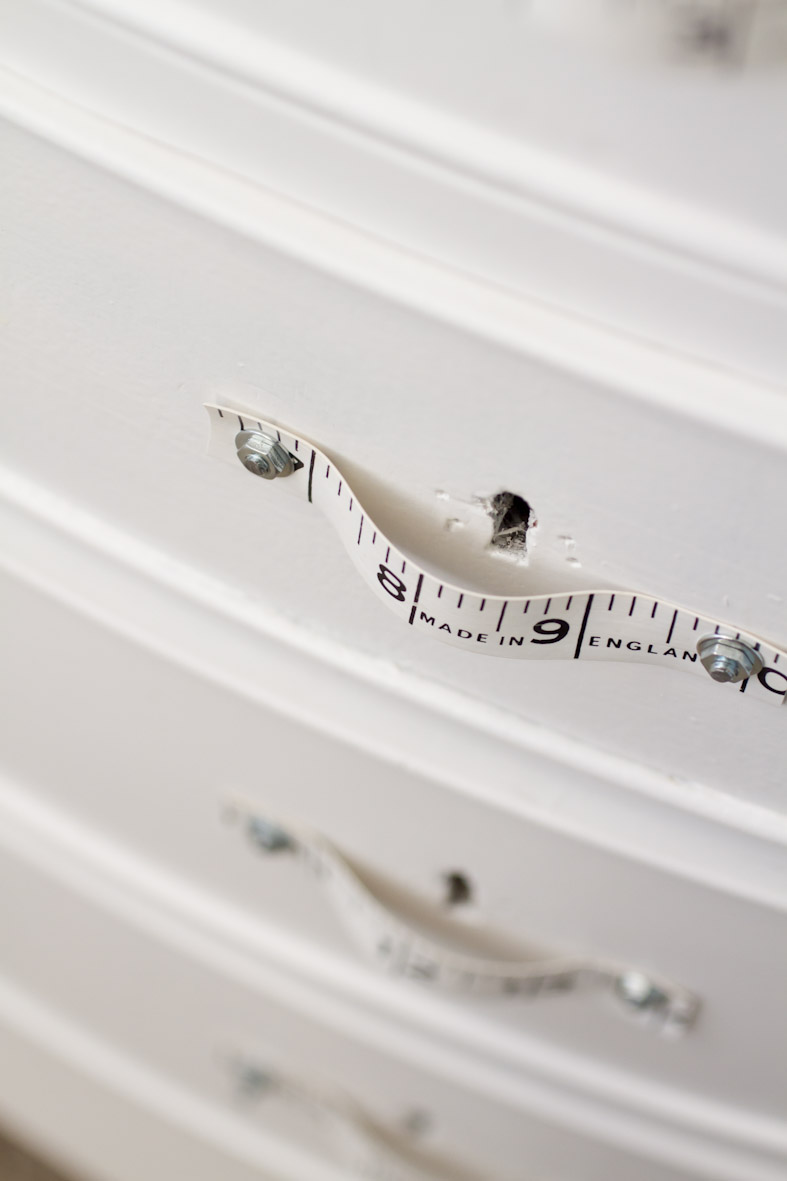
– forrar prateleiras: mandámos fazer umas prateleiras para um armário que herdámos dos avós do Tiago (aqui está ele). Vai passar a ser o nosso armário da roupa de casa e as prateleiras (em MDF) estão a ser forradas num tecido branco com flores azuis que comprei em super-saldos;
– terramotos: felizmente o epicentro destes tremores de terra recentes na Nova Zelândia ainda é relativamente longe de nós, mas a casa tem abanado de vez em quando e digo-vos que é assustador. A nossa casa é toda de madeira e está construída sobre estacas, o que significa que, quando há um terramoto, parece que estamos em alto-mar. Até ficamos enjoados a seguir!
These past few days have been rather atypical — between earthquakes and a nasty virus that has taken over Rodrigo’s body and insists on not going away, my productivity has suffered a sharp decline. However, thanks to Instagram I can show you peeks into my days (the uninteresting and challenging parts have been left out):

– pyjamas: I’m making summer pjs for my little boy. I’ve already told you how much I dislike thick fabrics in high summer… so I’ve grabbed some of the lighter shirts Tiago no longer wears and I’ve been cutting shorts out of them. For the tops I chose white batiste with facings cut from scraps of the shirt fabrics. Once I’m finished I’ll write a post telling you all about them;

– bathers: I took a pair of swim shorts Tiago hasn’t worn for years (do you notice a theme here? yes, I do hang on to lots of old clothing in the hope of refashioning it one day) and used them to make swim shorts for Rodrigo. I’m making a few more bathers using regular cotton fabrics because I’ve ran out of old swimwear but I know there are some waiting for me in Lisbon!

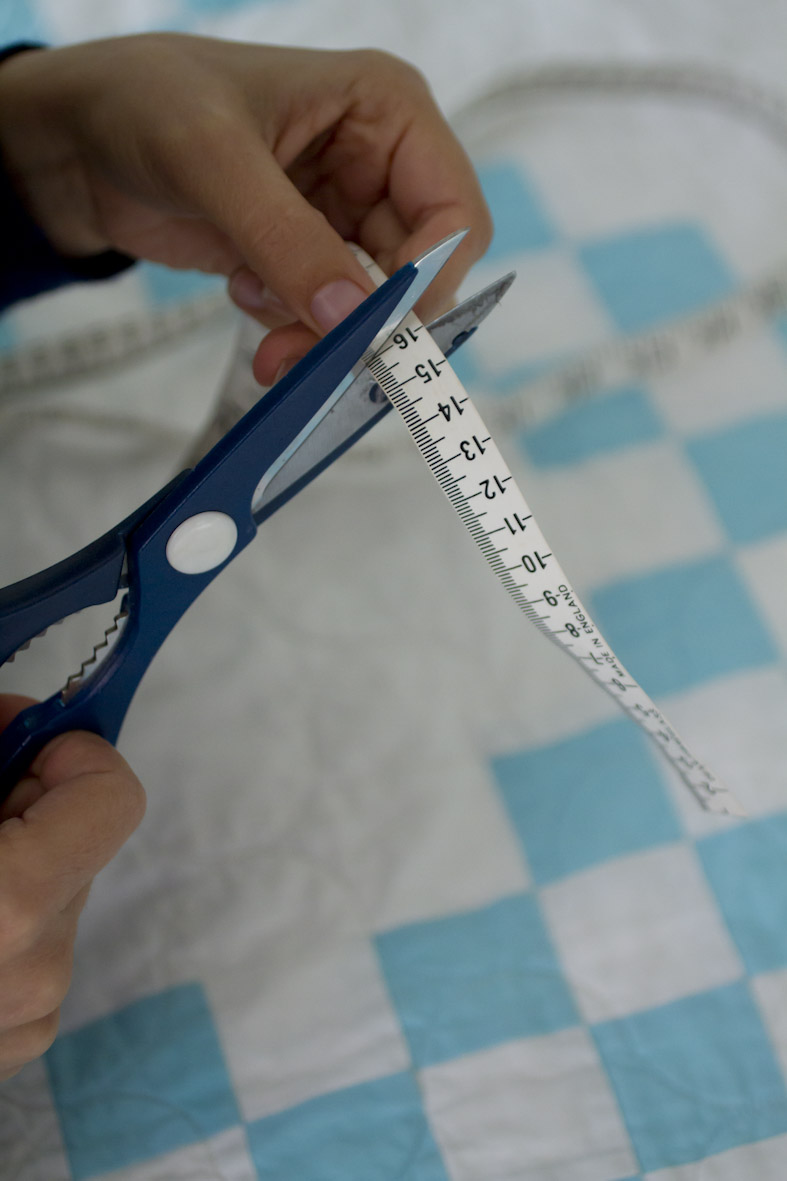
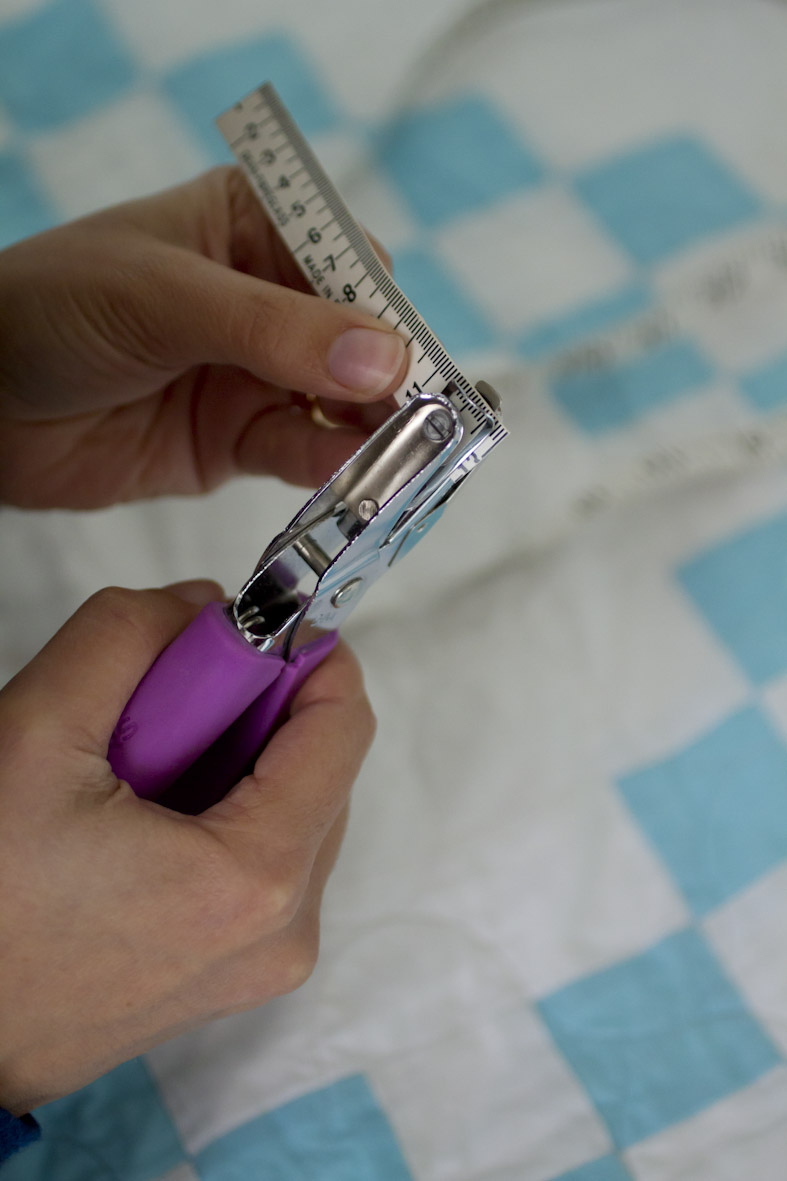
– sewing: usually I don’t let Rodrigo into my workroom because there are too many pins and needles and other dangers lying about but he’s so sick of being shut up at home that I’ve let him satisfy his curiosity towards the sewing machine;

– covering shelves: I had some shelves made for an old wardrobe that we’ve inherited from Tiago’s grandparents (here it is). It’s going to be our linen cupboard from now on and I’ve covering the MDF shelves with a classic blue and white floral print I found in the super clearance corner of the fabric shop;

– earthquakes: fortunately for us, the epicentre of these recent NZ quakes is further south but we’ve sure been feeling the house shake from time to time and it’s been quite frightening as we’re not used to these events. Our house is all timber and built on piles so it shakes like we’re on a boat. We even get sea sick when it stops!
(photos: © Constança Cabral)

Missão do Momento :: My Present Mission

Tenho uma nova missão. Aliás, presentemente até tenho duas missões, sendo que uma fica no caminho para chegar à outra. A minha missão mais grandiosa é esta: dominar a arte da confecção. Olhar para uma folha de moldes sem que o nervoso miudinho se instale. Ter orgulho no avesso da roupa feita por mim. Dominar técnicas como embeber uma manga, forrar um vestido, aplicar um entremeio. Aprender a desenhar e alterar moldes. Olhar para uma peça de roupa numa loja e pensar  “consigo fazer isto nas calmas”.
(A missão menos grandiosa mas mais imediata é completar o guarda-roupa de Verão do Rodrigo. Tenho andado a fazer calções e pijamas como se não houvesse amanhã!)
Quando uma pessoa se interessa a sério por um tema deve tentar aprofundá-lo ao máximo, não é verdade? Empiricamente ou de forma mais académica, o que interessa é conseguir estar o mais à-vontade possível no campo em questão. Pois eu, apesar de me ter iniciado nas artes da costura há 7 anos (já?), tenho sido uma mera curiosa. Curiosa e diletante.
Mas finalmente senti o chamamento e estou disposta a tornar-me um ás. Para isso há que ler umas coisas, ter umas aulas e, principalmente, fazer. E já estou a ver progressos! Olhem só este exemplo:
I’m on a mission. Actually, at present I’m on two missions but one is on the path get to the other one, the greater mission. What great mission is that, you may ask? Mastering the art of dressmaking. I want to look at a pattern sheet without feeling nervous. I want to be proud of the wrong side of my handmade clothes. I want to conquer tasks such as setting in a sleeve, lining a dress and inserting lace. I want to learn how to draft and alter patterns. I want to look at a piece of clothing in a shop and think “I could make that”.

(The lesser but more pressing mission is to complete Rodrigo’s summer wardrobe. I’ve been making shorts and pyjamas like there’s no tomorrow!)

When you’re truly interested in a subject you should try and dig a little deeper, right? Either empirically or in a more academic fashion — the goal is to feel completely at easy in that particular field. Well, I’ve been sewing for 7 years (already?) but think I’ve been a bit superficial. Superficial and dilettante. 

But finally I’ve felt the calling become a sewing ace. In order to do that, I’ve got to read a lot, attend some classes and, above all else, experiment with things. And I’m already making some progress! Just take a look at this:
Fiz estas calças de pijama para o Rodrigo há três meses (já lhe estão curtas, mas isso é outra história). Depois de cosidas as costuras, limitei-me a cortar as margens com uma tesoura em zigzag. Ao fim de algumas (muitas) lavagens, estão feias. Muito feias. Irão aguentar-se mais uns meses, sem dúvida. Mas não me orgulho especialmente delas.

I sewed these pyjama bottoms for Rodrigo three months ago (they’re getting too short but that’s a whole other story). After stitching I simply pinked the seams. After some (many) washings they are looking ugly. Very ugly indeed. They’ll do the job for a few more months, no doubt. But I’m not especially proud of them.

Agora vejam as costuras destes calções que estou a fazer (avesso na primeira imagem, direito na segunda). Têm melhor aspecto, não têm? Demoram o dobro do tempo mas ficam muito mais bonitas e resistentes. Cosi-as assim depois de ter lido este post da Rae a respeito de super costuras. Este post do blog Sew, Mama, Sew! também é bom. Não mais cortarei ou chulearei as costuras!

Now just take a look at these shorts I’m making (wrong side in the first picture, right side in the second one). They look much better, don’t they? They take much longer but turn out much more pleasing and strong. I sewed them like this after reading Rae’s post on super seams. This post on Sew, Mama, Sew is also quite informative. I vow not to pink or zigzag my seams ever again!

Estas calças de pijama também já foram feitas com super costuras: costuras inglesas nas pernas e costuras dobradas e pespontadas nos restantes sítios. Já agora, o molde que usei foi o Bedtime Story Pajamas da linha Oliver + S (tamanho 3 anos com mega bainhas).
Vou mantendo-vos a par dos meus progressos, combinado?

These pj trousers have also been sewed with super seams: I did French seams on the legs and folded and stitched down all the remaining seams. By the way, the pattern I used was the Bedtime Story Pajamas by Oliver + S (size 3 with huge hems).

I’ll keep you posted on my progress, OK?

(photo: © Constança Cabral)

Bibes :: Art Smocks

Na maior partes das casas com crianças pequenas, as horas das refeições são momentos delicados… e a nossa casa não é excepção. Há alturas em que o Rodrigo está bem-disposto e bem dormido e come tudo sem problemas: sopa, prato e sobremesa. Mas há aqueles dias em que o jantar é uma verdadeira batalha. Bem ou mal, fica sempre tudo sujo: ele, a mesa e o chão. Um babete não é suficiente — precisamos de um bibe por baixo do babete!
Há quem, para este efeito, goste muito de bibes impermeáveis, mas eu prefiro ter vários bibes em tecidos laváveis a altas temperaturas (mais vale uma nódoa de sopa do que sopa a escorrer). Mas cada mãe tem as suas preferências, claro. Em Portugal é muito fácil comprar bibes de todos os padrões e feitios; aqui nem por isso, porque crianças não usam bibes na escola — quando são mais velhos usam farda, mas os mais pequenos vão com a roupa de todos os dias. A solução? Fazer eu própria os ditos bibes!
O molde que usei foi o Art Smock do livro Little Things to Sew. Fiz cinco art smocks: dois com tecidos do Ikea (primeira e última fotografias) e três com camisas do meu pai (2ª, 3ª e 4ª fotografias). Os bibes feitos com as camisas foram os que me deram mais gozo, porque adoro aproveitar peças de roupa que, por uma razão ou outra, foram postas de lado.
Mais uma vez constatei a excelência de tudo o que a Liesl Gibson produz (conhecem a marca de moldes infantis Oliver + S?). As instruções são claras, a construção é inteligente e não há uma única costura exposta (foi a minha estreia nas costuras inglesas!). Fiz o tamanho mais pequeno que, apesar de estar à medida, é suficientemente espaçoso para usar por cima de camisolas e até mesmo de um roupão de Inverno.
Just like in every other home with small children, in our house mealtimes are delicate moments. There are days when Rodrigo is happy and well-rested and he eats everything: soup, main dish and dessert. But there are also those times when a meal is just like a battlefield. Either way, everything is dirty by the end of it: himself, the table and the floor. A bib simply isn’t enough — we need a smock under the bib!

Some people like waterproof fabrics like oilcloth and laminated cottons for this effect but I prefer something that you can wash in a very hot cycle. I’d rather have soup stains than soup running down the smock… but of course every mother is different. In Portugal you can buy cotton smocks in every print and shape because children wear them to nursery and primary school; here in NZ things are different: children wear uniforms when they’re older but when they’re very young they just wear their normal clothes. The solution? Making them myself!

The pattern I used was the Art Smock from the Little Things to Sew book. I sewed five art smocks: two with Ikea fabrics (first and last pictures) and three with some old shirts my father no longer wears (2nd, 3rd and 4th photos). I especially enjoying making the bibs out of the old shirts because the fabrics are such good quality and because I love using up discarded items of clothing.

It was great to realise once again that everything that Liesl Gibson creates is of such high standard (are you familiar with  Oliver + S patterns?). The instructions are clear, the construction is very clever and there isn’t a single exposed seam (this was the first time I ever made French seams!). I sewed the smaller size and have found it true to size but roomy enough to wear over sweaters and even a winter robe. Mealtime smocks: check!

(photo: © Constança Cabral)

Portugal em Hexágonos :: Portugal in Hexagons

Depois de meses — anos! — a fazer hexágonos, finalmente completei o meu mapa de Portugal. Esta ideia surgiu-me ainda em Inglaterra, num dia de muita chuva e de muitas saudades de casa. Usei retalhos de projectos passados em tons de azul e verde e apliquei-os sobre um rectângulo de serapilheira. O método que segui para fazer os hexágonos foi o tradicional English paper piecing, em que um pequeno corte de tecido é alinhavado à volta de um hexágono de papel; depois os hexágonos são unidos uns aos outros com um ponto quase invisível e, por fim, os papéis são retirados e o patchwork é aplicado sobre um tecido base (esta parte final fiz à máquina com ponto zigzag).
After months — years! — of making hexagons I finally completed my map of Portugal. This idea presented itself to me while I was still living in England, during a particularly rainy day when I was missing home very much. I used scraps of fabrics from past projects in shades of blue and green and   stitched them on a rectangle of plain hessian. To make the hexagons I followed the traditional English paper piecing method, where a small cut of fabric is basted around a paper hexagon; the hexagons are then slipstitched to each other and finally the papers are removed and the patchwork is sewn onto a foundation cloth (I sewed this final step by machine using a zigzag stitch).

Para conseguir reproduzir o contorno do nosso querido país abri um mapa de estradas e fui colocando os meus hexágonos ao longo do recorte da costa e da fronteira com Espanha. Visto que os hexágonos eram relativamente grandes, tive de exagerar certas áreas e houve zonas em que foi particularmente difícil acompanhar as subtilezas geográficas (Lisboa, por exemplo). E que exercício sentimental foi este! É bom ver o resto do mundo mas as raízes de uma pessoa continuam a ter muita força. Que saudades de Portugal e que vontade tão grande de ir explorar os sítios que ainda não conheço!
In order to reproduce the shape of my dear country I opened up a road map and placed my hexagons along the coast and Spanish border. Since the hexagons were on the larger side I had to exaggerate some of the outlines and there were areas where it was especially difficult to represent the geographical subtleties with accuracy (Lisbon, for example). And what a sentimental exercise this was! It’s great to experience the rest of the world but one’s roots are incredibly strong. I miss Portugal!
(photos: © Constança Cabral)

Flores de Inverno :: Winter Flowers

Ando feliz com as flores que tenho encontrado no nosso jardim. Estamos em pleno Inverno e há camélias, alfazema, heléboros, narcisos, jacintos, margaridas, sardinheiras, daphne e muitas outras cujo nome não conheço. E cheiram tão bem. Bem dizem que a terra é boa na Nova Zelândia!

I’m so happy with all the flowers I’ve been discovering in the garden. We’re in the dead of winter and I’ve picked camellias, lavender, hellebores, daffodils, hyacinths, pelargoniums, daphne and others that I cannot name. And they smell heavenly. New Zealand soil is terrific!


(photos: © Constança Cabral)

Puxadores Fita Métrica :: Tape Measure Handles


Puxadores para a minha mesa-de-cabeceira feitos de fita métrica! Vi esta ideia há bastante tempo numa revista francesa (última fotografia) e felizmente arranquei a página e guardei-a. Comecei por experimentar com uma fita métrica azul made in China — o azul não me convenceu e a fita era de má qualidade e rebentou ao fim de poucas utilizações. Então peguei na minha fita métrica a sério (esta branca e made in England) e sacrifiquei-a em nome de uma causa maior. Um grande obrigada ao meu querido Tiago faz-tudo pela ajuda preciosa!
Handles for my nightstand made out of tape measure! I saw this idea in a French magazine years ago (last picture) and luckily I teared out the page and saved it. I started by using a blue tape measure made in China — the blue didn’t really work and the tape was of poor quality and broke after a few days. So I resorted to the tape measure I use everyday (this one is white and made in England) and sacrificed it for a greater cause. A big thank you to my dearest Tiago-handyman-extraordinaire for your precious help!
(photos: © Constança Cabral)

Kaftan

1. A motivação

Vamos passar uns tempos a Portugal e mais uma vez verifico que tenho um guarda-roupa de Verão bastante limitado e sem graça nenhuma. A verdade é que muita da minha roupa pré-gravidez já não me serve, o meu orçamento não dá para grandes loucuras, o facto de estar a viver no hemisfério sul onde as estações do ano são ao contrário não ajuda muito e não gosto especialmente de comprar roupa pela internet (há sempre peças que não servem e a história das devoluções não me encanta). A solução é evidente: tenho de começar a fazer a minha própria roupa.
Tenho comprado moldes giros (antigos e recentes) mas confesso que me sinto bastante intimidada com a minha falta de conhecimentos no campo das alterações. Sim, porque se queremos fazer roupa minimamente decente, temos de saber adaptar os moldes ao nosso corpo. Há muitas explicações em livros e online mas o que eu preciso mesmo é que alguém me ensine ao vivo e a cores. Enquanto esse dia não chega, vou treinando com roupa de criança e com alguns modelos mais simples para mim.

1. The motivation
We’re going to spend some time in Portugal soon and I’ve realised that my summer wardrobe is extremely limited and plain. Truth is, most of my pre-pregnancy clothes no longer fit me, my budget doesn’t allow for big shopping sprees, the fact that I’m living in the southern hemisphere where the seasons are opposite to those in Europe doesn’t help and I’m not a fan of buying clothes online (I dislike the whole returns issue). I guess the solution is clear: I must start making my own clothes.

I’ve been buying lots of cute patterns (some old, some new) but I admit I feel quite intimidated by my lack of knowledge when it comes to fitting and making alterations. That’s right: if you want to make half decent clothes, you must know how to adapt the pattern to your body. There are numerous tutorials online and in books but I need someone in the flesh to hold my hand through the process. Until that day comes I’m going to keep practicing with children’s clothes and a few super simple patterns for myself.


2. A inspiração
Entra o kaftan. Quando, há 4 anos, estivemos em Marrakech, comprei um kaftan azul-escuro para usar como saída de praia. Uso-o às vezes mas não é 100% algodão, o que significa que é um bocado quente e está a começar a ficar velho com as sucessivas lavagens. Mas é um modelo tão simples que pensei experimentar fazer uns quantos para usar neste Verão.

2. The inspiration
I figured that a kaftan would make a great practice piece. Four years ago I bought a navy kaftan in Marrakesh to wear as a beach cover-up. I’ve worn it quite a few times but because it’s not 100% cotton it’s too hot and it’s beginning to pile from being washed often. But it’s such a simple pattern that I decided to use it as inspiration to sew my very own kaftan.

3. O tecido
Visto que este kaftan é uma experiência, achei que seria sensato escolher um tecido que não fosse demasiado precioso. Em Inglaterra frequentava uma loja de tecidos que tinha sempre uma secção de oportunidades: pilhas de cortes de tecidos com pequenos defeitos ou restos de rolos. Numa dessas pilhas descobri este tecido indiano, enorme (mais tarde vim a descobrir que são de facto dois panos unidos no centro) mas com um rasgão no meio. A trama é muito aberta (o que significa que o tecido é bastante leve e transparente) mas gosto imenso das cores e padrões. É o típico exemplo do block printing indiano.

3. The fabric
Since this kaftan is an experiment I thought I shouldn’t use anything too precious. In England I use to go to a fabric shop that had a good remnant bin — that was precisely where I found this Indian block printed gauze. It’s huge (later I discovered a seam in the middle… it’s actually made of two pieces of cloth sewn together) but it had a big tear in the centre. It’s a very open weave (which means that the fabric is very light and sheer) and I love the colours and patterns.

4. A execução

Um kaftan não é mais do que um rectângulo muito comprido com um buraco no meio para a cabeça. Preferia ter feito um kaftan até aos pés, mas o tal rasgão significou que tive de optar por um comprimento acima do joelho. Cosi bainhas nos quatro lados do rectângulo, debruei o decote (que, diga-se de passagem, ficou bastante generoso… mas como isto é para usar na praia não há grande problema) com uma tira em viés cortada no mesmo tecido e uni o kaftan com uma costura de ambos os lados, deixando espaço para os braços e duas pequenas rachas na parte de baixo. Depois improvisei uma espécie de faixa na cintura, em que duas fitas partem de uma tira central e apertam atrás.

4. The execution
A kaftan is just a big rectangle with a hole in the middle for your head. I wish I could have made it maxi length but that tear meant that I had to go for a just-over-the-knee look. I hemmed all four sides, bound the neckline with a strip of the same fabric cut on the bias (I got a bit carried away with that neckline… but since it’s for the beach it’s no big deal) and stitched up the sides leaving a gap at the top for the arms and a smaller gap at the bottom. Then I improvised a sort of waistband by making an interfaced band and two strips of fabric that are then tied in the back.

5. Notas finais
Sabem que mais? Adorei ter feito isto. Pode não ser o corte mais favorecedor do mundo (o manequim fica com umas ancas enormes e ela é uma moça bem mais esbelta do que eu) mas soube-me bem improvisar e inventar e confiar em mim própria. A sério, foi uma experiência libertadora. Às vezes é mesmo bom partir para um projecto sem instruções e apenas com uma ideia geral daquilo que se quer alcançar. Mais uma vez exclamo com vigor: viva a máquina de costura!

5. Final notes
You know what? I loved making this. It may not be the most flattering shape ever (I mean, the mannequin looks as if she’s got huge hips and she’s a much slimmer girl than I) but it felt great to improvise and make it up as I went along and generally just trust my gut. It was truly liberating! Sometimes it’s nice to embark on a project with no instructions and just a general idea of what one hopes to accomplish. Again I say: long live the sewing machine!

(photos: © Constança Cabral)

Quilts in "Little Women"

Uma das razões pelas quais eu adoro ver filmes e séries históricas tem a ver com os espaços (interiores e exteriores), o guarda-roupa e a fotografia. Estas produções são normalmente feitas com grande rigor e detalhe, e para mim são extremamente inspiradoras. A BBC é imparável neste campo mas há dezenas de outros filmes e séries que não lhes ficam atrás.
No filme “Mulherzinhas”, por exemplo, aparecem uns quantos quilts que me fazem sempre carregar no botão pausa para olhar melhor para eles. Da última vez que o vi tirei umas quantas fotografias com o telemóvel para partilhar aqui convosco — não estão nada de especial, mas dá para ter uma ideia dos quilts americanos na altura da Guerra Civil.
Um dia hei-de fazer aqui uma lista das minhas produções preferidas neste aspecto. E vocês, que séries e filmes vêem e revêem só por causa daquilo que aparece em segundo plano?
One of the reasons why I love watching period series and films has to do with the locations (both indoors and outdoors), wardrobe and photography. These productions are usually put together with great accuracy and attention to detail and I find them highly inspiring. The BBC is a master in this field but there are also dozens of other films and TV series that are equally good.

In the film “Little Women”, for instance, there’s a number of quilts that always have me press the pause button so I can have a better look at them. The last time I watched it I actually took some photos with my phone in order to share them here with you — the quality isn’t great but they give us an idea of the type of quilts that existed in America in the Civil War era.

One of these days I must show you my list of films and series I watch mainly because of this kind of things. What about you, what do you watch over and over again just because of what you can glimpse in the background?
(photos: © Constança Cabral)