Como Fazer Capa de Édredon + Fronha :: How to Sew a Toddler Duvet Cover + Pillowcase

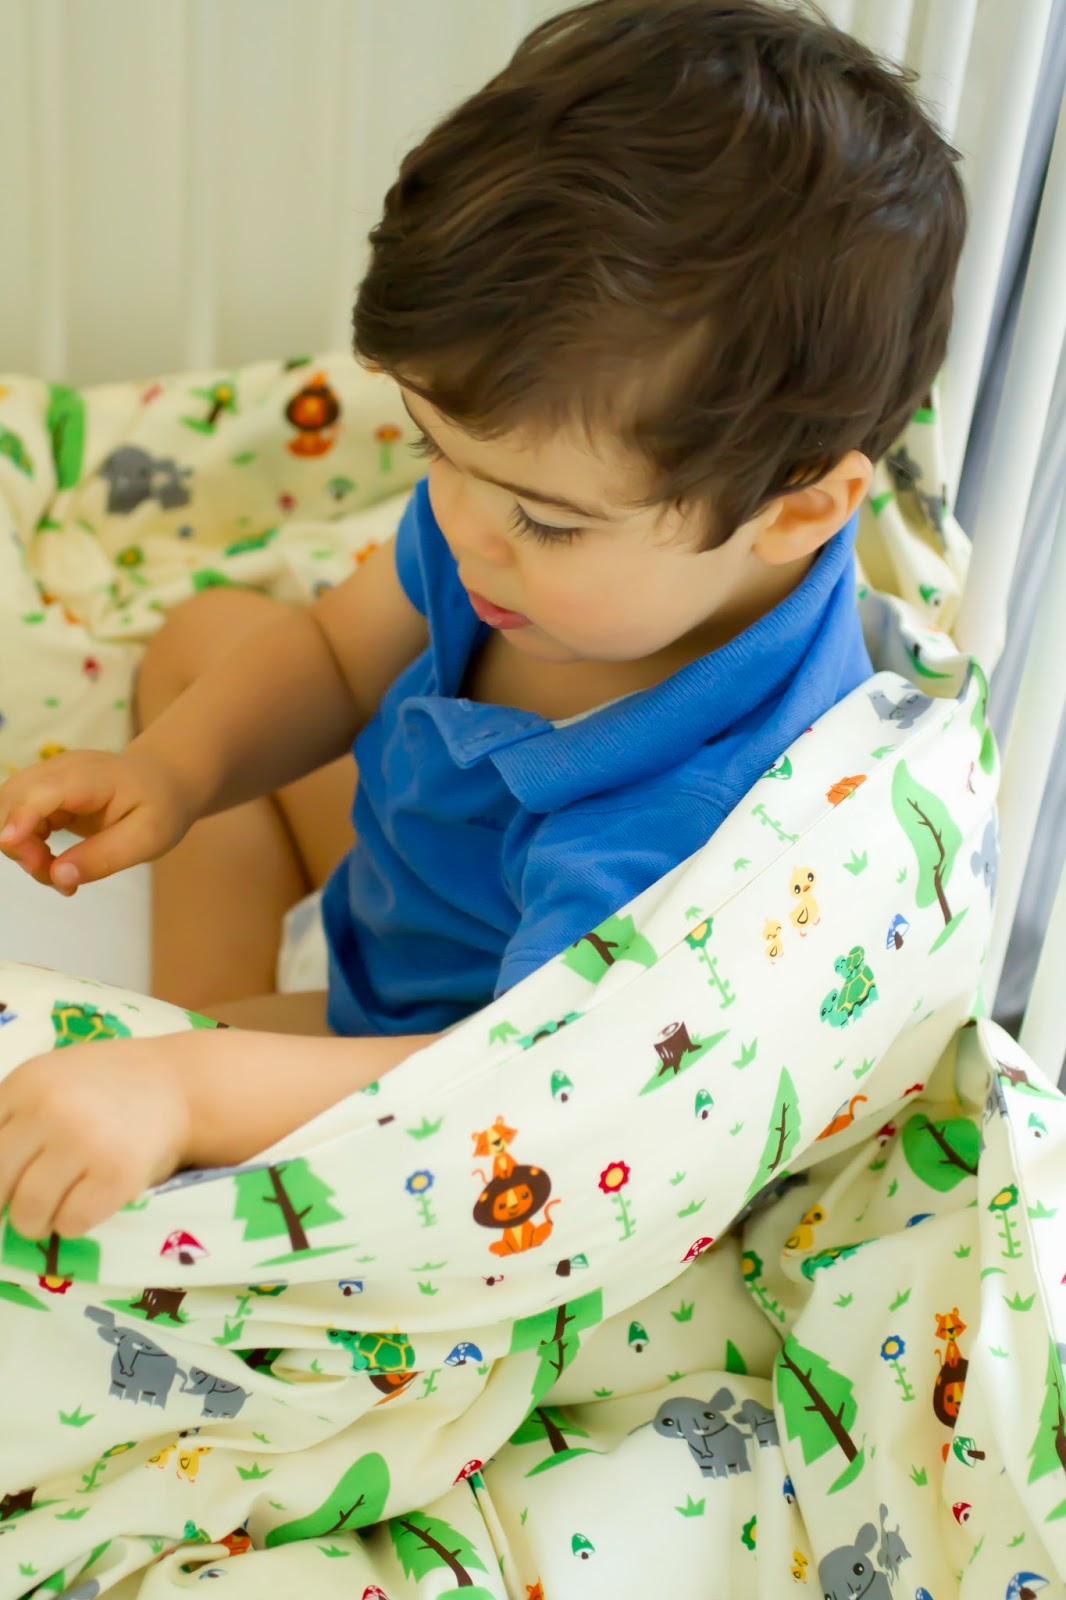
Lembram-se da capa de édredon e fronha que fiz para a cama do Rodrigo? A capa fica aberta em baixo e é ligeiramente mais comprida do que o édredon, o que a permite entalar com facilidade debaixo do colchão. A fronha fecha como um envelope. Aqui ficam as instruções para fazer igual:
Remember the duvet cover and pillowcase I made for Rodrigo’s crib? The duvet cover is open on the bottom and it’s slightly longer than the duvet itself, which makes it easy to tuck the ends under the mattress. The pillowcase has a simple envelope closure. Here’s a tutorial for you:


Materiais (para uma capa de édredon para cama de grades + uma fronha para uma almofada de 30 x 40 cm)
3,50 m de tecido com 1,10 m de largura
fita métrica/régua
tesoura
linha
máquina de costura
ferro de engomar
Materials (for a crib-sized duvet cover and a 30 x 40 cm pillowcase)
3,50 m of fabric that is 1,10 m wide
tape measure/ruler
thread
fabric scissors
sewing machine
iron


Para fazer a capa de édredon:
To make the duvet cover:
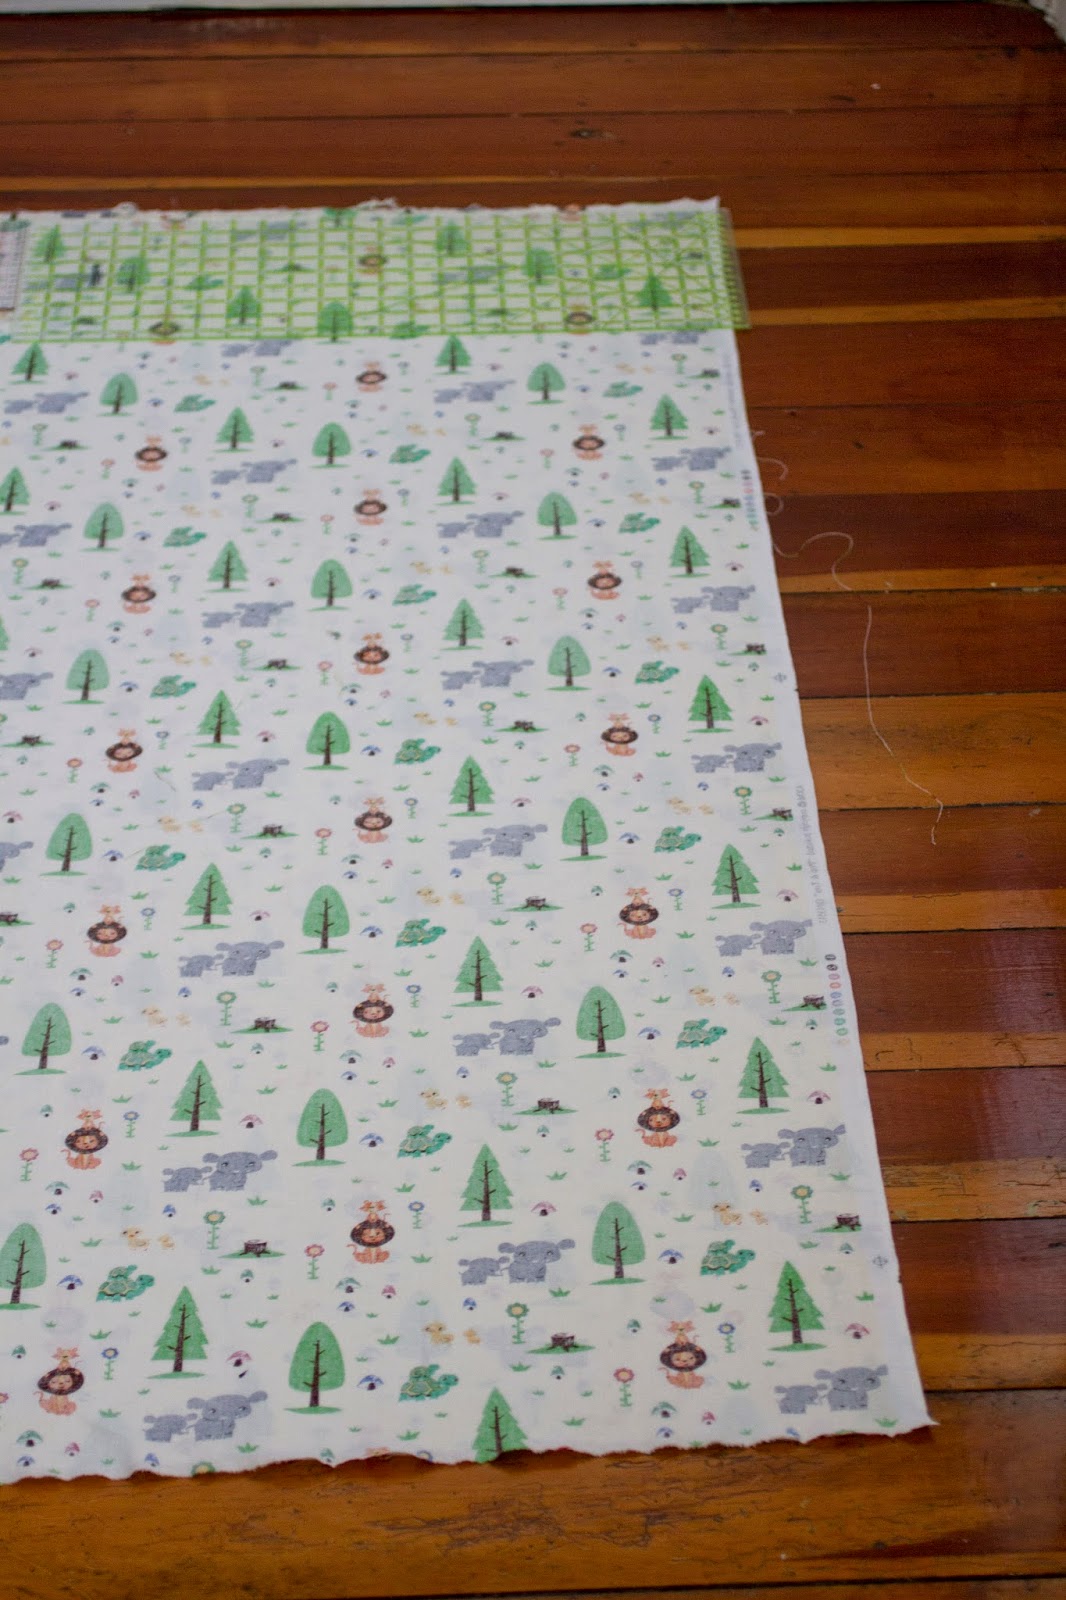
1. Cortar 2 rectângulos de tecido com 1,50 de comprimento. Não mexer na largura do tecido (manter as ourelas intactas).
1. Cut 2 rectangles of fabric, each 1,50 m long. Do not touch the width of the fabric (don’t trim the selvedges).

2. Colocar os 2 rectângulos no chão, direito com direito, tendo o cuidado de alinhar bem as ourelas.
2. Place the 2 rectangles on the floor with right sides together, making sure the selvedges are aligned.

3. Acertar as partes de cima e de baixo com uma régua, de maneira a que fiquem direitas. Cortar.
3. Square off the top and bottom (use a ruler and trace a line, then cut).
4. Prender com alfinetes os lados e a parte de cima e coser a toda a volta a 2 cm da borda, deixando a parte de baixo aberta.
4. Pin along the top and sides and sew all around using a 2 cm seam allowance. Do not sew the bottom!

5. Chulear a parte de cima. Virar para o direito e engomar.
5. Zig-zag the top raw edge. Turn right side out and press.

6. Dobrar a parte de baixo 1 cm e vincar com o ferro. Voltar a dobrar 1,5 cm, vincar com o ferro e pespontar. Engomar. Já está!
6. Fold the bottom edge 1 cm and press it. Fold it again 1,5 cm, press and edgestitch all around it. Press. You’re done!

Para fazer a fronha:
To make the pillowcase:
1. Cortar um rectângulo de tecido com 100 x 31 cm, mantendo uma das ourelas intactas (atenção que estas medidas são para uma almofada de 30 x 40 cm).
1. Cut a rectangle of fabric measuring 100 x 31 cm, leaving one of the selvedges uncut (keep in mind that these measurements are for a 30 x 40 cm pillow).

2. Pegar no lado que tem a ourela e, com o avesso virado para cima, fazer uma dobra com 6 cm. Vincar a dobra com o ferro e pespontar. Dobrar o outro lado 1 cm e vincar com o ferro; dobrá-lo novamente 1 cm, voltar a vincar com o ferro e pespontar.
2. Take the side with the selvedge and place it with the wrong side up. Fold the selvedge edge 6 cm, press in place and edgestitch. Take the other side, fold the edge 1 cm and press it place; fold it again 1 cm, press and edgestitch. 

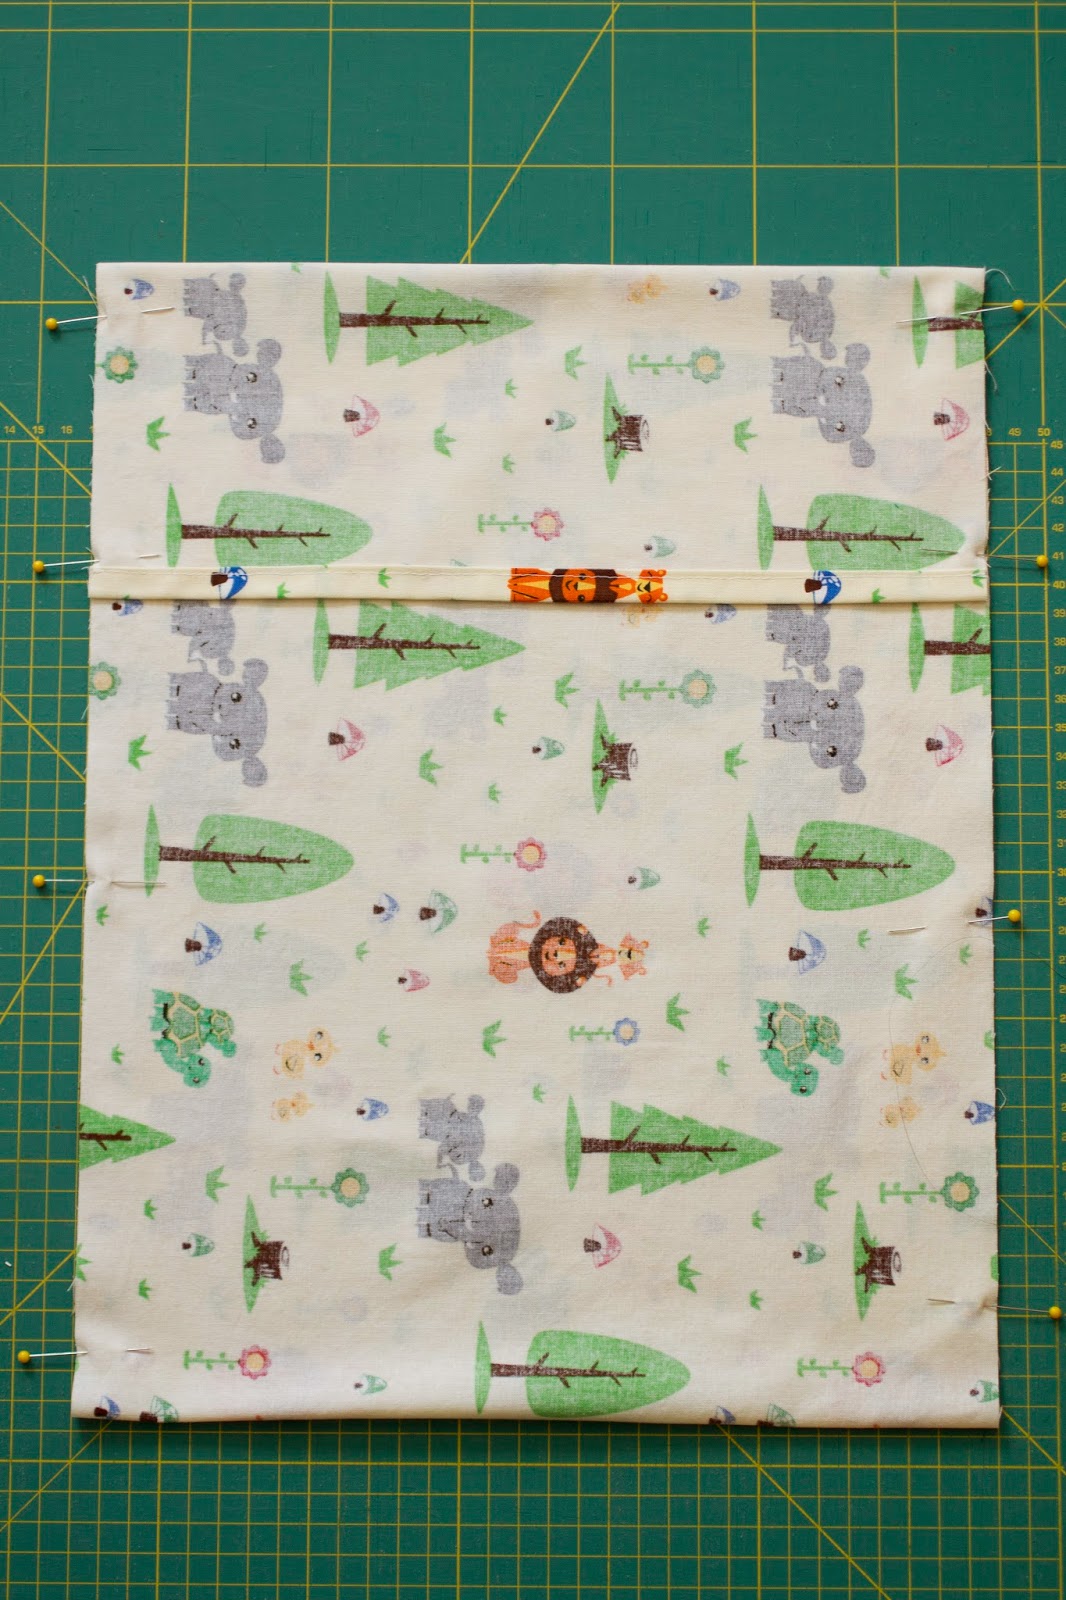
3. Colocar o rectângulo em cima de uma superfície plana, com o direito do tecido virado para cima. Medir 12 cm a partir da extremidade que não tem a ourela e dobrar a outra extremidade do rectângulo até esse ponto — isto significa que estará a fazer uma dobra com 40 cm (o comprimento da almofada). Em seguida, dobrar a parte que resta do rectângulo, colocando-a por cima daquilo que já foi dobrado  (ver imagens abaixo). 
3. Place the rectangle on top of a flat surface with the right side of the fabric facing up. Measure 12 cm from the end that has no selvedge. Grab the other end and fold it upwards up to the point where it meets the 12 cm you just measured — this means you’ll be folding it 40 cm (the length of the pillow). Then fold down the other end, placing it on top of the end that you just folded (see pictures below).

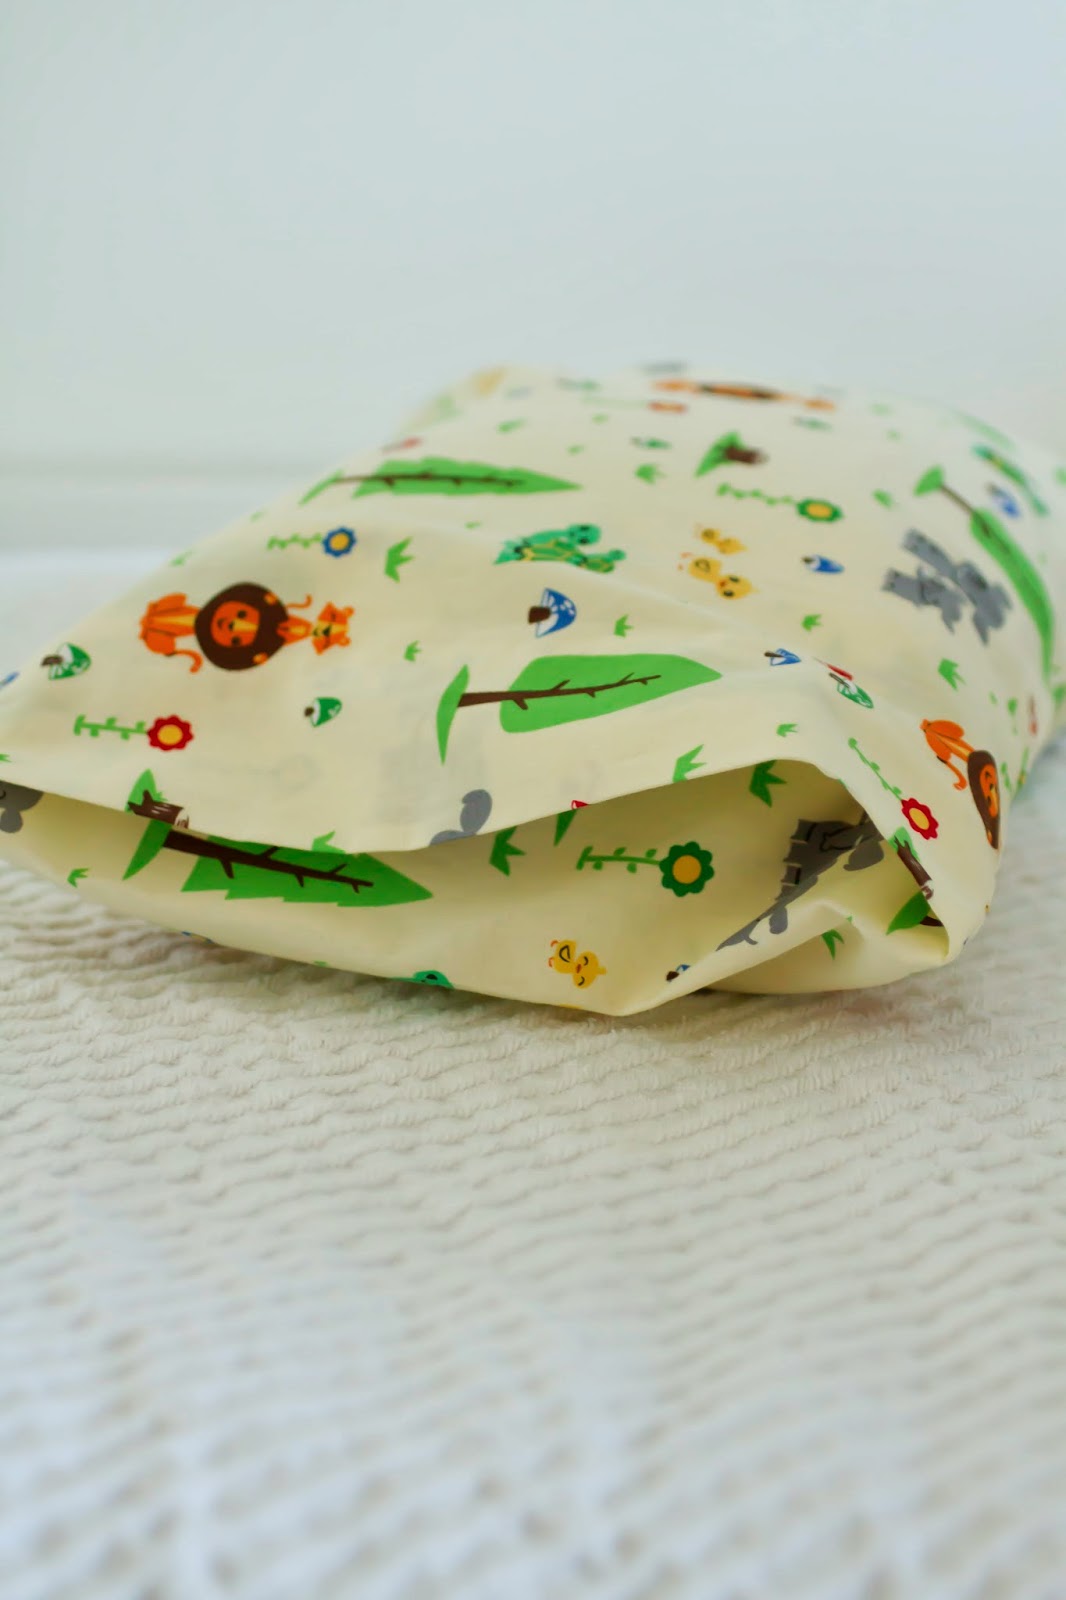
4. Prender os lados do rectângulo com alfinetes e cosê-los a 0,5 cm da borda. Chulear as bordas. Virar a fronha para o direito e passá-la a ferro. Já está!
4. Pin the sides of the rectangle and stitch them using a 0,5 cm seam allowance. Zig-zag the raw edges. Turn the pillowcase right side out and press. That’s it!

(photos© Constança Cabral)

Outrageous Chocolate Cookies

Apesar da onda de batidos verdes que assola a internet (eu estou cada vez mais curiosa, mas ainda não tive coragem para aderir à loucura), cá em casa continuo a fazer muitos doces, daqueles cheios de glúten, açúcar refinado e manteiga*. A maior parte das experiências não chega a ver a luz do dia aqui no blog — só quero partilhar convosco receitas realmente deliciosas — mas tenho que deixar aqui uma menção a estas bolachas de chocolate da Martha Stewart. São decadentes e absolutamente viciantes, com uma textura quase de brownie. Usei uma mistura de chocolate preto e Green & Black’s Maya Gold (laranja e especiarias) porque era aquilo que havia na minha despensa, e acho que vou voltar a usar esta combinação! Experimentem fazê-las: a receita está aqui.
* temos a sorte de não haver alergias alimentares cá em casa… quanto a dietas, pensaremos nisso daqui a uns meses.
Despite the current green juice mania (I’m getting increasingly curious but I’m still lacking the moral and physical courage to join in), I keep on baking a lot of things that are packed with gluten, refined sugar and butter*. Most of my experiments never see the light of day here on the blog — I’ve pledged to only share delicious recipes with you — but I feel I must mention these Martha Stewart chocolate cookies. They’re decadent and highly addictive, almost brownie-like. I used a mixture of dark chocolate and Green & Black’s Maya Gold (hints of orange and spices) because that was all I had in the cupboard and I like this combination! Here’s the recipe in case you want to try them.

* we’re lucky enough not to have any food allergies in our family… as for dieting, I’ll think about that in a few months’ time.

(photo© Constança Cabral)

Parsley Pants

À semelhança dos gatos, estas calças têm mais do que uma vida. Começaram por ser calças do Tiago, usadas durante anos; quando começaram a ficar gastas de tantas lavagens, tingi-as de azul-escuro (a cor original) com Dylon e voltaram a ficar como novas (já experimentaram tingir na máquina de lavar roupa?). Passaram-se mais uns anos e as calças ficaram com umas nódoas impossíveis de tirar — o Tiago trabalha numa fábrica e estraga imensa roupa —, mas a parte de baixo das pernas continuava boa. Foi nessa altura que me lembrei de transformá-las numas calças para o Rodrigo.
O molde que usei chama-se Parsley Pants (sou grande fã da Rae) e é fácil e rápido de fazer, especialmente porque segui esta sugestão e aproveitei as costuras laterais e as bainhas. Por serem tão escuras, as calças foram difíceis de fotografar (esta foi a segunda tentativa), mas digo-vos que o corte é muito engraçado: o Rodrigo parece uma criança dos anos 70! Acho que também é um molde giríssimo para raparigas… hei-de experimentar fazê-las em tecidos menos clássicos.
E já estou a pensar nas calças de Inverno que vou fazer para o Rodrigo, essas sim completamente Seventies (inspiradas em fotografias do Tiago em pequeno): um par em xadrez escocês!

In the same way as cats are believed to have several lives, these trousers have already been through a few incarnations. First they were just a regular pair of chinos that Tiago wore for a few years; when they started to show their age I dyed them navy blue (their original colour) with Dylon (have you ever tried dyeing clothes in the washing machine?) and they turned out as good as new. A few years have passed since then and the trousers acquired a handful of stains that were impossible to get rid of — Tiago works in an industrial plant and he has a tendency to ruin a lot of clothes — but somehow the legs were still salvageable. And so I decided to turn them into a pair of trousers for Rodrigo.

I used the Parsley Pants pattern (I’m a big fan of Rae‘s) and the whole thing was sewn up so quickly and easily, especially because I followed this tip and kept the original side seams and hems. Because they are so dark they were quite hard to photograph (this was actually our second attempt) but you can take my word for it: the cut is so fun, it makes Rodrigo look like a 1970s child! I reckon it’s also a great pattern for girls… especially if made in a totally different fabric.

I’m already thinking about the next pair of winter trousers I’m going to sew for Rodrigo: inspired by an old photo of Tiago as a young child, I’m going for a truly Seventies look — tartan trousers!

(photos© Constança Cabral)

Época da Feijoa :: Feijoa Season

Até ter vindo viver para a Nova Zelândia, nunca tinha ouvido falar em feijoas. Também conhecidas como goiabas-serranas ou goiabas-ananás, as feijoas são originárias da América do Sul mas são incrivelmente populares na NZ. Não há praticamente jardim que não tenha uma árvore de feijoa e, no Outono, os frutos encontram-se à venda em qualquer supermercado. Nós temos a nossa árvore e o Rodrigo gosta muito de apanhá-las e comê-las (haja alguém cá em casa que goste delas!). E vocês, já provaram feijoas?
I had never heard of feijoas until I came to New Zealand. Also known as pineapple guavas, feijoas come from South America but are incredibly popular in NZ. Almost every garden has its own feijoa tree and in Autumn you can find the fruit for sale at supermarkets. We’ve got our own tree and Rodrigo enjoys picking and eating them (I’m glad at least one person in this household actually appreciates their taste). What about you, are you familiar with feijoas?

(photos© Constança Cabral)

Sewing for Boys :: Easy Linen Shirt

Ando sempre à procura de moldes para roupa de rapaz que sejam um misto entre clássico e descontraído, e que não sejam demasiado complexos (já percebi que não tenho muita paciência para ficar horas a fazer algo que vai ser usado apenas durante uns meses). A peça mais recente que fiz para o Rodrigo foi a ‘Easy Linen Shirt’ do livro Sewing for Boys, e recomendo-a vivamente. 
A camisa assenta bem e, quanto a mim, só precisa de duas pequenas modificações: encurtar as mangas e aumentar um pouco o comprimento do tronco. Não há cá punhos, carcelas nem casas de botões e, mesmo assim, a camisa fica com um ar bastante decente. 
Não usei linho mas sim um algodão de óptima qualidade, perfeito para a função. Já cortei mais uma!

PS. O quilt mapa-mundi foi feito pela minha mãe — podem ler mais sobre ele aqui e aqui.

I’m always on the lookout for boys patterns that are both relaxed and timeless, and not too complex (I’ve come to the conclusion that I have limited endurance for spending hours making something that’ll only be worn for a few months). I’ve recently made the ‘Easy Linen Shirt’ from the Sewing for Boys book and I can’t recommend it enough.

The shirt is well drafted and, as far as I’m concerned, only needs two small alterations: the sleeves are too long and the body is too short. Other than that, it’s a great pattern: I love that it looks so legit even though there are no plackets, cuffs and buttonholes to loose your mind about.

As far as fabric is concerned, I used a high-end shirting cotton instead of linen (there’s no lightweight linen in my stash, unfortunately). I’ve already cut another one!

PS. The world map quilt was made by my mother — you can read more about it here and here.

(photos© Constança Cabral)

Transformar um Candeeiro :: Lamp Makeover

Temos um candeeiro novo na entrada. Mas este candeeiro não foi comprado assim… vejam só como era quando o descobri numa loja de caridade aqui ao pé:
We’ve got a new lamp in our hall. But the lamp didn’t look like this when I first bought it… just take a look at what it used to look like when I discovered it at a local charity shop…

Eis o que lhe fizemos: 
– o abat-jour original voltou para a loja de caridade;
– a base de latão foi pintada de branco (comprámos duas latas de tinta em spray: um primário para metal e um branco semi-brilhante adequado a todas as superfícies);
– fiz o abat-jour novo num workshop em que participei no sábado passado, na Made Marion em Wellington — o tecido utilizado veio de um par de cortinas antigas que comprei há uns anos numa loja de caridade inglesa.
Grande transformação, não foi? É incrível o que se pode fazer com tintas e tecidos!
Here’s what we’ve done with it:

– the original shade went back to the charity shop;
– the brass base was spray painted white (we bought a primer for metal surfaces and an all-purpose semi-gloss in white);
– I made the new shade last Saturday at Made Marion‘s lampshade making workshop in Wellington — the fabric I used came from a pair of old curtains I bought years ago in a British charity shop.

Huge transformation, right? The power of paint and fabric is truly amazing!


(photos© Constança Cabral)

Passar Moldes para Tecido :: Transfering Patterns to Fabric

Quando fiz a túnica de marinheiro para o Rodrigo, utilizei um método novo — novo para mim, bem entendido — para passar os moldes para o tecido: papel químico de costura e uma recortilha. Apesar de ser um método clássico, parece-me que é pouco usado hoje em dia. A Tilly escreveu uma boa explicação aqui. Há papel químico de várias cores e tamanhos e as recortilhas encontram-se à venda em qualquer retrosaria.
When I made the sailor top for Rodrigo I used a new method — new to me, I must add — for transferring a pattern to fabric: dressmaker’s carbon paper and a tracing wheel. Even though it’s a classic method, I don’t think it’s being used much these days. Tilly has a great explanation for it here. You can find tracing wheels and carbon paper in many colours and sizes at every haberdashery shop.
Lembram-se de ter falado no facto de o decote da túnica ser demasiado aberto? Resolvi a questão com uma simples t-shirt às riscas!
By the way, remember I mention the fact that the V-neck was too deep to my liking? I’ve found that a simple stripey t-shirt (worn underneath the tunic) solves the problem!

(photos© Constança Cabral)

Mailbox Surprise

Lembram-se da Mailbox Surprise, aquela troca internacional de tecidos em que participei? A mim calhou-me enviar um pacote à Tara, que vive nos Estados Unidos. Mandei-lhe um metro de tecido aos quadrados, um livrinho antigo de bordados, grega em duas cores, um galão antigo português, botões antigos também eles portugueses e uns chocolates muito populares na Nova Zelândia. Espreitem aqui para verem o que ela fez com o tecido!
Do you remember Mailbox Surprise, the international fabric exchange I took part in? Well I had to send a package to Tara, who lives in the USA. I sent her a metre of gingham fabric, a vintage embroidery booklet, rick-rack in two colours, a piece of vintage Portuguese ribbon, a card of vintage Portuguese buttons and a packet of Jaffas (NZ chocolate). Take a look here to see what she’s made with the fabric!
(photos© Constança Cabral)

Outono nos Antípodas :: Antipodean Autumn

Castanhas do mercado, marmelos de uma vizinha e maracujás e feijoas cá de casa. Frio de manhã e ao fim da tarde. A chaminé limpa e a garagem cheia de lenha. Outono, estamos prontos!
Chestnuts from the farmers’ market, quinces from a neighbour, passionfruit and feijoas from our garden. Cool mornings and evenings. The chimney has just been cleaned and the garage is full of firewood. Autumn, we’re ready for you!

(photos© Constança Cabral)