Enfeites de Natal Reciclados :: Recycled Christmas Ornaments

Os enfeites da nossa árvore de Natal são todos reciclados. Hoje mostro-vos três ideias para aproveitar materiais antigos e sobras de tecidos e fitas:
1. Enfeites antigos (os meus preferidos; adorava encontrar mais enfeites deste género). Estes foram todos comprados em lojas de caridade inglesas, mas vinham com uns cordéis/fitas/bocados de lã muito feios. Limitei-me a substitui-los por fitas de algodão e de cetim em cores berrantes… que diferença! Ficaram instantaneamente com um ar festivo e sofisticado q.b. Aqui fica uma ideia para pôr a uso os enfeites das avós (e se não os quiserem, não os deitem fora… enviem-mos!).
2. Embrulhar bolas de Natal com restos de tecido — no meu livro tenho explicações e fotografias passo-a-passo.
3. Fazer borlas com retalhos de tecido — mais uma ideia retirada do meu livro
Aqui ficam três ideias simples e baratas para este Natal. Espero que gostem!
Every ornament I’ve hung this year on our Christmas tree has been recycled or repurposed. Today I’m showing you three ideas to make use of spare materials and little odds and ends:

1. Vintage ornaments (my absolute favourites; I wish I could find a few more like these). These were all bough in English charity shops but they came with ugly pieces of string/yarn/thread attached to them. I simply replaced those with cotton and satin ribbons in bright colours… and what a difference it makes! Talk about an instant transformation: they suddenly look a lot more festive and sophisticated. Here’s an idea to revive granny’s old ornaments (and if you still don’t like them, please don’t throw them away… send them to me!).

2. Old bubbles wrapped in fabric — in my book I show you step by step pictures and instructions on how to make this (it’s really simple, as you can imagine).

3. Tassels made with fabric scraps — again, this is one of the projects from my book.

Here are three simple and cheap ideas for this Christmas. I hope you like them!
(photos: © Constança Cabral)

Totara de Natal :: Christmas Totara

Este ano nossa árvore de Natal é diferente. 

Não me apetecia fazer novamente uma árvore só com ramos e não tinha vontade de comprar um pinheiro ou um abeto. Tudo isso dá ar de Inverno no hemisfério norte, o que aqui simplesmente não faz sentido. 
Então lembrei-me de ir a um viveiro de plantas para espreitar a secção de árvores nativas da Nova Zelândia. Não estava a ser fácil decidir que árvore comprar… até que descobri, num canto, esta totara. Tem ramagens abertas, o que facilita a tarefa de pendurar os enfeites, é alta e as folhas picam tanto como as agulhas dos pinheiros.

E em Janeiro poderá ser plantada lá fora.

This year our Christmas tree is different.

I didn’t feel like repeating the bare branches and I had no wish to buy a pine or a fir. All of the above look like winter in the northern hemisphere and that would make no sense here in New Zealand.

So I thought I’d go to a plant nursery in search of a native tree. I couldn’t make up my mind on which tree to buy… until I spotted this totara. It’s got open branches, which makes the job of hanging ornaments quite easy, it’s tall and the leaves are as sharp as pine needles. 

And in January it can be planted outside.

(photos: © Constança Cabral)

Shop Update :: Quilt Kits

Lembram-se dos quilt kits? É com grande alegria que vos digo que ontem actualizei a loja com mais de 20. De tudo aquilo que já vendi, os quilts kits são, de longe, o meu produto preferido (não contando com o livro, claro). Gosto de conjugar os tecidos, cortá-los, empacotá-los, ler os emails de quem os comprou, ver a execução e o produto final (1, 2, 3, 4). Gosto de pensar nos bebés que os irão usar e nas pessoas que, ao fazerem os quilts, ganharam confiança nos seus dotes de costura.
No fundo, tento fazer com os quilt kits o mesmo que tentei alcançar com o meu livro: encorajar quem se quer aventurar neste mundo do “feito à mão”. Descomplicar. Ajudar. Partilhar.
Se quiserem comprar um kit, espreitem a loja aqui.
Remember my quilt kits? I’m happy to tell you that yesterday I put up more than 20 kits for sale in my Etsy shop. Out of everything I’ve ever sold, the quilt kits remain my favourite product (apart from my book, of course). I love combining the fabrics, cutting them, putting together the package, reading the emails from the people who’ve bought them, watching their progress and the end result (1234). I like thinking about the babies who will get to use the quilts and I enjoy knowing that the people who’ve made them have gained confidence in their sewing skills.

Basically, what I’m trying to do with these quilt kits is the same as I tried to convey in my book: encourage whoever wants to venture into this world of handmade. Uncomplicate. Help. Share.

If you’d like to buy a kit for yourself or as a gift this Christmas, check out my shop here.
(photos: © Constança Cabral)

Por Aqui :: Around Here

Por aqui as plantas crescem e as crianças também. O Pedro já agarra objectos, estuda-os com interesse e começa a pôr tudo na boca. Ontem fiz-lhe um tag blanket: para a semana mostro-vos o passo-a-passo. O Rodrigo ficou felicíssimo por poder estar no jardim no único dia em que não choveu — estendeu as mantas e regou as plantas. Fiz uns bolinhos com a receita do bolo de laranja do meu livro.Vendi conjuntos de retalhos para os quatro cantos do mundo (ainda há 5 disponíveis aqui). O blog fez 8 anos. E depois de amanhã fará 2 anos que nos fomos embora de Inglaterra.
PS. Hoje estou no OvO a responder a umas perguntas sobre gravidez e parto. Obrigada pelo interesse, Marta!
Around here plants grow and so do our children. Pedro is grabbing objects, studying them and starting to put them in his mouth. Yesterday I sewed one of those tag blankets for him: next week I’ll show you how I made it. Rodrigo was so happy to be out in the garden on the one day it didn’t rain… he played with his quilts and watered the plants. I made little cakes with one of the recipes from my book. My scrap packs were bought from people all over the world (there are still 5 available here). The blog turned 8 years old. And on the day after tomorrow it will be 2 years since we’ve left England.

(photos: © Constança Cabral)

Shop Update :: Scrap Bags

A minha loja finalmente deixou de estar vazia! Tenho imensos retalhos e sei que nunca terei oportunidade de pô-los todos a uso, por isso resolvi partilhá-los convosco. Fiz 23 conjuntos diferentes e pu-los à venda aqui
My shop isn’t empty any more! I’ve put together 23 different scrap bags for you to play with. I love working with scraps but there’s no way I’ll ever have time to put them all to good use… so I thought I’d share them with you! They weigh 200 g (7 oz) each and they’re listed right here.

(photo: © Constança Cabral)

Acertar Triangles :: Trimming Triangles

Há quatro meses comecei a fazer um quilt de triângulos rectângulos.
Aproveitei quadrados que me sobraram dos quilt kits. Juntei-os dois a dois (direito com direito), tracei a diagonal e cosi duas linhas paralelas, ambas a 1/4 de polegada da dita diagonal. Cortei-os ao meio pela diagonal, engomei-os e fiquei com mais de 400 triângulos rectângulos.
E depois li numa série de blogs que tinha de acertar os ditos triângulos. E a minha mãe confirmou. É verdade que eles ficaram um bocado distorcidos depois de terem sido cosidos e engomados (tem a ver com o facto de as costuras serem cosidas no viés nos tecidos).
Mas esta história de acertá-los está a demorar taaanto tempo. Estou aborrecida. E algo desencorajada.
Enfim. Vou respirar fundo e acertar mais uns triângulos. Vai valer a pena! 
Four months ago I started making a half-square triangle quilt.

I took the leftover squares from my quilt kits, paired them right sides together, traced the diagonal and stitched two parallel lines, each 1/4” from that diagonal. I cut them in half following the diagonal, pressed them and ended up with over 400 half-square triangles.

And then I read on several blogs that I should square up those triangles. And my mother confirmed it. It’s true that they end up a bit crooked after all that sewing and pressing (it has to do with the fact that the fabrics are sewed on the bias).

But this trimming business is taking so looong. I’m feeling bored. And a bit discouraged.

Oh well. I’ll just take a deep breath and trim some more. It’ll be worth it in the end!

(photo: © Constança Cabral)

Arranjos de Flores em Garrafas :: Arranging Flowers in Bottles

Uma das maneiras mais fáceis e eficazes de fazer arranjos florais é simplesmente colocar flores dentro de garrafas de vidro. Também funciona com folhas. Acho que o truque é a repetição de motivos iguais, complementares ou contrastantes — por exemplo, eu normalmente agrupo muitas flores exactamente iguais, ou então diferentes variedades da mesma flor, ou ainda dois ou três tipos de flores e folhas diferentes, mas que se complementem em cor ou em forma.
As próprias garrafas podem ser iguais ou diferentes, e não têm de ser nada de especial: eu uso garrafas de leite, de água e de sumo, um ou outro frasco de conserva e material de laboratório. 
São sempre arranjos baratos porque acabamos por usar muito poucas flores. São elegantes porque há bastante espaço negativo para as flores respirarem. E são infalíveis porque, apesar de não terem ciência nenhuma, resultam sempre. Experimentem!
One of the easiest, most effective ways of arranging flowers is simply placing them inside glass bottles. It also works with foliage. I guess it works because of the repetition of similar, complementary or contrasting patterns — for example, I usually group either flowers that look exactly the same, or different varieties of the same species, or two or three different types of flowers and leaves that will complement each other. 

The bottles don’t have to be anything fancy: I use milk, water and juice bottles, as well as lab containers and the occasional preserving jar.

This type of arrangement is cheap because you’ll end up using a limited amount of flowers. It’s also quite elegant due to all the negative space that allows the flowers to breath. And it’s completely foolproof. Give it a try!

(photos: © Constança Cabral)

O Rodrigo nos Bastidores :: Rodrigo Behind the Scenes

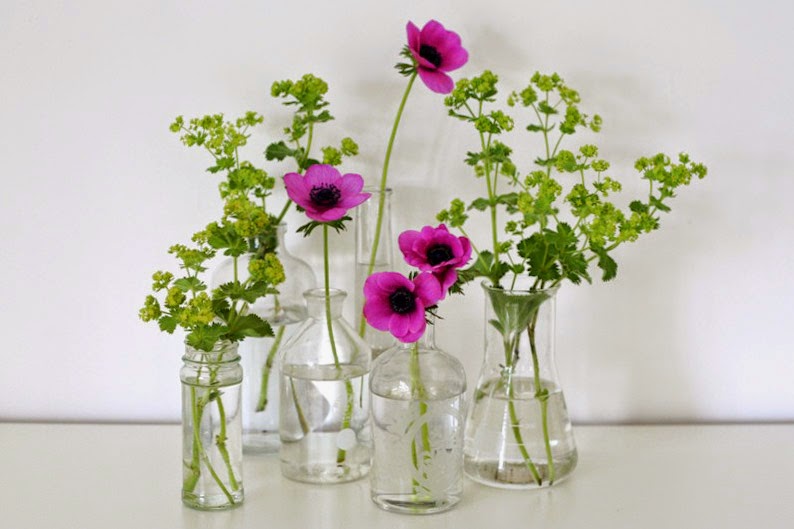
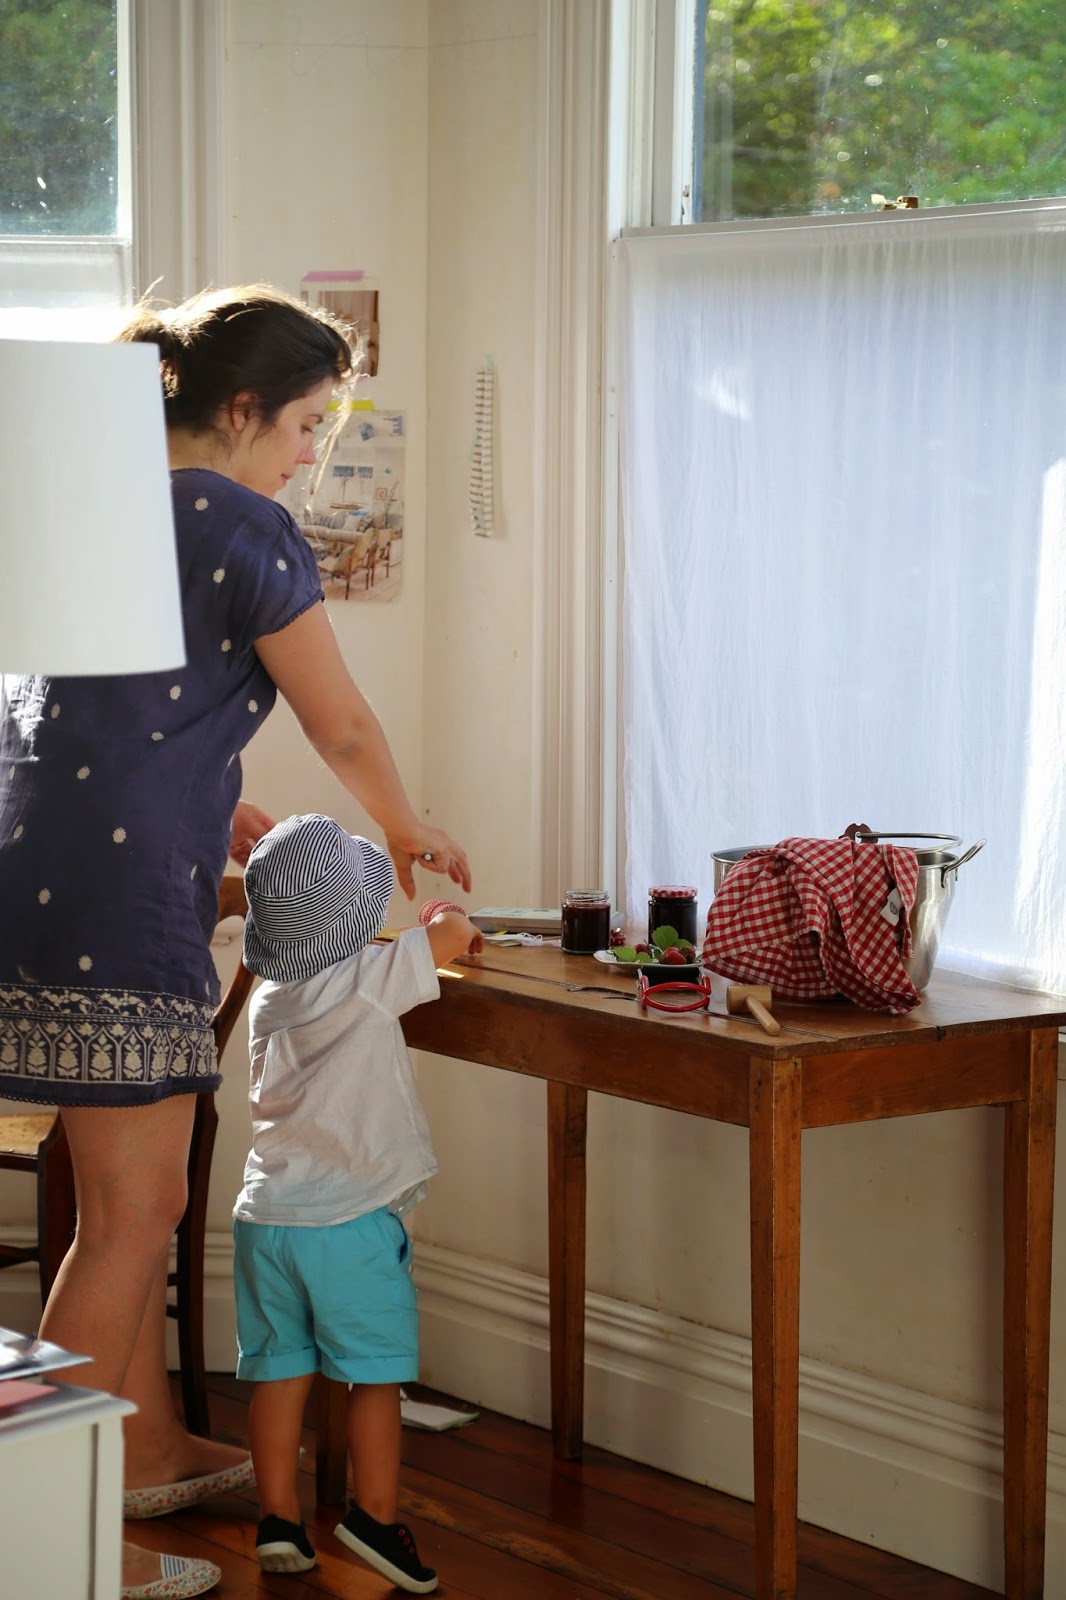
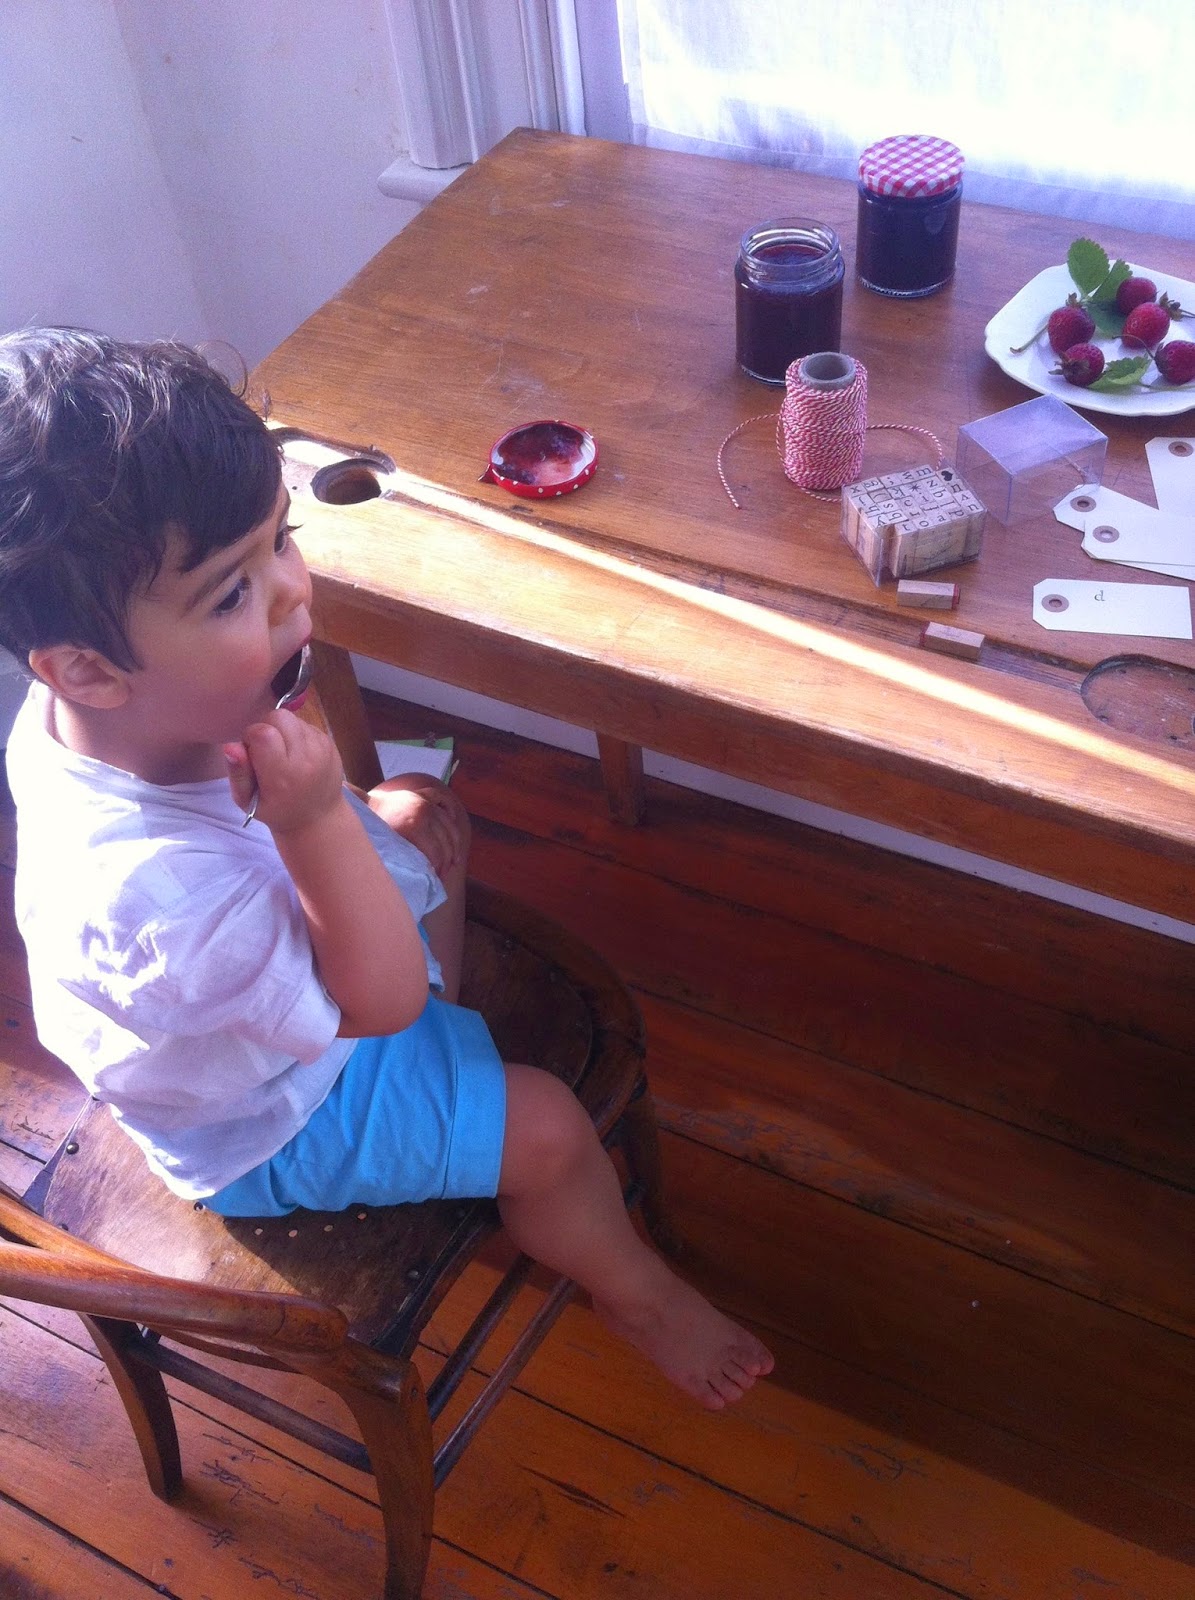
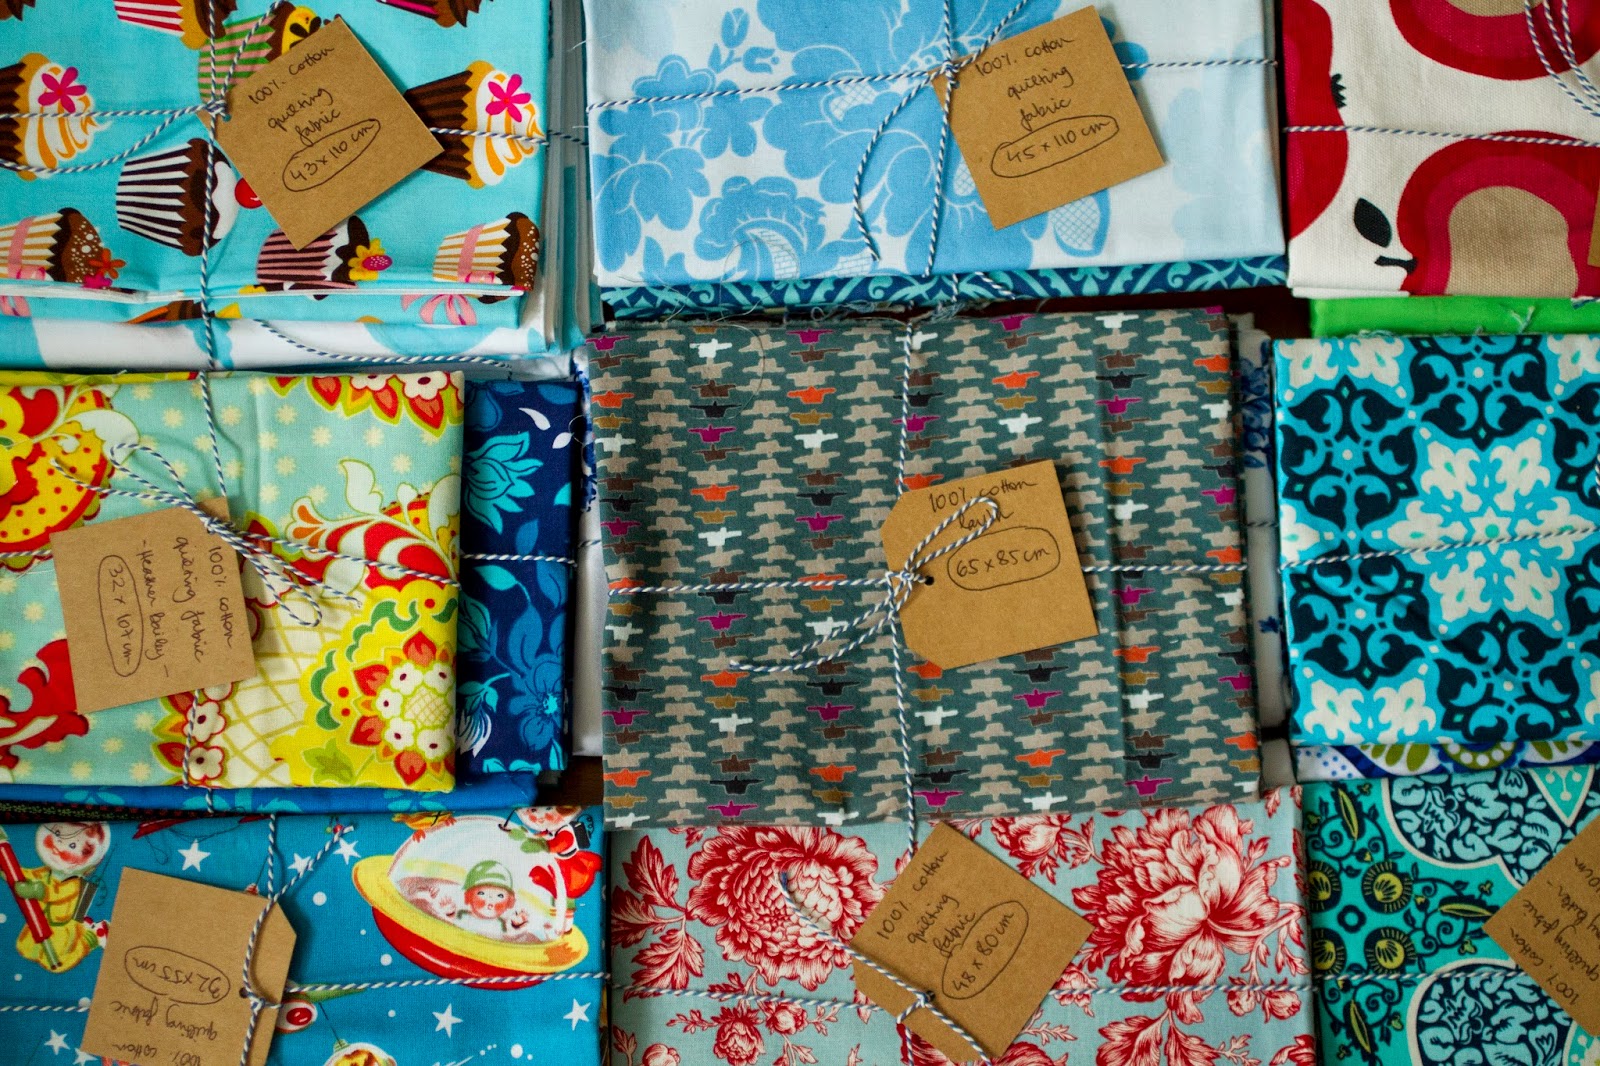
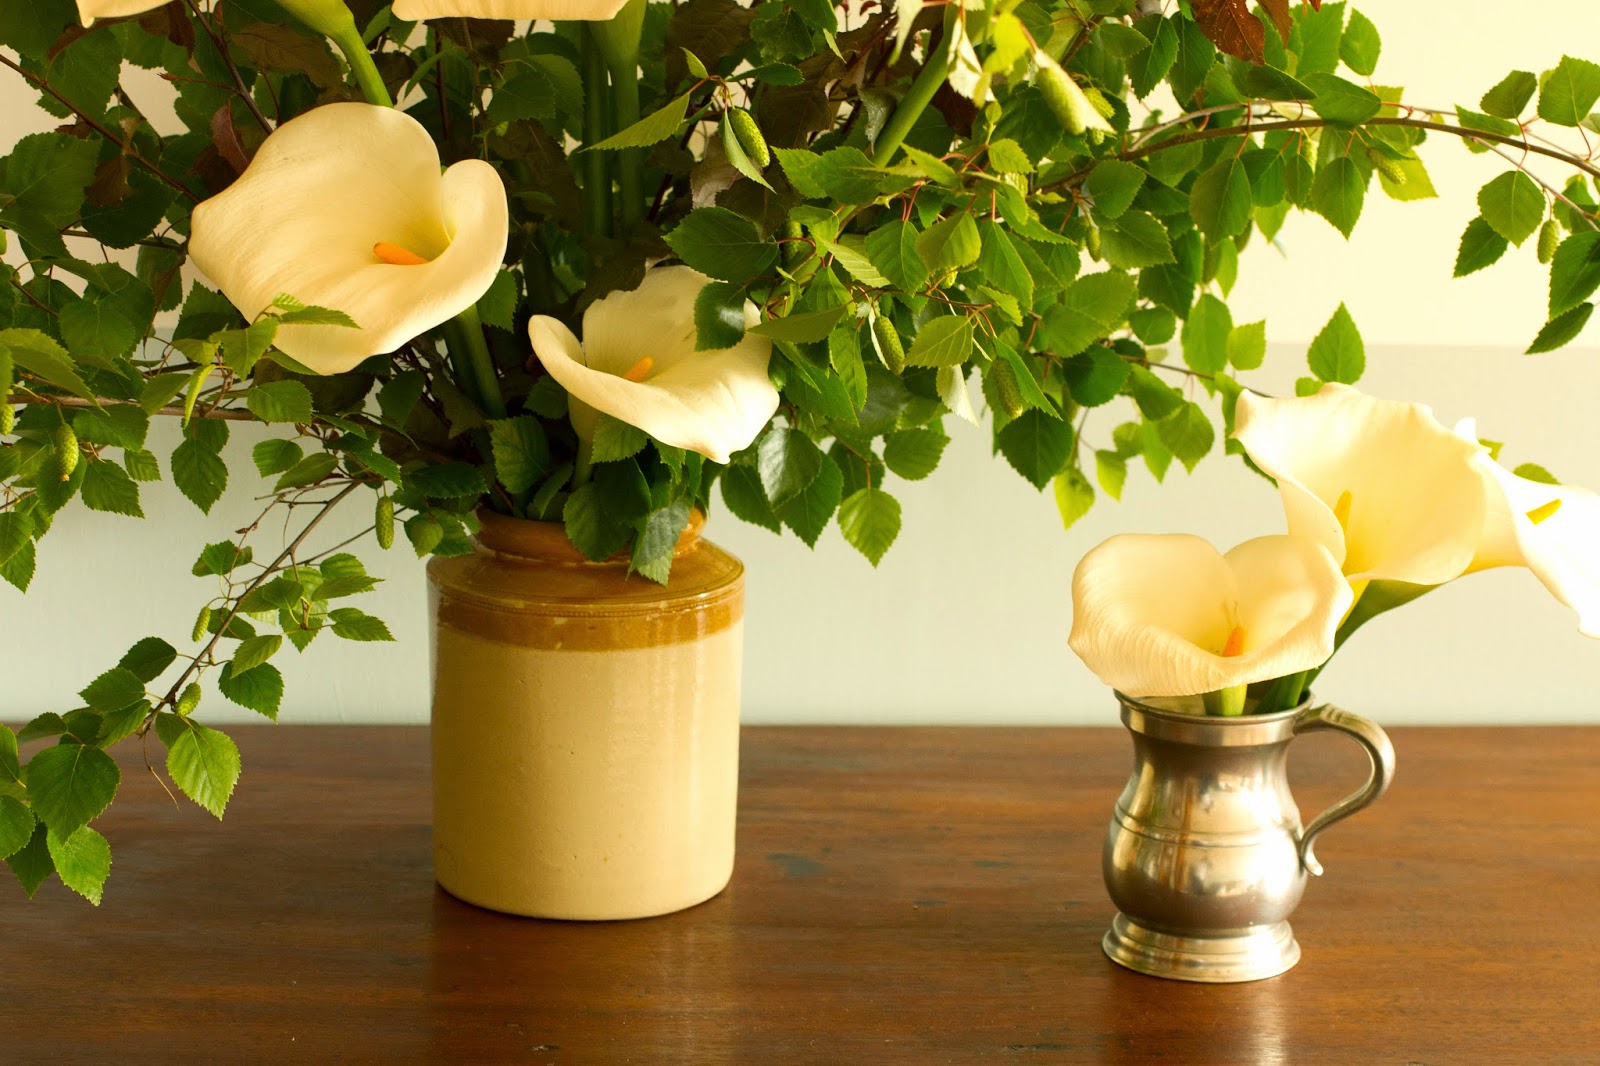
devorando o meu styling de compotas e geleias
devouring my carefully styled spread of jams and preserving equipment

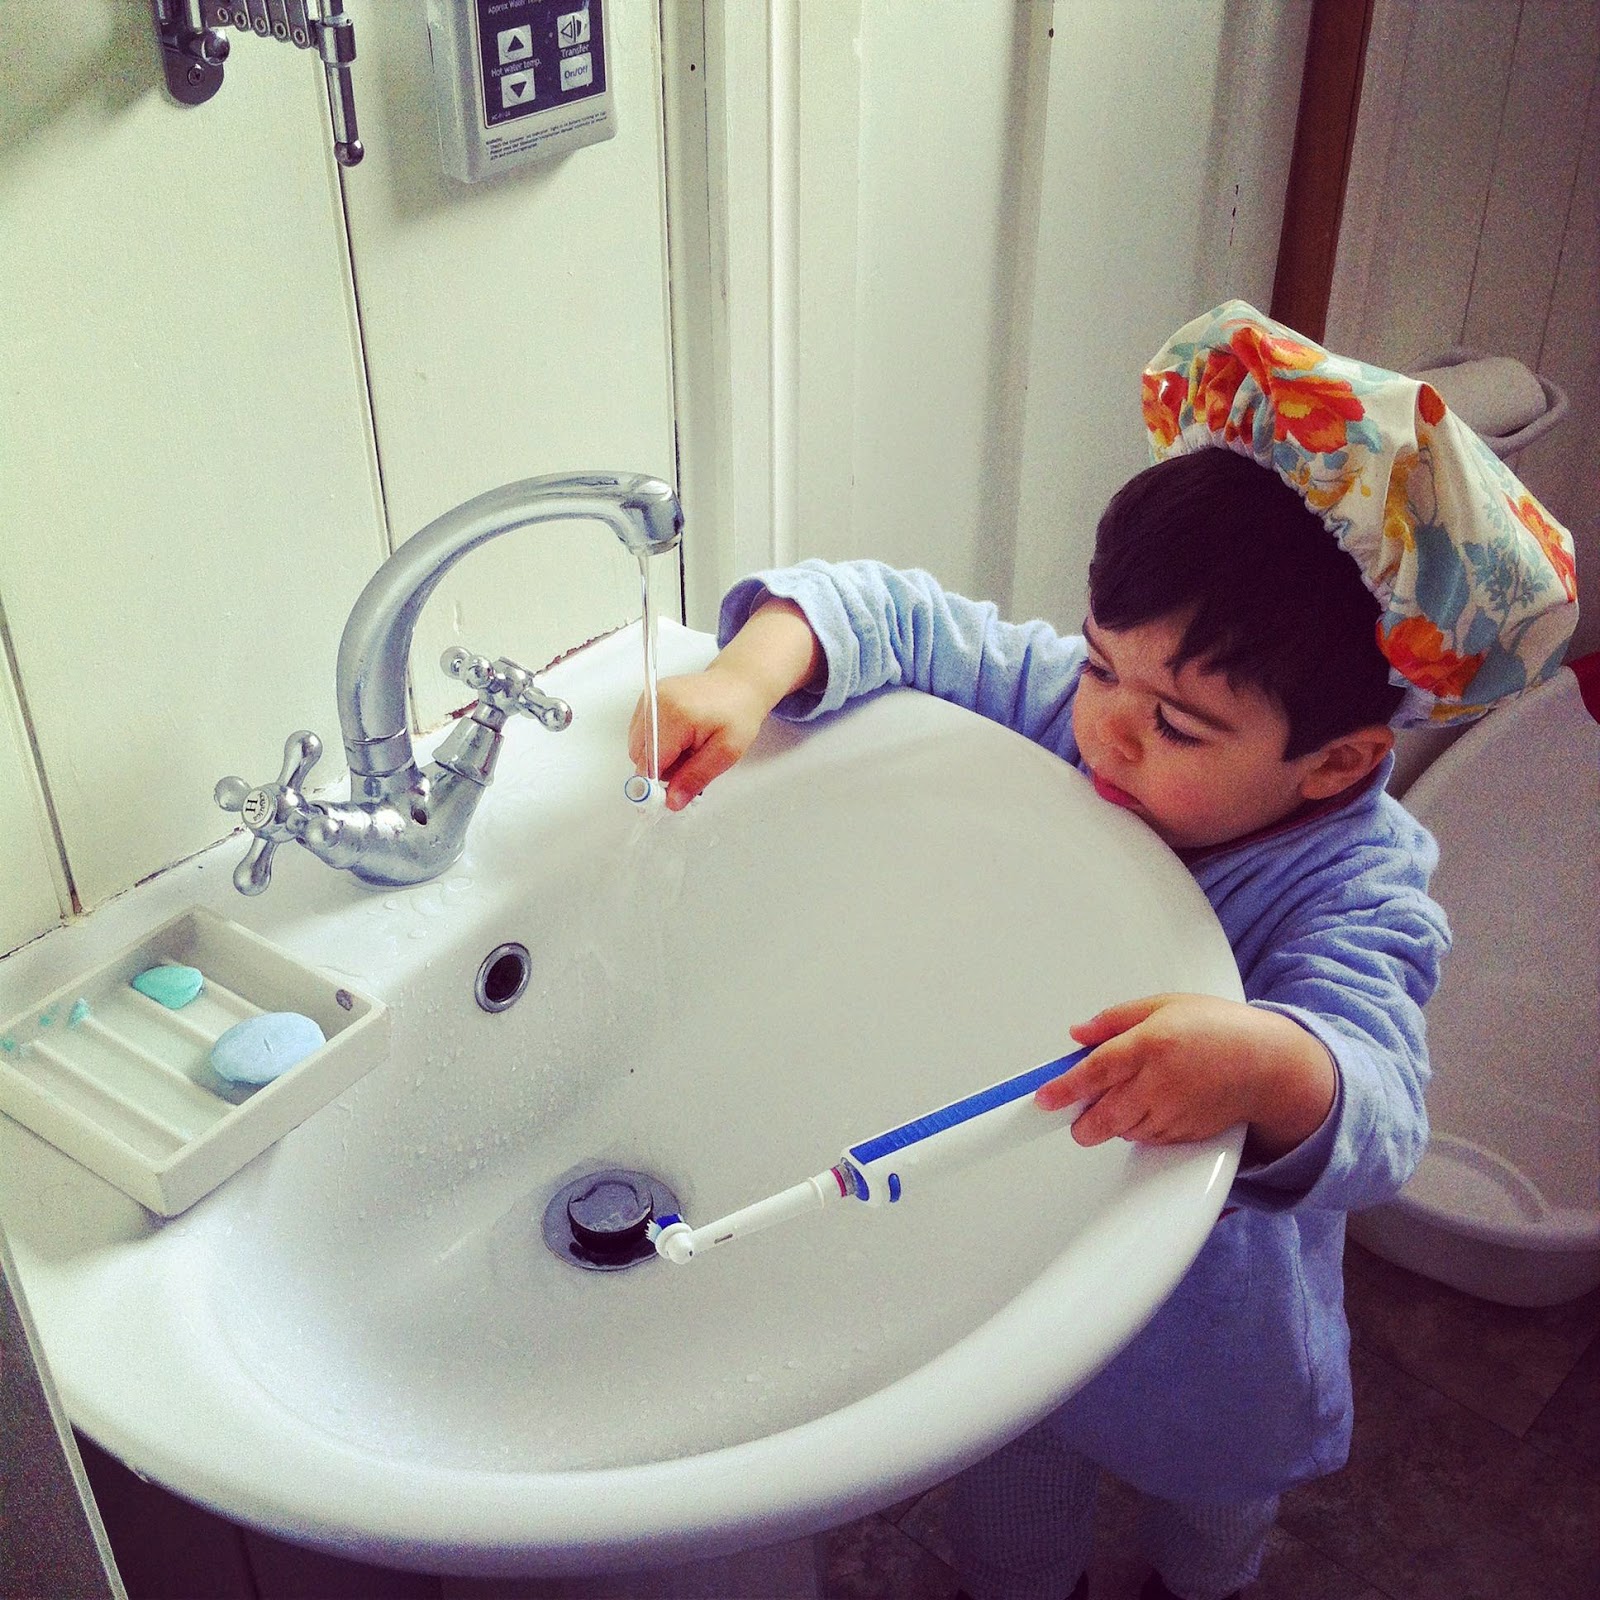
usando a touca de banho (e a minha escova de dentes!!)
wearing the shower cap (and using my toothbrush!!)

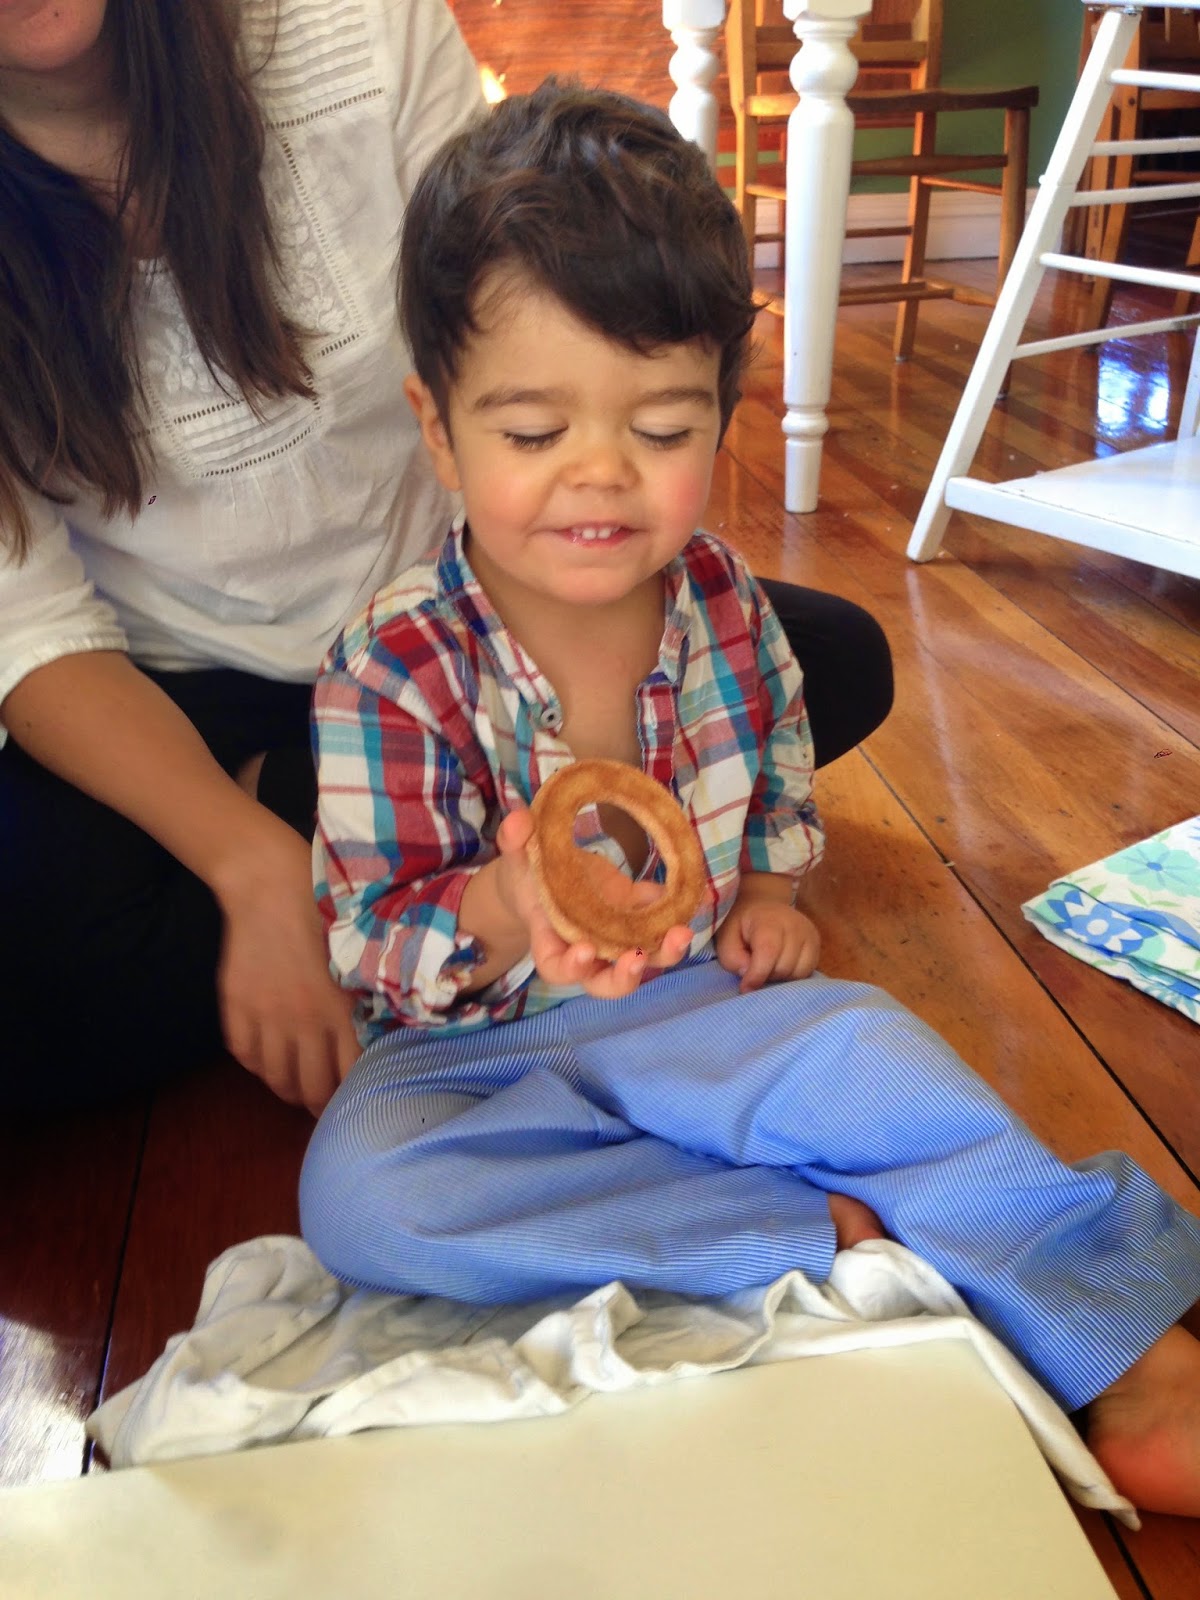
a dar cabo da minha fotografia dos biscoitos de canela (e a comê-los, pois claro)
messing up my cinnamon biscuits photo (and eating the biscuits, of course)
dentro do armário do enxoval, sentado mesmo em cima das prateleiras que estávamos a colocar
inside the linen cupboard, sitting right on top of the shelves we were trying to put in place

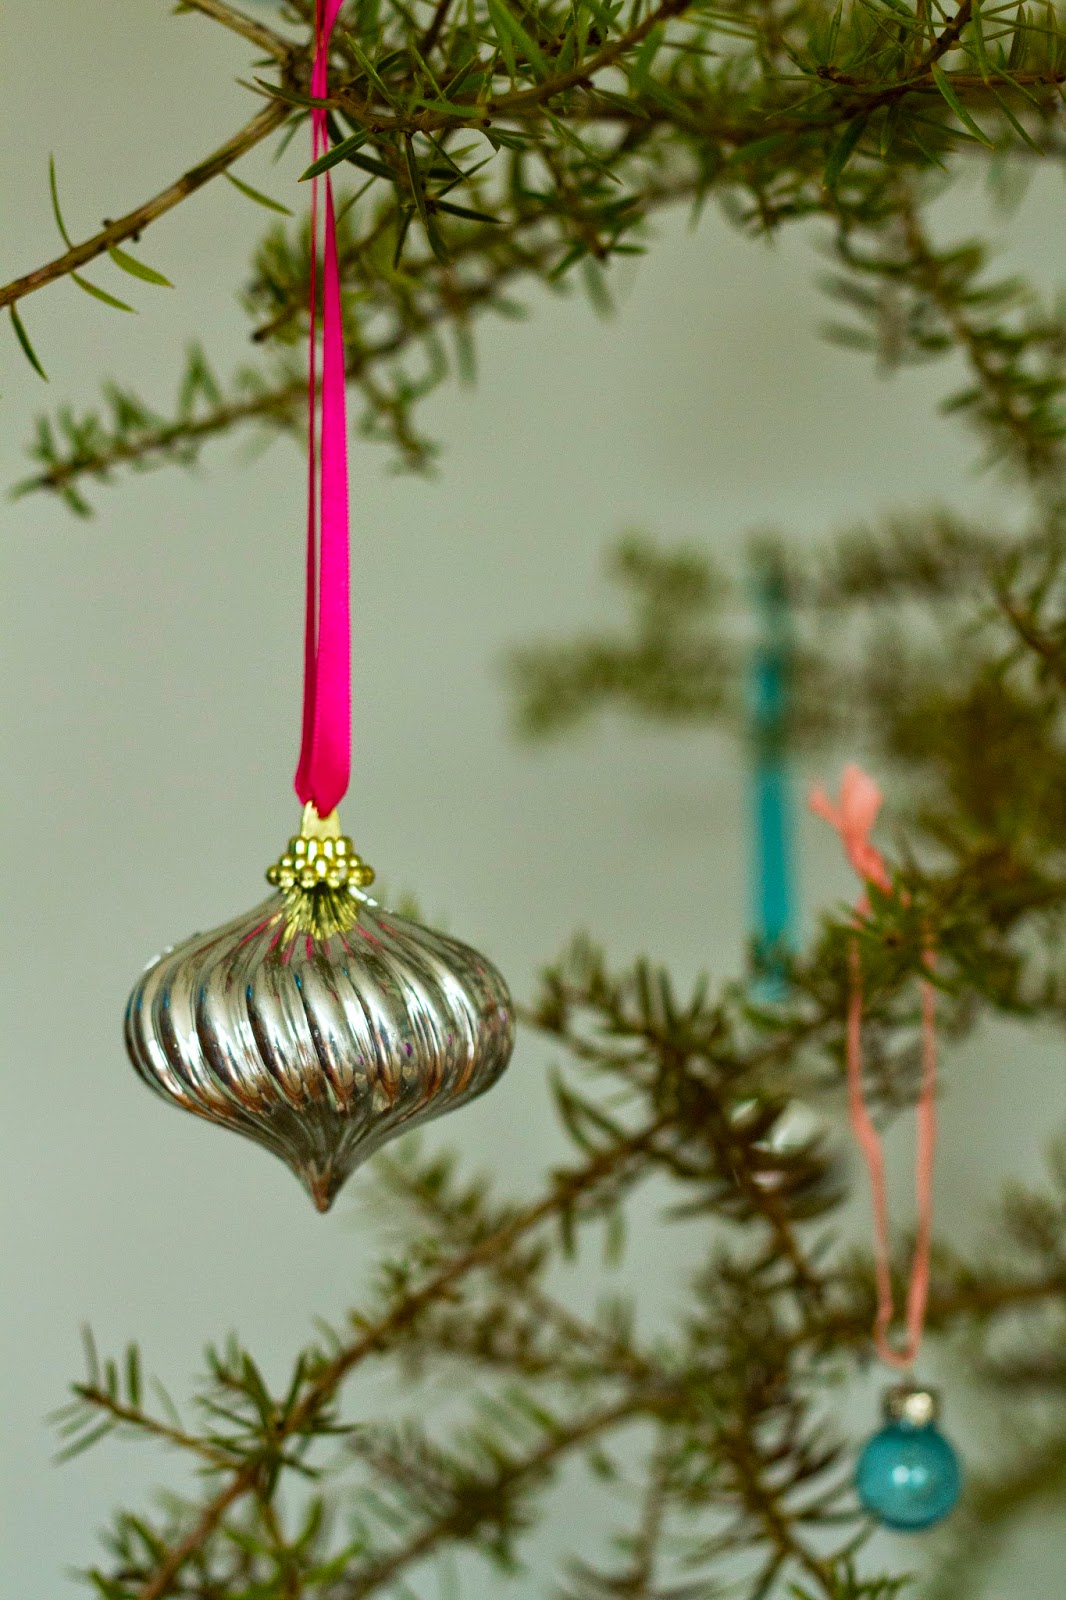
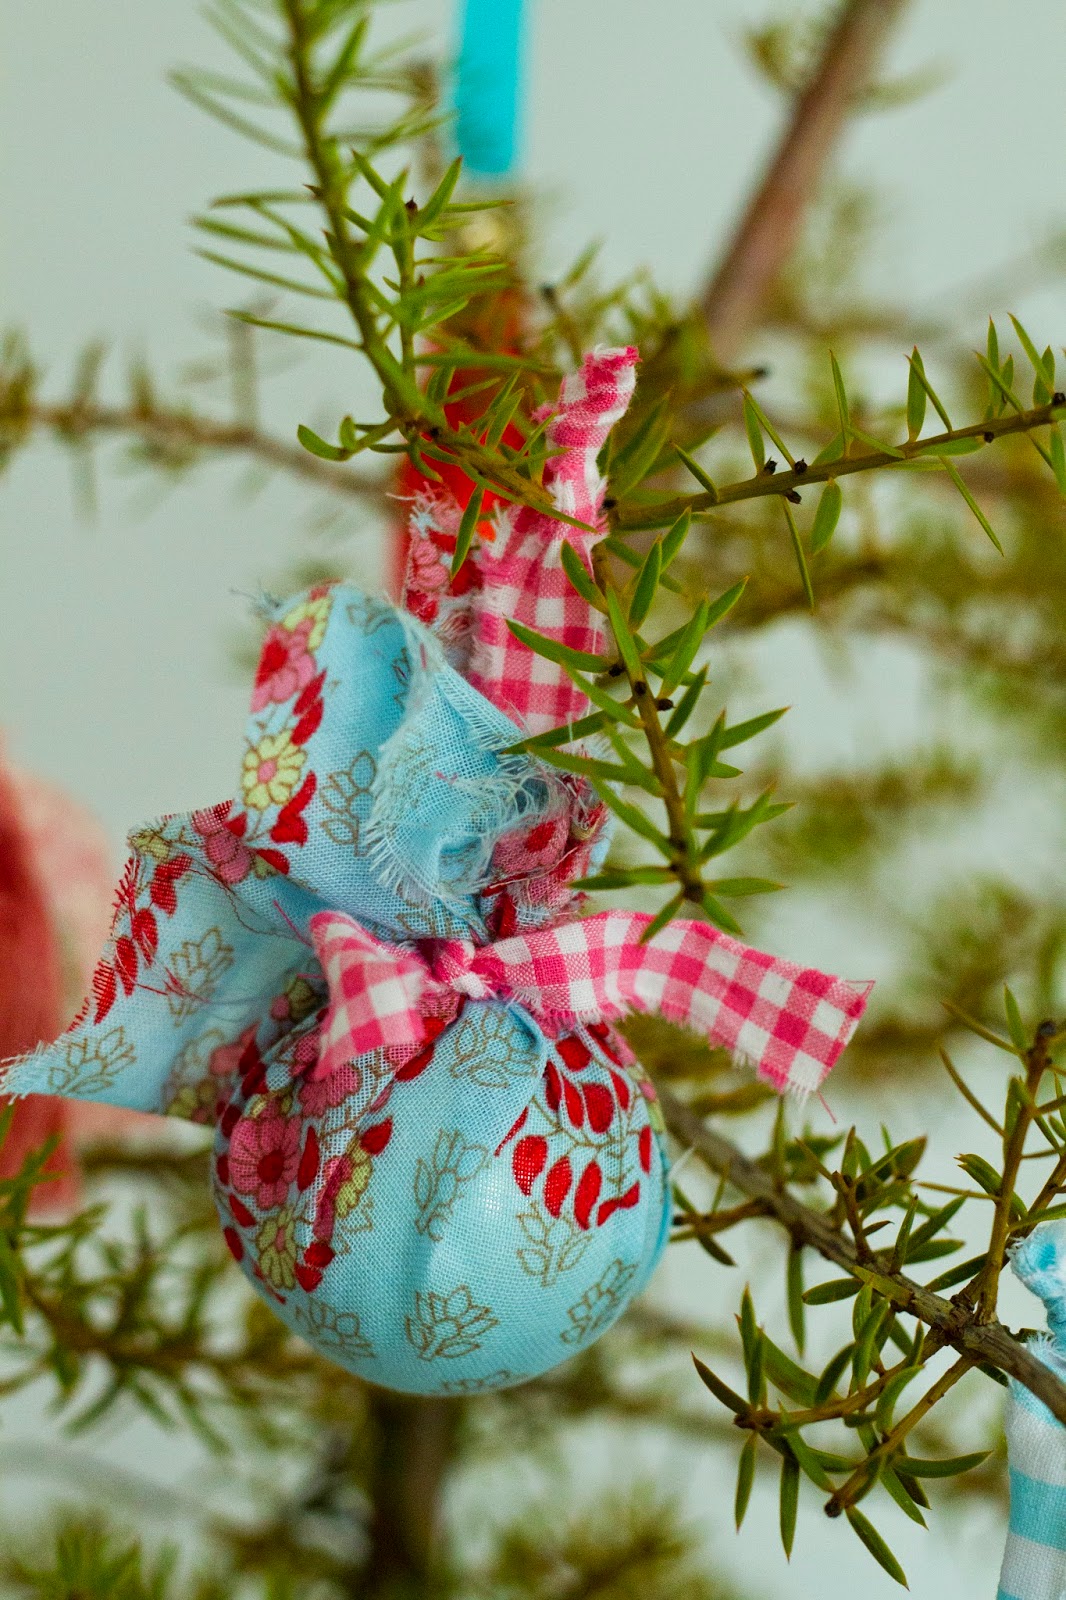
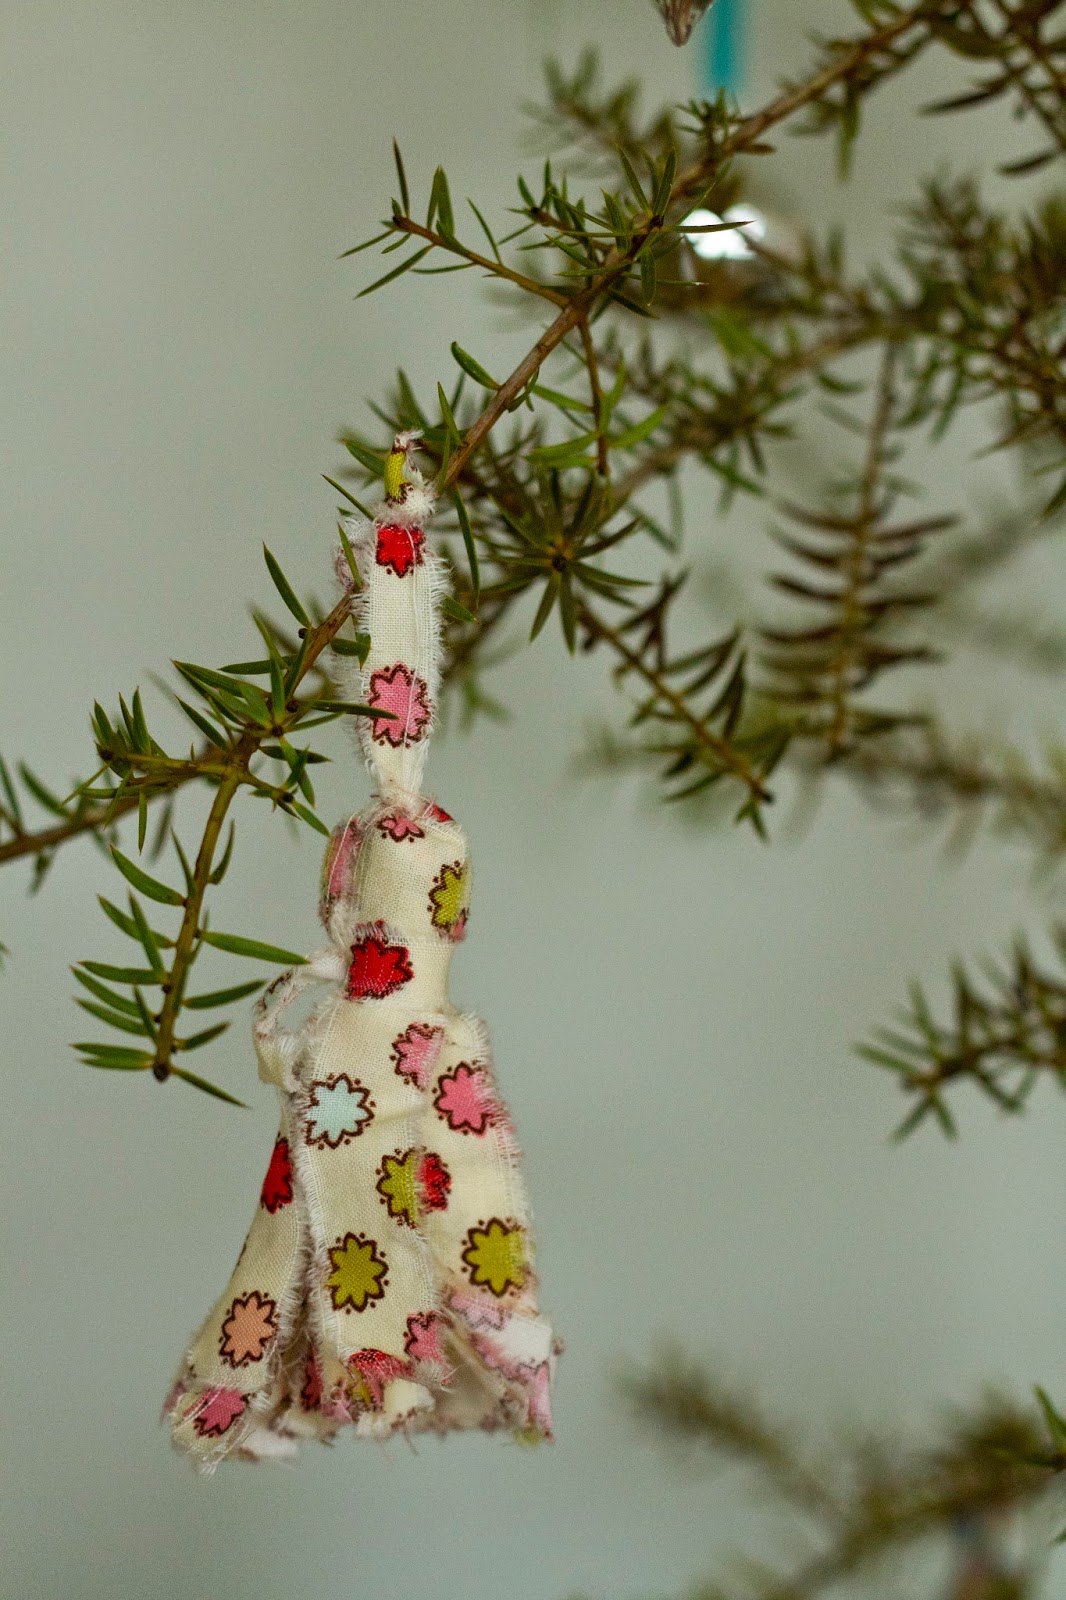
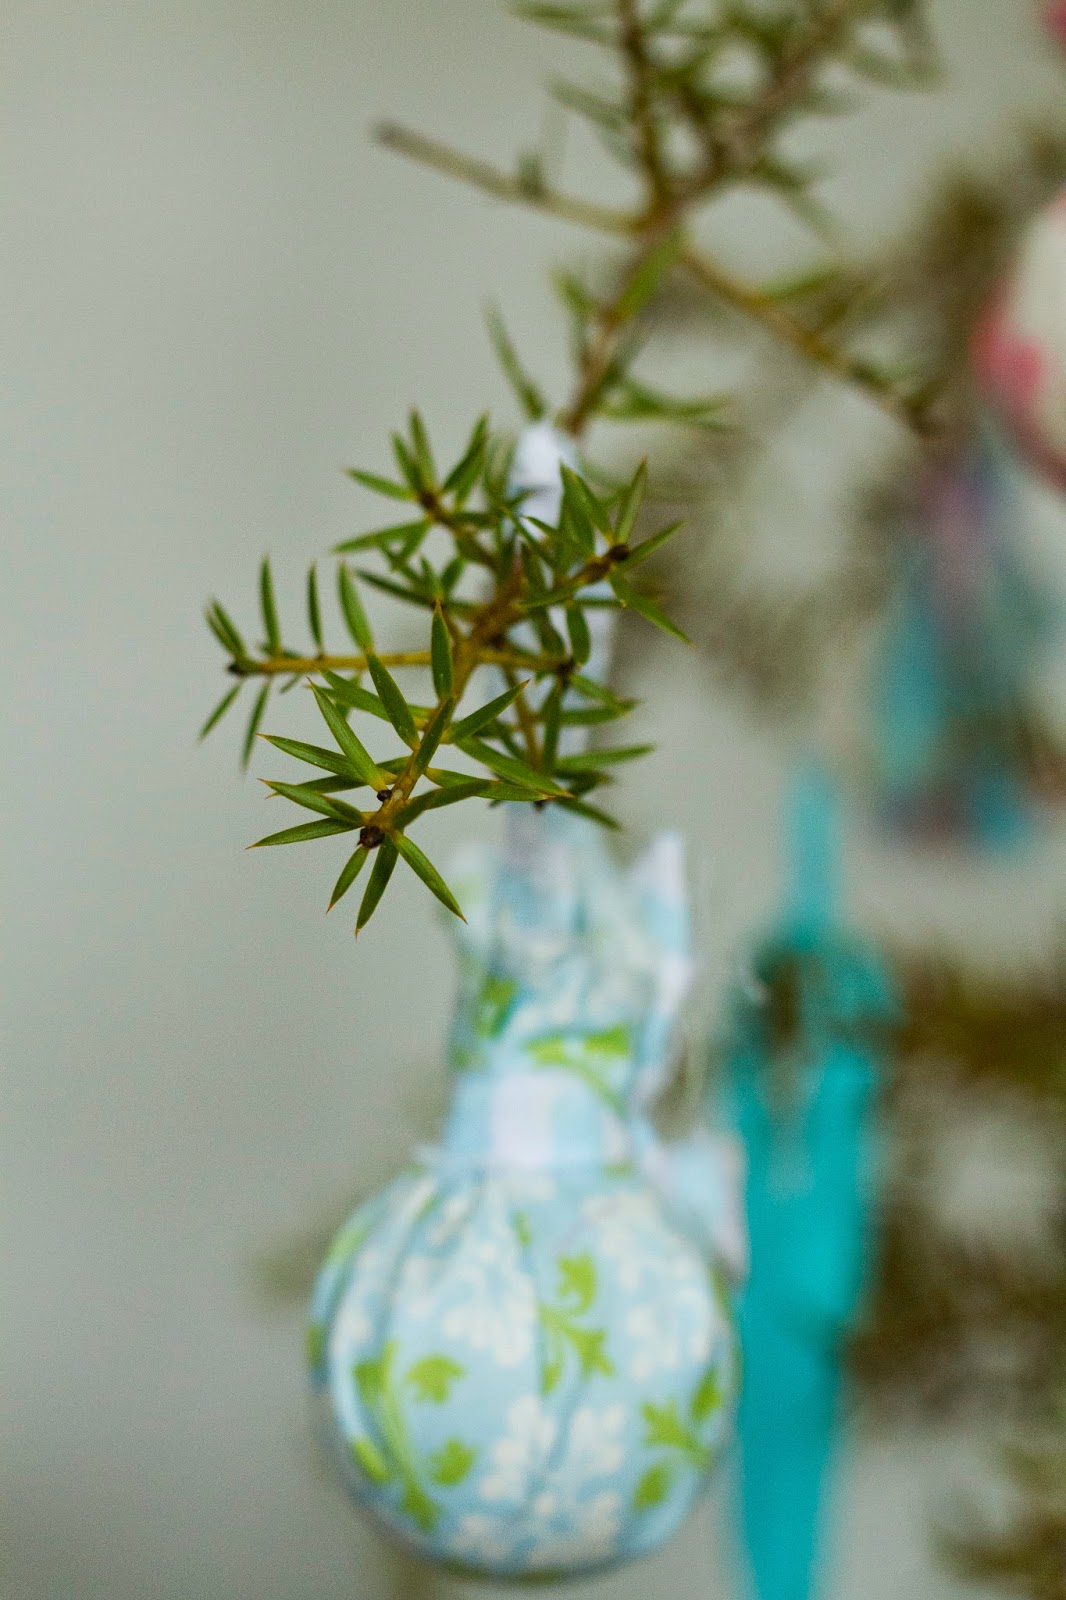
antes de ter atacado os ramos de Natal
right before he attacked the Christmas branches

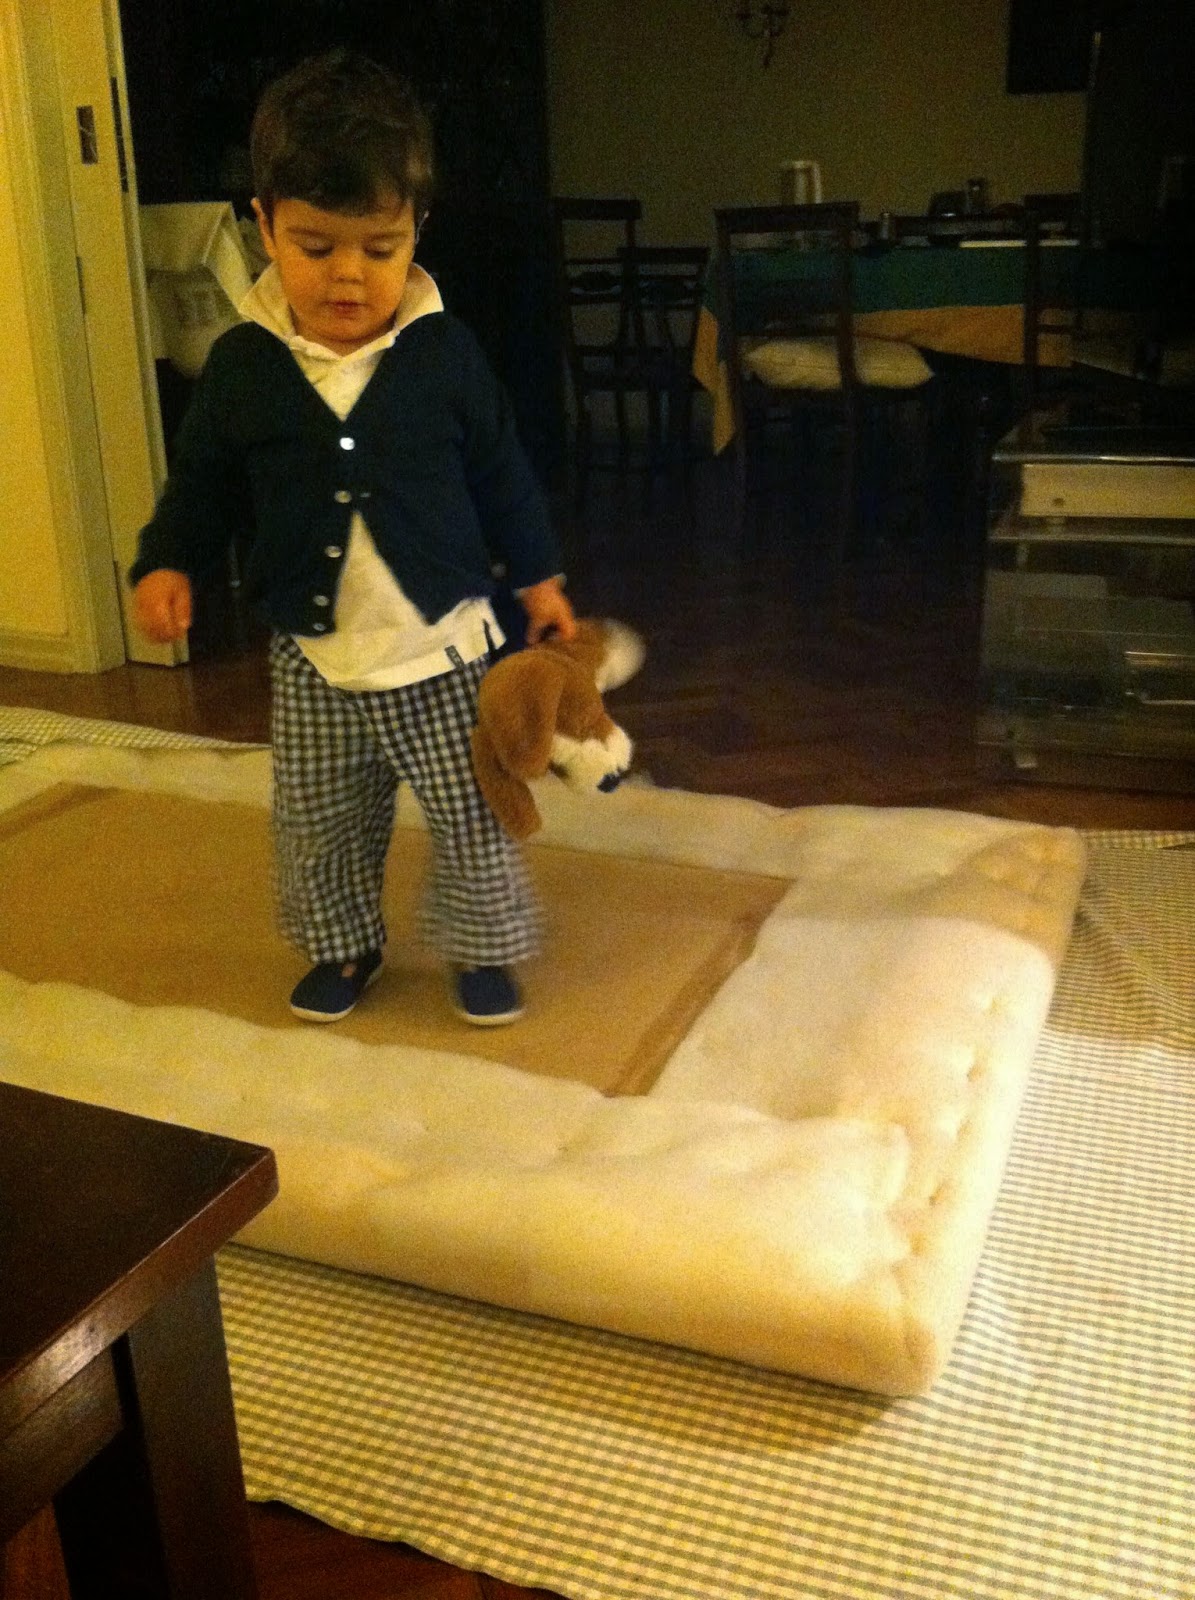
em cima da cabeceira de cama que eu estava a forrar
on top of the bed headboard I was upholestering

“ajudando” a minha mãe a forrar um livro, enquanto eu tirava fotografias passo-a-passo
“helping” my mother cover a book while I was taking step-by-step photos
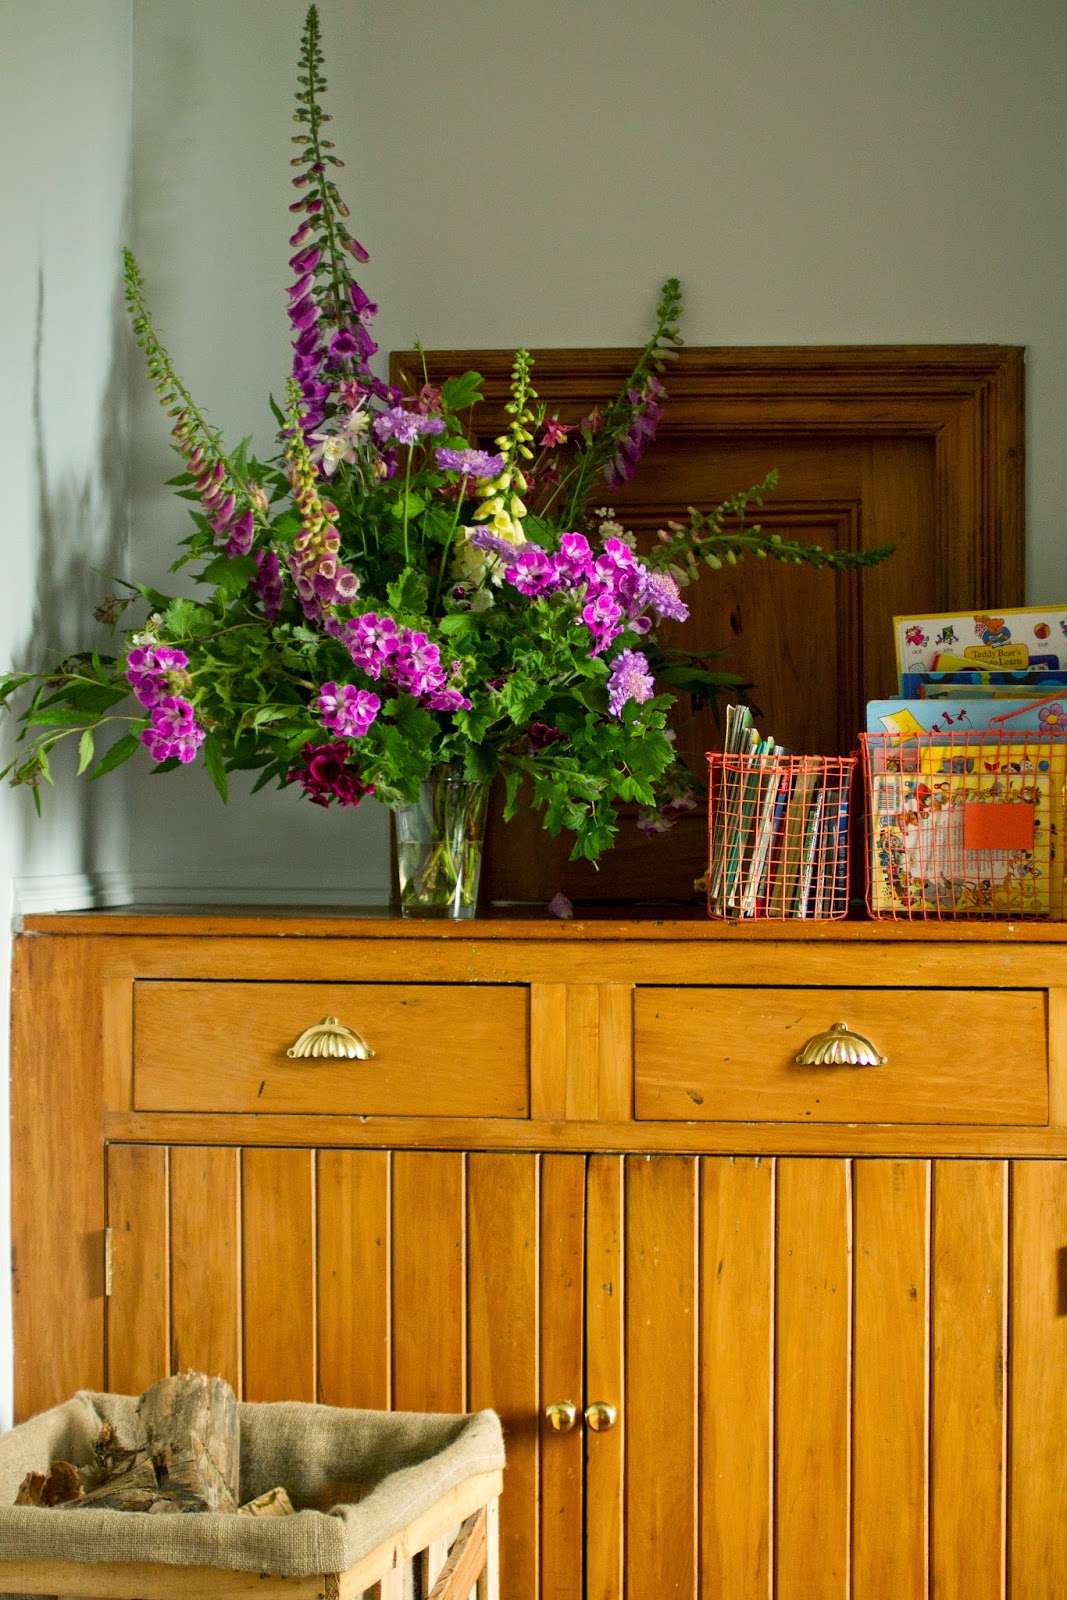
dentro da caixa de madeira que transformei em caixa para lenha, quando eu estava a tentar fotografar o “antes”
playing inside the wooden box that ended up being used for storing firewood, while I was trying to photograph the “before”
posando ao lado da Diana, que estava a ser fotografada com o fio de búzio
posing alongside Diana, who was being photographed wearing the conch necklace
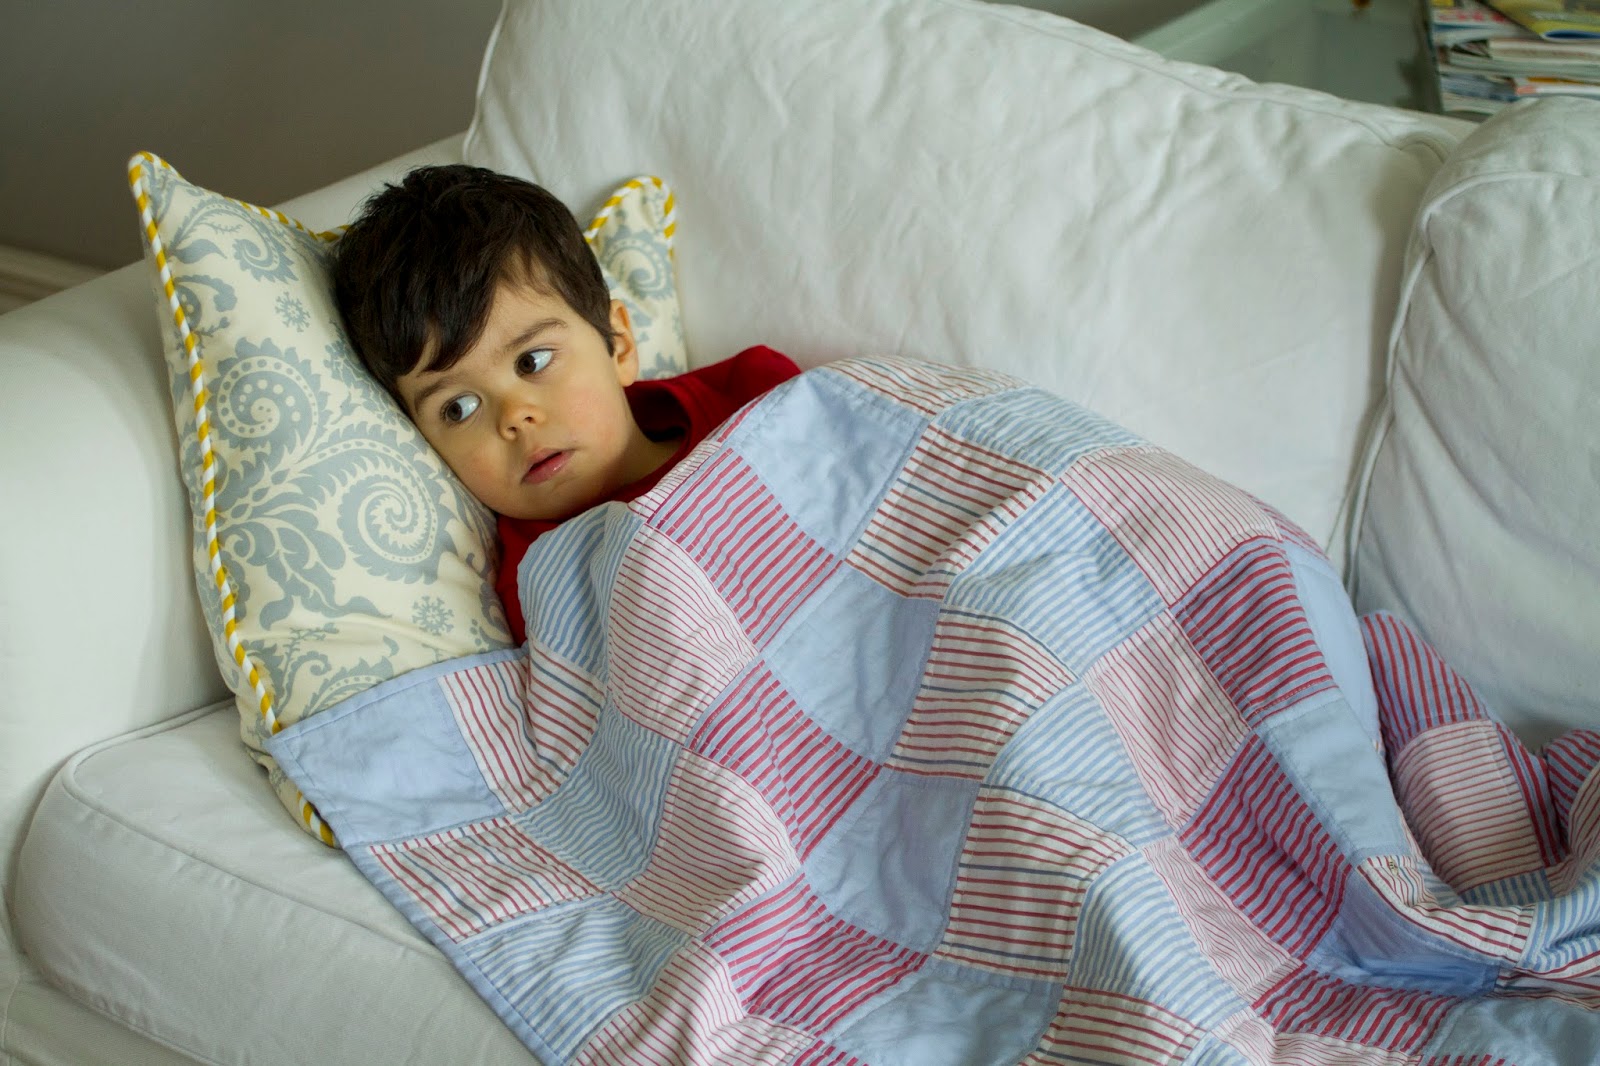
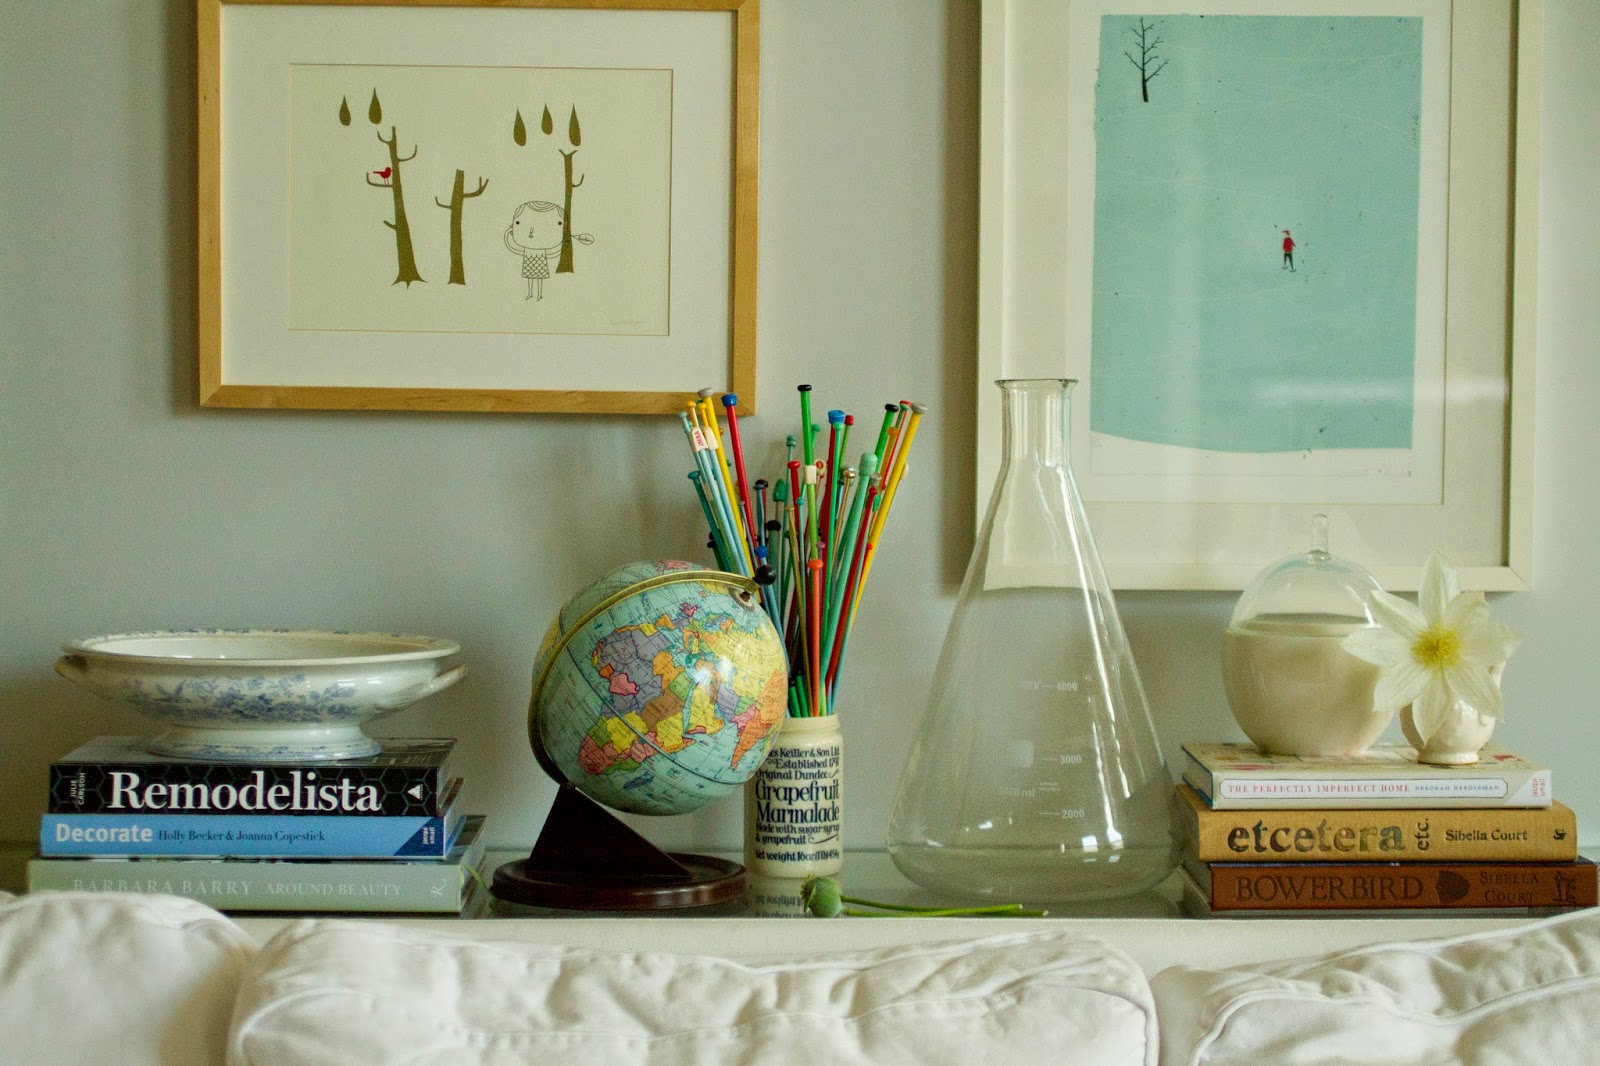
revendo provas do livro
proofreading

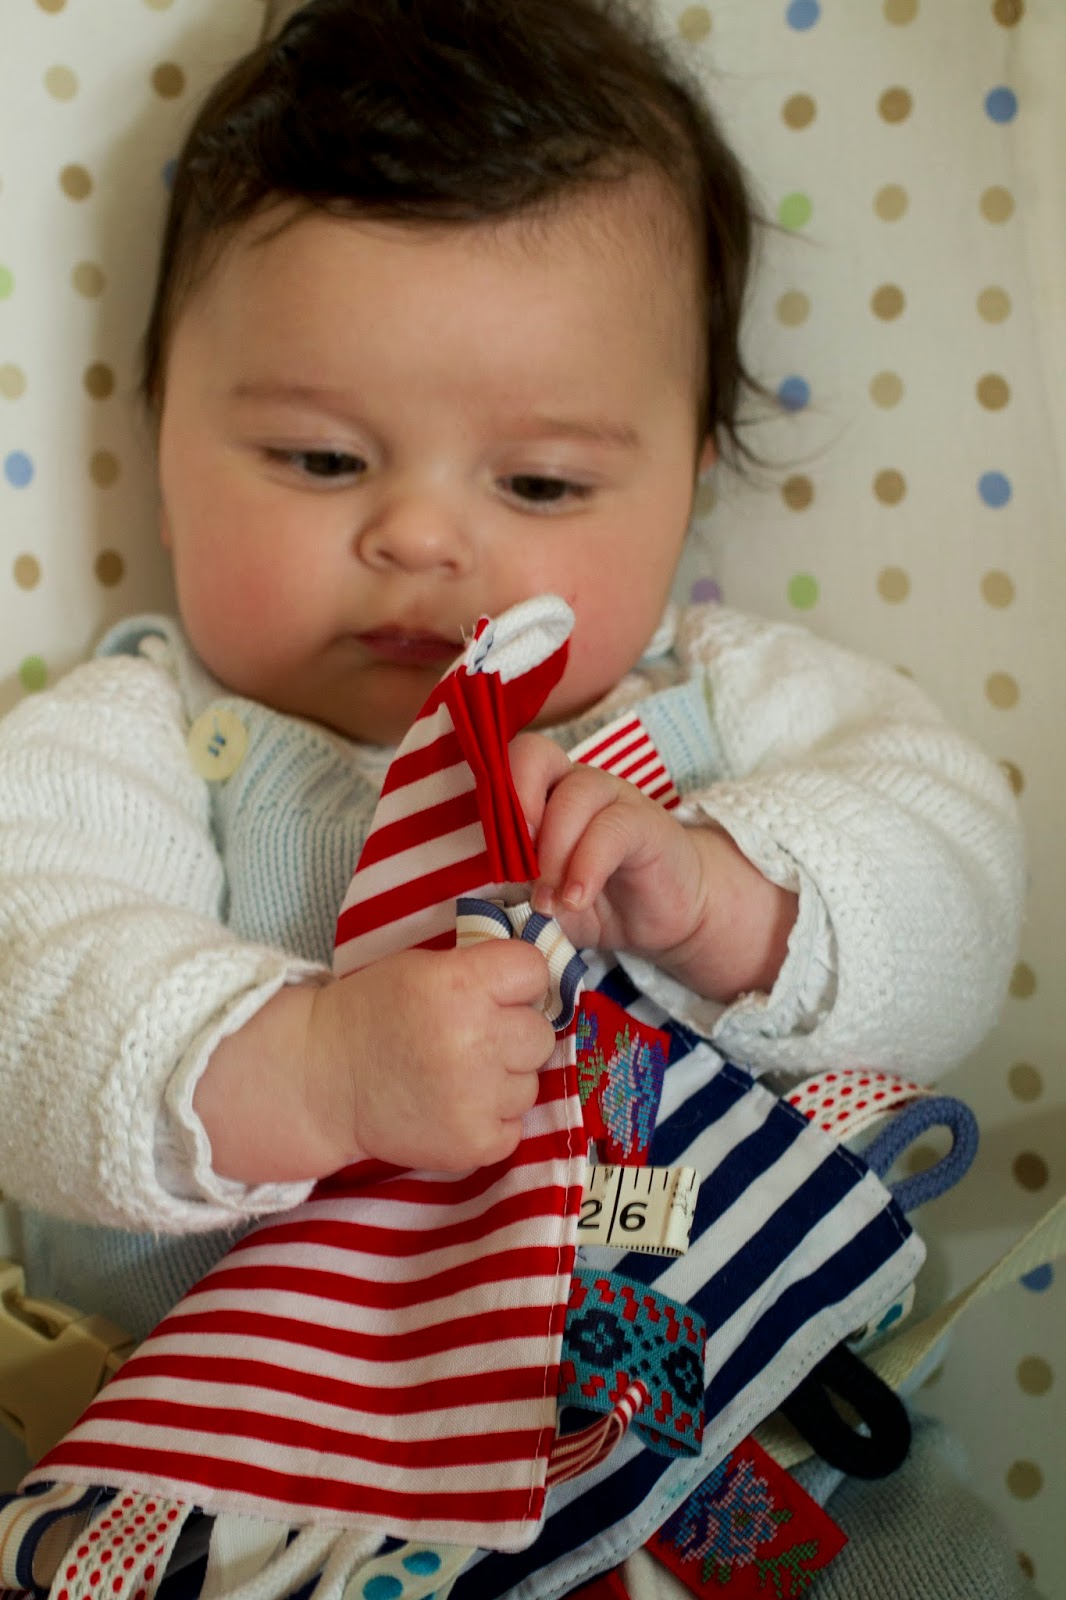
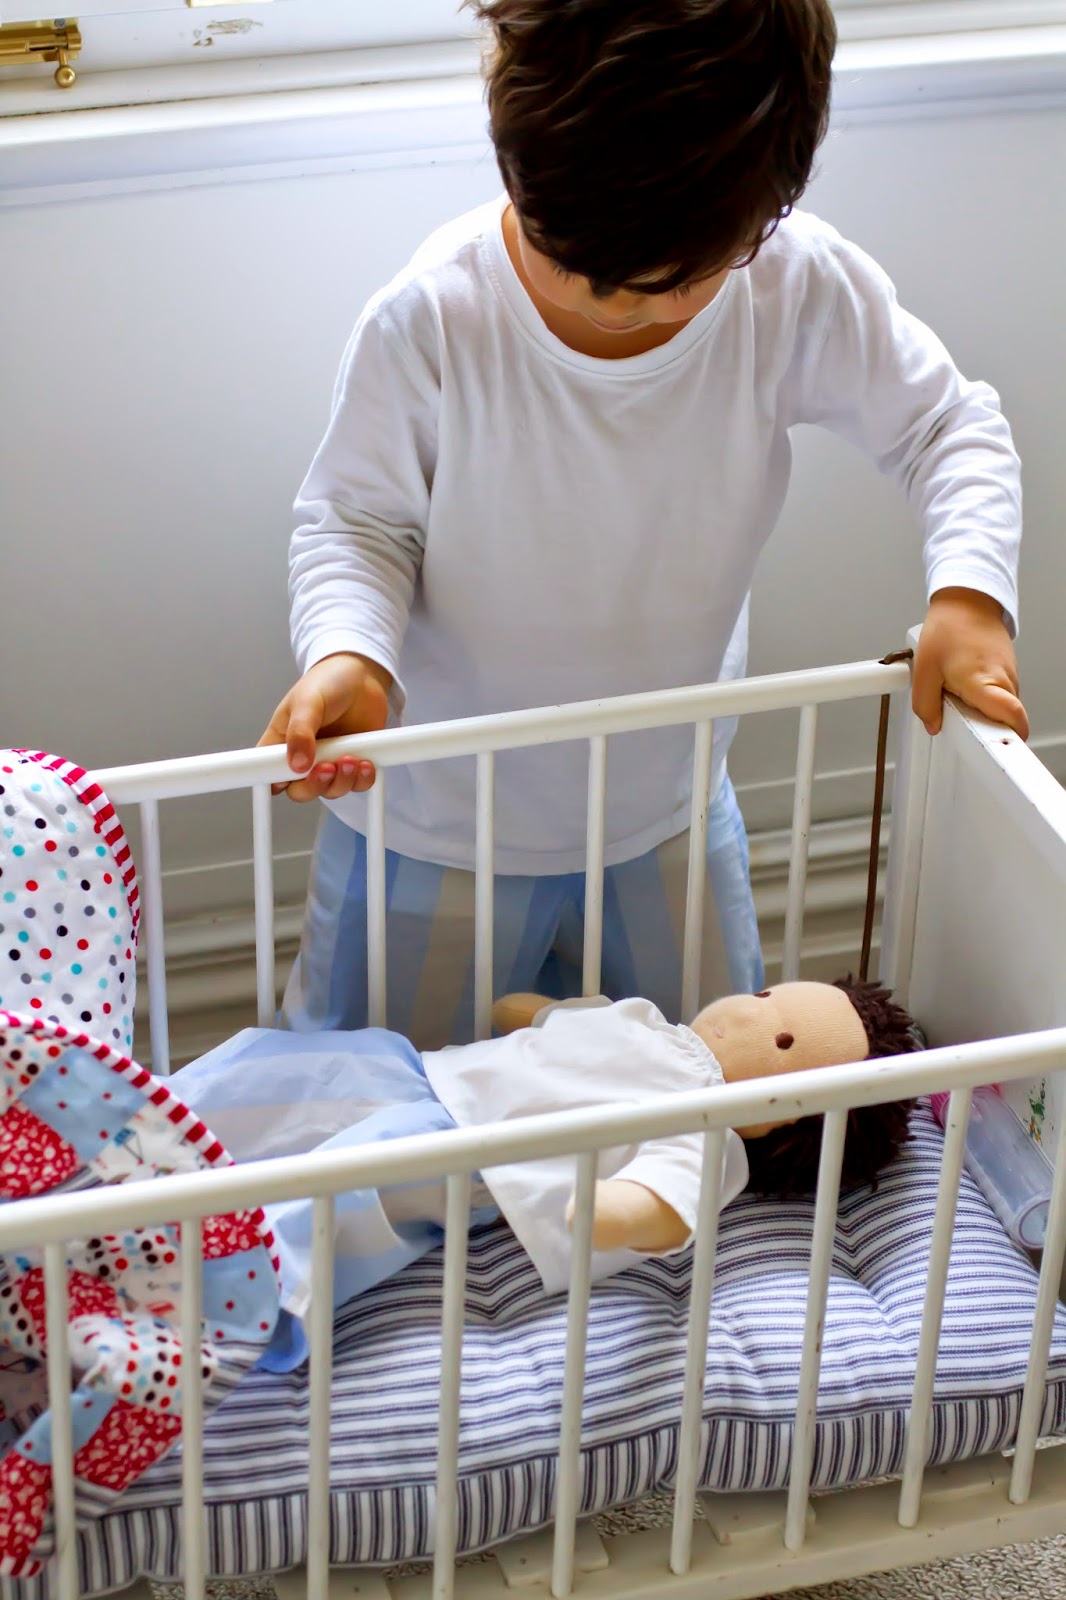
Que grande ajudante que eu tive durante o processo de fazer o livro! Este pequeno photobomber foi um verdadeiro desafio… Tentei trabalhar no livro enquanto o Rodrigo estava na escola, mas houve muitas ocasiões em que precisei da ajuda do Tiago e tivemos de trabalhar ao fim-de-semana. Aproveitávamos a hora da sesta, claro, mas invariavelmente o Rodrigo acordava quando ainda estávamos a meio da sessão fotográfica e corria, comia, pisava e atacava tudo aquilo que estávamos a fotografar.
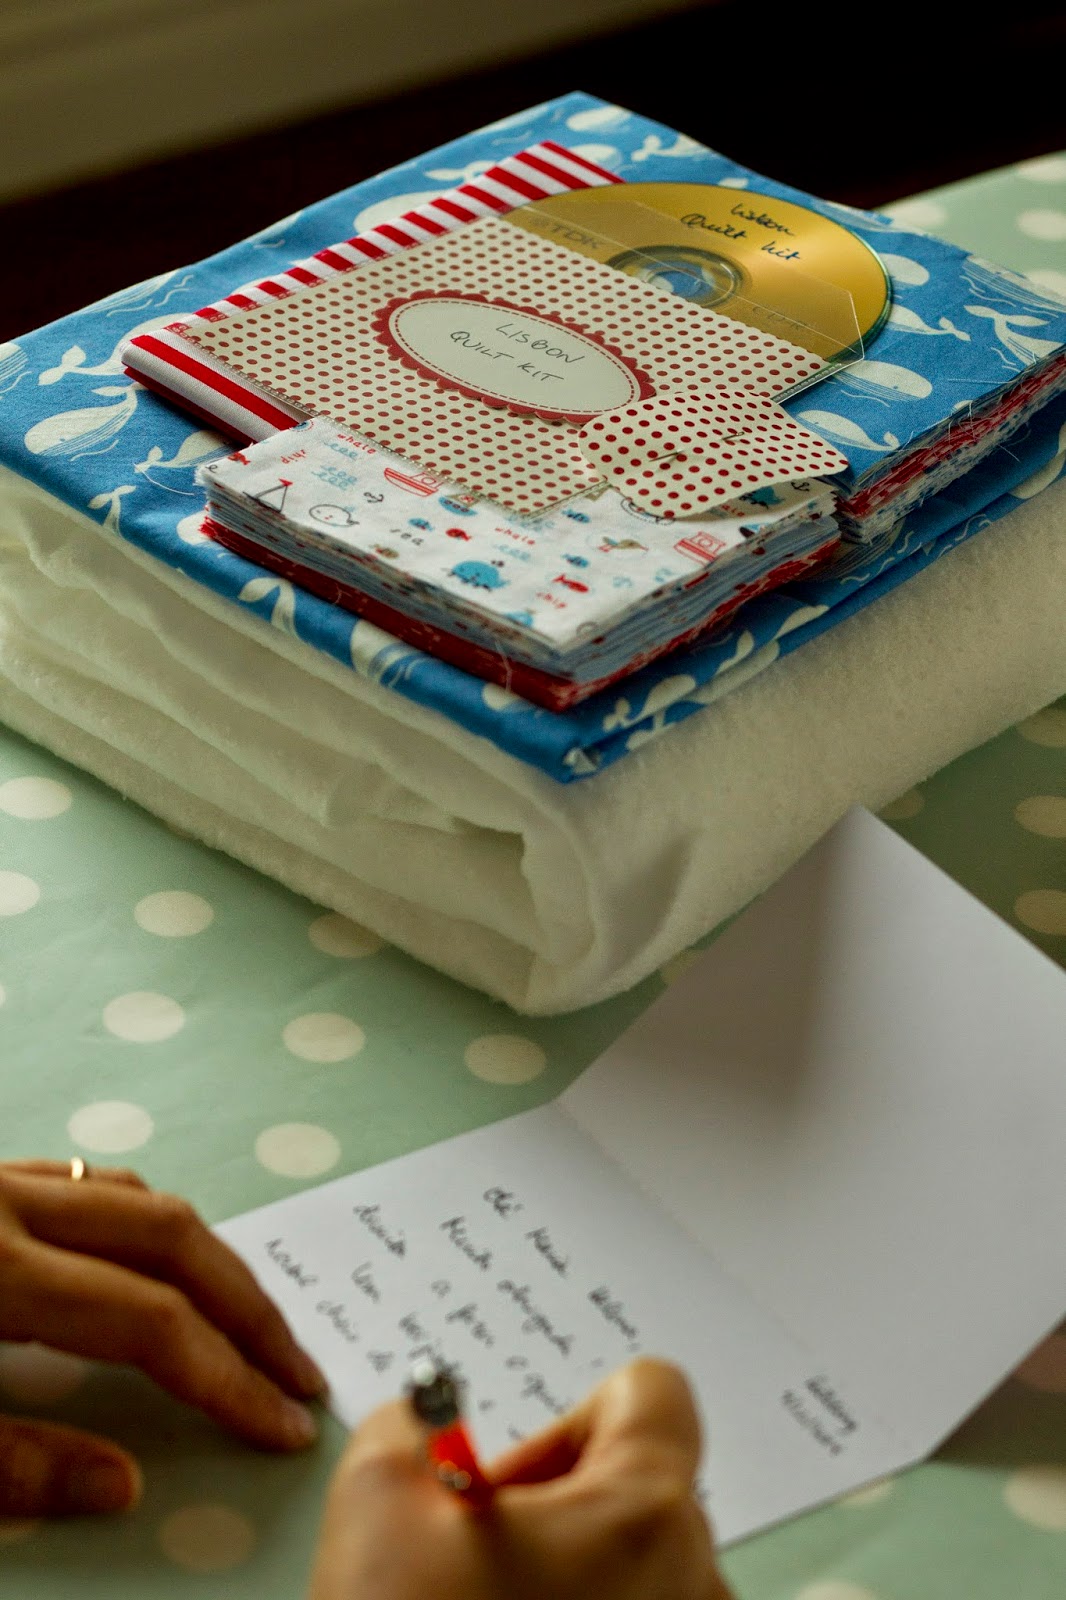
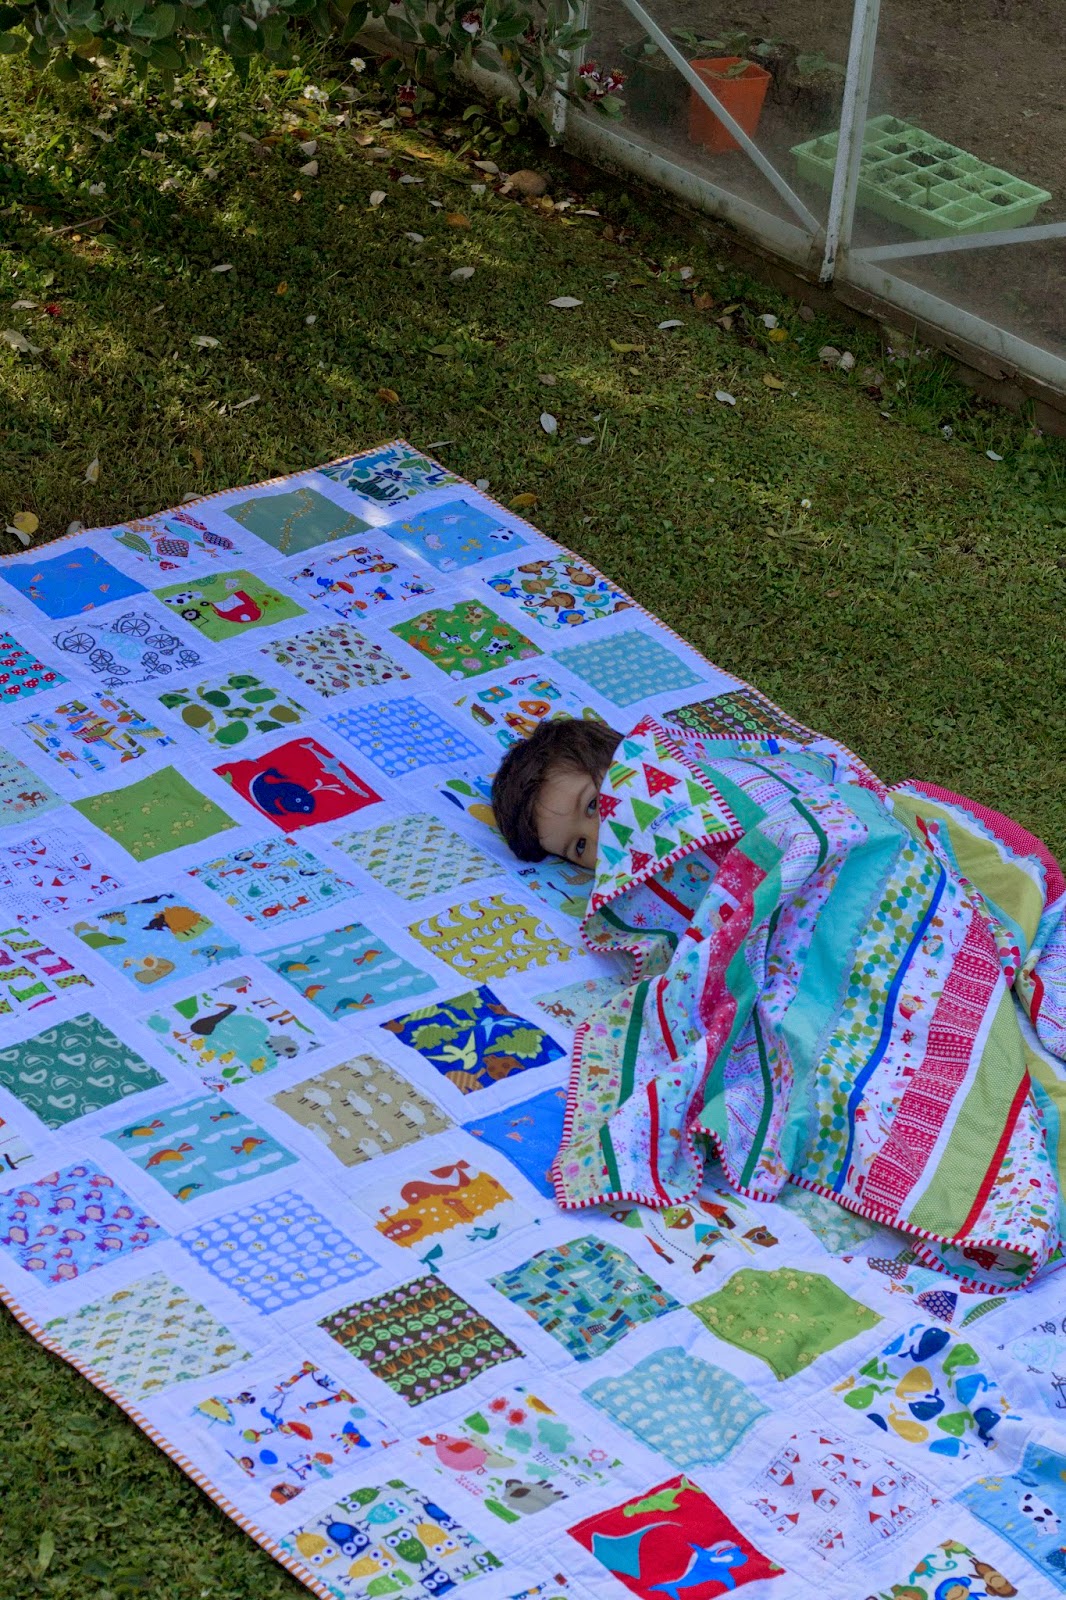
O mais difícil foi mesmo aquela temporada em Lisboa, em que não houve nem escola nem Tiago. A minha mãe ajudou-me bastante, é certo, mas os meus dias foram uma verdadeira correria. Lembro-me de um dia em que levei o Rodrigo a casa da minha mãe de manhã, fui corri três sapateiros à procura de alguém que me colocasse as molas na manta de picnic, voltei a casa da minha mãe para dar almoço ao Rodrigo e pô-lo a fazer a sesta, meti-me no carro e fui até ao Meco fotografar a dita manta, as almofadas de praia e um kaftan (que acabou por não ser incluído no livro). Na praia estava uma ventania tal que as almofadas voaram quase até ao mar — eu parecia uma tonta a a correr atrás delas e tentar fotógrafa-las em todos os ângulos possíveis e imaginários. Depois fui ao pinhal, fotografei a manta, quando me meti no carro começou a chover (uma sorte não ter chovido antes!) e guiei até Lisboa para dar banho, jantar e cama. Uf! Foram umas belas férias…
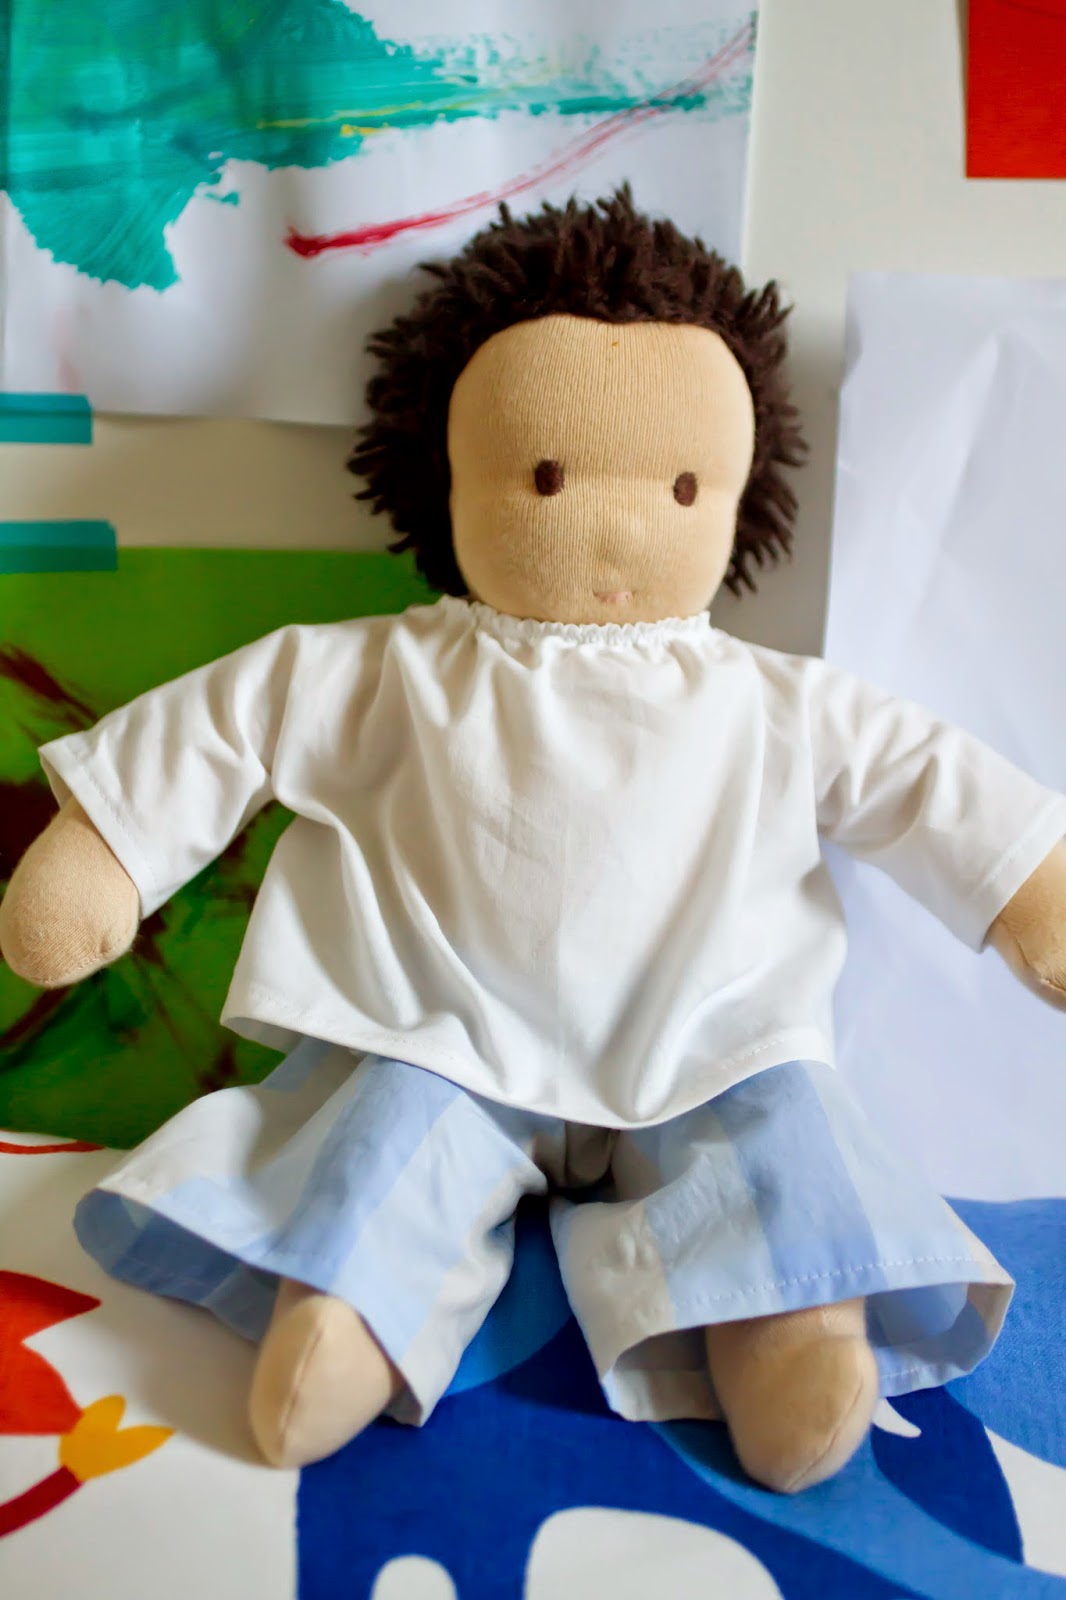
Mas agora tem muita graça ver estas fotografias. Pensando bem, o Rodrigo merece estar na capa do livro… afinal, fartou-se de participar!
PS. O “Mãos à Obra!” continua a chegar a muitas casas e tenho adorar receber fotografias daquilo que vocês têm feito a partir do livro. Podem vê-las sob o hashtag #livromaosaobra no Instagram e nesta pasta no meu Pinterest. Se quiserem ler opiniões sobre o livro, espreitem os posts da Leonor do blog Home Sweet Home, da Margarida do Pano Pra Mangas e da Margarida do Ei! Kumpel.
What a great helper I had during the process of making the book! This tiny photobomber was a challenge indeed… I tried to work on the book during the hours that Rodrigo was at preschool but I also ended up working on weekends whenever I needed Tiago’s help. We made the most of nap time but invariably Rodrigo would wake up while we were in the middle of a photoshoot and he’d start jumping, grabbing, eating and attacking everything that was at his hand’s reach.

The most difficult time was those 2 months I spent in Lisbon last year, mainly because he didn’t go to school and Tiago wasn’t around. My mother helped me out quite a lot but my days were just so crazy. I remember one particular day when I left Rodrigo at my mother’s in the morning, I went to three cobblers in search of someone who would apply some heavy-duty snaps on my picnic blanket, then went back to my mother’s to feed Rodrigo his lunch and put him down for his nap and then drove to Meco (a beach 40 minutes from Lisbon) in order to photograph that same picnic blanket, the beach pillows and a kaftan (which ended up not being included in the book). It was so windy at the beach that the pillows nearly ended up in the sea — you should have seen me chasing them like a mad woman and trying to photograph them from every possible angle. Then I drove to the nearby pinewood and shot the picnic blanket. The minute I got back in the car it started raining (can you believe my luck?) and I drove back to Lisbon just in time for bath, dinner and bedtime. Uff! Talk about relaxing holidays in my hometown…

But now it’s so funny to look at these pictures. Rodrigo made the cover of the book and he does deserve it… I mean, he really took part in the making of the book!
 (photos: 1- © Diana Basto Ferreira, 2-12- © Constança Cabral)

Por Aqui :: Around Here

Por aqui aproveitamos os dias em que não chove para ir apanhar ar. Eu apanho muitas flores e espalho-as pela casa. Vou cosendo aos bocadinhos. Olho para o Pedro, cada vez mais crescido, e fico com tanta pena de não poder partilhá-lo com a família e com os amigos. Maravilho-me com o Rodrigo (e tento respirar fundo quando ele faz birras). Tento executar as dezenas de ideias que tenho cá para casa. Arrumo os tecidos e ponho à venda todos aqueles que não me vejo a usar nos próximos tempos. Conheço gente nova e fazemos planos para umas noites de costura. Sinto-me cheia de sorte. Tenho saudades. Faço contas. Planeio novas aventuras. Apercebo-me de que falta pouco tempo para Dezembro, mas aqui não cheira a Natal. Fico toda contente quando vocês me escrevem a dizer que o meu livro vos inspirou a lançar mãos à obra. Tenho saudades. Tenho saudades. A vida aqui é boa. Mas tenho tantas saudades.
Around here we make the most of the days when it doesn’t rain. I pick lots of flowers and spread them around the house. I sew a little at a time. I look at Pedro and feel sad that I can’t share him with friends and family. I marvel at Rodrigo (and take deep breaths whenever he throws yet another tantrum). I try to execute some of the dozens of ideas that I keep having for our space. I tidy up the fabric stash and sell everything that doesn’t resonate with me any more. I meet new people and we make plans for a few sewing evenings. I feel so lucky. I long for home. I crunch some numbers. I plan new ventures. I realise December is coming soon but I don’t feel the thrill of Christmas. I get so happy whenever you write to me to say that my book has inspired you. I miss so many things. Life around here is good. But I long for so much.
(photos© Constança Cabral)

Pijamas a Condizer para Um Rapaz e o Seu Boneco :: Matching Pyjamas for a Boy and His Doll

Como todas as crianças, o Rodrigo está sempre a precisar de roupa nova. Calças de pijama valem mesmo a pena fazer em casa — casacos de pijama dão uma trabalheira e prefiro comprar-lhe t-shirts brancas de mangas compridas, mas fazer calças é rápido e barato. Mais uma vez, usei o molde Bedtime Story Pajamas da marca Oliver&S: o corte das calças é impecável, têm poucas costuras e ficam com um ar bastante profissional (acho que é o meu sétimo par).
O Rodrigo andava a pedir-me há que tempos para fazer roupa para o boneco Manel e, depois de uma série de fraldas às cores (hei-de mostrá-las aqui num dia destes), lembrei-me de lhe fazer um pijama a condizer. A Marta tinha-me mandado este link para calças e camisolas/vestidos de bonecas Waldorf e achei que seria ideal para transformar em pijama. O Manel tem 38 cm e retirei 1 cm ao comprimento das calças, bem como 1,5 cm ao molde da camisola (visto que o molde é para usar com o tecido dobrado, a camisola ficou com menos 3 cm de largura do que a original).
Nem imaginam como me diverti a fazer roupa para o boneco! Próximas peças: um par de jeans e uma camisola às riscas.
Just like every child, Rodrigo is in constant need of new clothes. Some of the things I find really worthwhile to make at home are pyjama bottoms — pj tops are too much work and I’d rather buy  him lots of long sleeve, white t-shirts, but the bottoms are quick and cheap to sew. Once again I used the Bedtime Story Pajamas pattern by Oliver + S: the cut is great, there aren’t too many seams and they look quite professional (I think this is my 7th pair).

Rodrigo has been asking me to make his doll Manel some clothes and after a number of nappies in every colour of the rainbow (one day I’ll show them here), I thought I’d make him matching pjs. Marta had sent me this link for Waldorf dolls trousers and tops/dresses and they were the perfect starting point for making pjs. Manuel is 38 cm so I shortened the trousers by 1 cm and took out 1,5 cm to the width of the top pattern (because the pattern is placed on the fold, the top turned out 3 cm less wide than the original one).

You can’t tell you how much fun I had sewing up these doll clothes! Next on my list: a pair of jeans and a stripey top.
(photos© Constança Cabral)